How to Adjust Subwoofer for Optimal Sound Experience
Introduction
Achieving flawless sound from your audio setup is significantly enhanced by mastering how to adjust your subwoofer. Whether you’re a dedicated audiophile or looking to elevate your home theater experience, fine-tuning your subwoofer is essential. Correct adjustments can deliver deep bass without overshadowing other audio elements, ensuring a cohesive and immersive listening experience.
Understanding Subwoofer Basics
Before exploring adjustment techniques, it’s crucial to grasp the fundamentals of what a subwoofer does in your audio system.
Key Components of a Subwoofer: A standard subwoofer comprises a driver, amplifier, and enclosure. The driver generates sound waves, the amplifier powers the driver, and the enclosure influences the sound’s quality and intensity.
Types of Subwoofers: Subwoofers are categorized as active (powered) or passive. Active subwoofers include a built-in amplifier, simplifying integration into audio systems. Passive subwoofers, requiring an external amplifier, are typically part of custom setups.
With these basics in mind, you’ll have a strong foundation to set up your subwoofer for optimal performance.
Setting Up Your Subwoofer
A well-planned setup is vital for your subwoofer’s success.
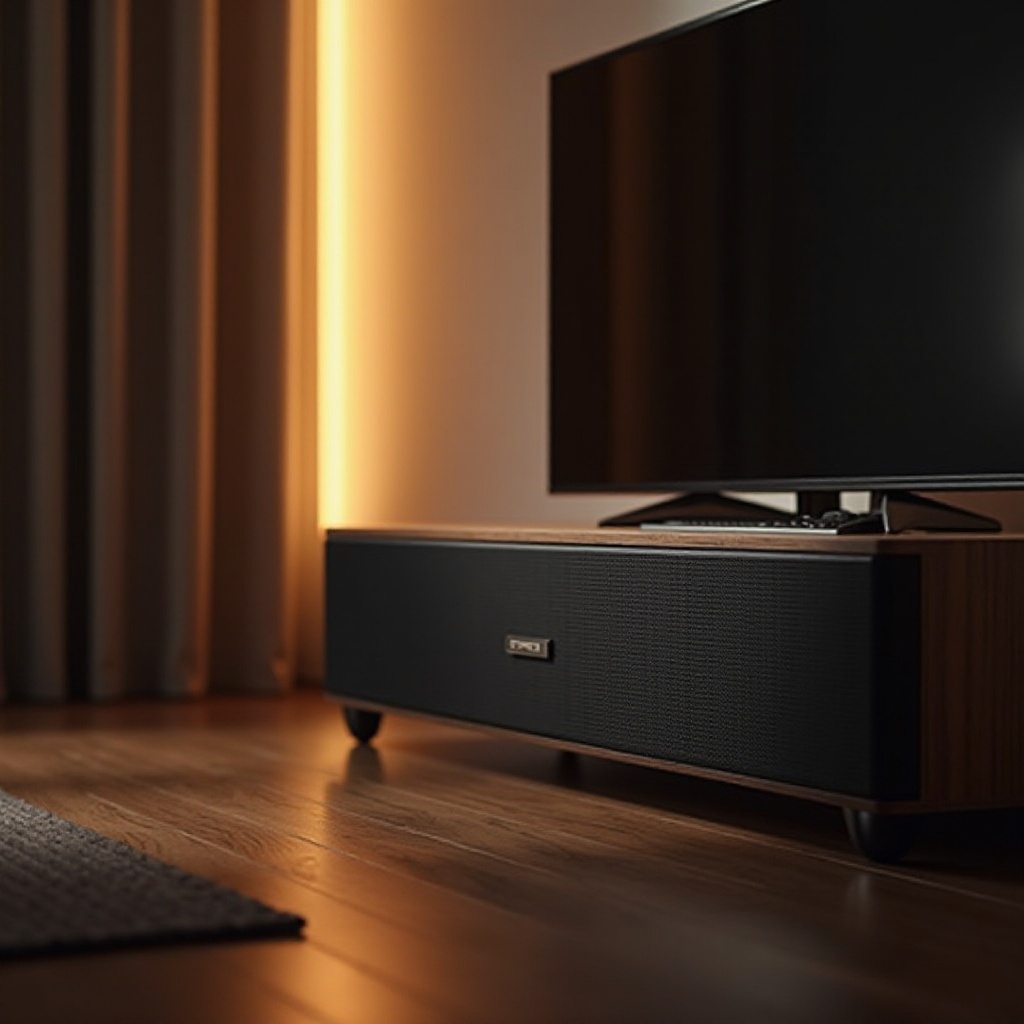
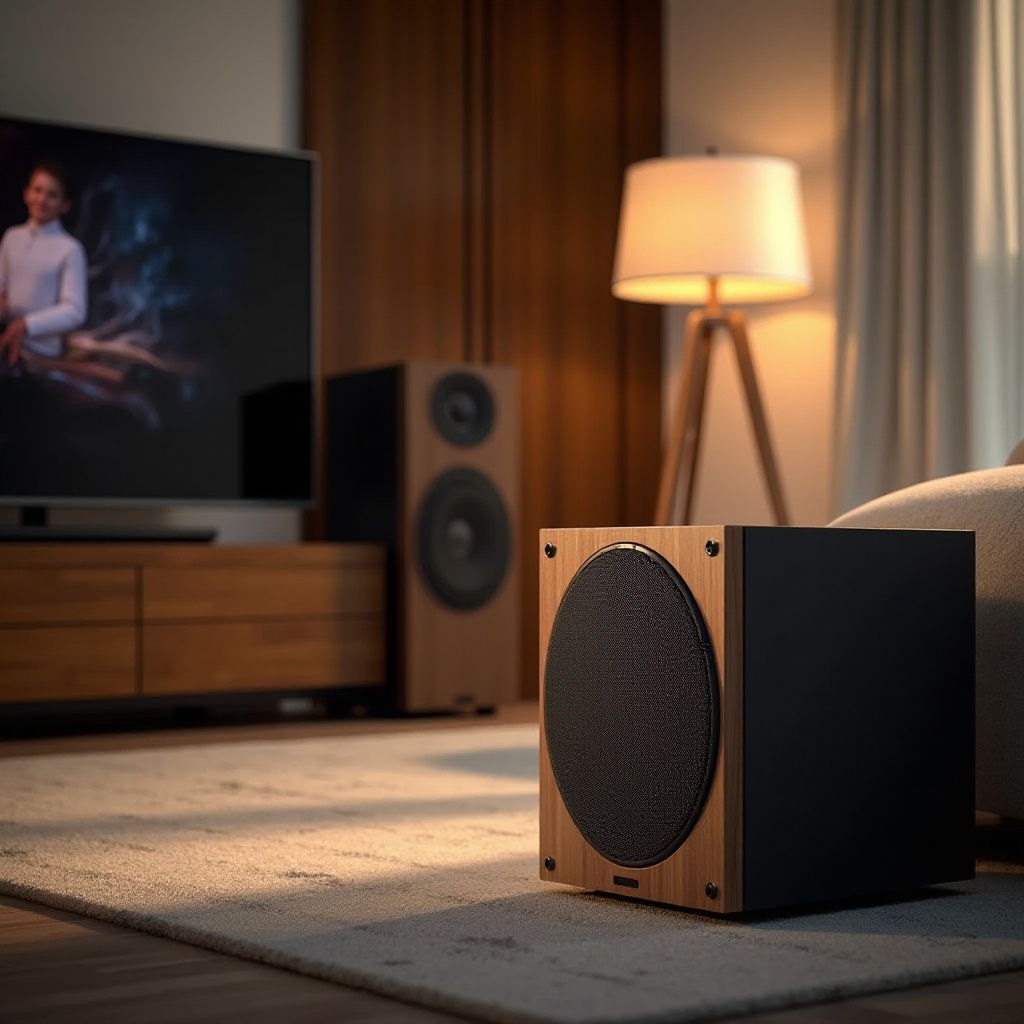
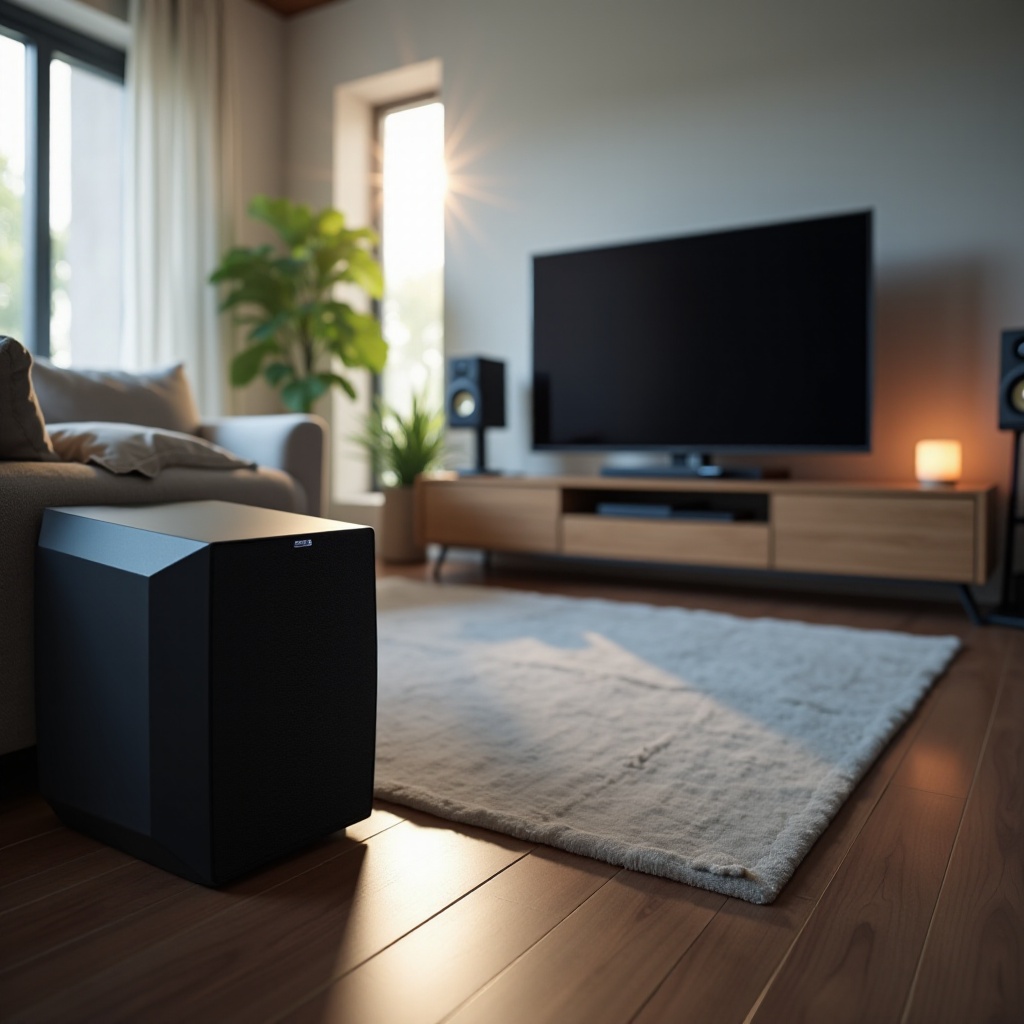
Ideal Placement Strategies: Placement profoundly impacts sound quality. Position your subwoofer along the front wall of the room, equidistant from the primary listening area for optimal results. Corners can boost bass but may cause distortion, so be prepared to adjust as needed.
Wired vs. Wireless Connections: Choose between a traditional wired setup and a modern wireless connection. Wired connections typically offer better reliability and audio quality, while wireless options provide more placement flexibility.
Upon establishing your subwoofer’s position and connection type, it’s time to fine-tune its settings.
Fine-Tuning Subwoofer Settings
Fine-tuning these settings helps to refine your audio experience.
Adjusting Frequency and Crossover: The crossover frequency dictates where the subwoofer joins the main speakers. Begin at 80 Hz. Use your receiver’s bass management settings to tweak the crossover until the subwoofer sound blends smoothly with the system.
Balancing Volume Levels: Ensure the subwoofer volume matches the rest of the speakers. Too loud, and it will dominate the sound; too quiet, and it won’t have the desired impact. Utilize a decibel meter or calibration software for precise level matching.
After refining these settings, evaluate how your room’s acoustics might affect performance.
Adapting to Room Acoustics
Room acoustics can dramatically alter a subwoofer’s sound, necessitating further adjustments.
Analyzing Room Impact: Hardwood floors, carpets, and furniture can either muffle or echo sound. Walk around the room, listening for sound discrepancies and possible echoing.
Overcoming Acoustic Challenges: Implement soundproofing materials, bass traps, or area rugs to tackle unnecessary sound reflections. Adjusting the subwoofer’s phase settings can also enhance alignment with room acoustics.
Once the room is acoustically tuned, address any persistent audio issues you might face.
Common Issues and Solutions
Despite optimal setups, some prevalent subwoofer issues might arise.
Addressing Bass Rattle: If the bass rattles, ensure all screws are tight and inspect the room for loose items causing vibrations. Modifying the crossover and volume can eliminate rattling.
Eliminating Audio Distortion: Distortion frequently occurs at high volumes. If present, lower the volume, adjust gain settings, or reposition the subwoofer to eliminate overly booming bass.
Solving these issues paves the way for your final calibration.
Testing and Calibration
Testing and calibrating the subwoofer ensures harmonious cooperation with the entire sound system.
Using Test Tracks: Play audio tracks with a wide range of bass frequencies and listen for clarity and seamless integration. Adjust settings until the bass is tight and complements the setup without overpowering it.
Employing Calibration Tools: Use automated calibration through apps or system menus when available. These tools can analyze the room and calibrate everything, including the subwoofer, for peak performance.
With everything calibrated, your subwoofer should deliver high-quality bass that enhances your overall audio experience.
Conclusion
Adjusting your subwoofer effectively can transform audio experiences, delivering rich, powerful bass that perfectly complements your system. By understanding the equipment and strategically refining settings, you’ll achieve balanced sound suited to your listening environment. The ultimate judge of success will be your ears, so feel free to experiment with adjustments until satisfied.
Frequently Asked Questions
How do I know if my subwoofer is too loud?
Listen for overwhelming bass that dominates other speakers. If it feels more like vibration rather than sound, it’s likely too loud.
What is the ideal crossover setting for my subwoofer?
Start at 80 Hz and adjust based on how well the subwoofer integrates with your main speakers.
Can I adjust subwoofer settings for different media types?
Yes, you can adjust settings for different content such as movies, music, or gaming by using presets on your receiver or manually tweaking settings.