Master Screen Orientation in Windows: 2024 Guide
Introduction
In today’s digital world, adjusting screen orientation is essential to optimize productivity, enhance viewing experiences, and adapt to specific tasks on your Windows device. Flexible orientation options allow you to tailor your screen settings to fit various needs—be it reading, coding, or viewing multimedia. From desktop computers to laptops and convertibles, knowing how to switch between landscape, portrait, and flipped modes is a valuable skill. This comprehensive guide will walk you through different methods to confidently change screen orientation in Windows 10 and 11, including quick keyboard shortcuts and detailed display settings.
Understanding Screen Orientation in Windows
Screen orientation determines how content is displayed on your monitor, influencing your overall visual experience. The primary orientations include landscape, portrait, landscape (flipped), and portrait (flipped). Landscape orientation is the default, offering a wide display suitable for general computing and multimedia activities. Portrait orientation provides a taller view, ideal for reading lengthy contents or coding. Understanding these options is crucial for customizing your device to enhance personal preferences or meet professional demands. Seamlessly transitioning between these orientations allows for a truly versatile Windows experience.
Quick Methods to Change Screen Orientation
For those needing swift changes, Windows offers convenient methods to adjust screen orientation effectively.
Using Keyboard Shortcuts
Windows users can quickly alter screen orientation through keyboard shortcuts. Press Ctrl + Alt + Arrow Key corresponding to the desired direction:
– The Up Arrow transitions to landscape orientation.
– The Down Arrow flips the screen to landscape (flipped).
– The Right Arrow switches to portrait.
– The Left Arrow rotates the screen to portrait (flipped).
Accessing the Right-click Menu on Desktop
A simple yet efficient method involves the desktop’s right-click functionality:
1. Right-click an empty desktop area.
2. Choose ‘Display settings’ from the context menu.
3. In the settings window, use the ‘Orientation’ dropdown to select the preferred layout.
Employing these rapid techniques ensures instant orientation adjustments with minimal navigation.
Changing Screen Orientation Through Display Settings
For those seeking more control, adjusting screen orientation via display settings provides thorough customization.
Steps for Windows 10
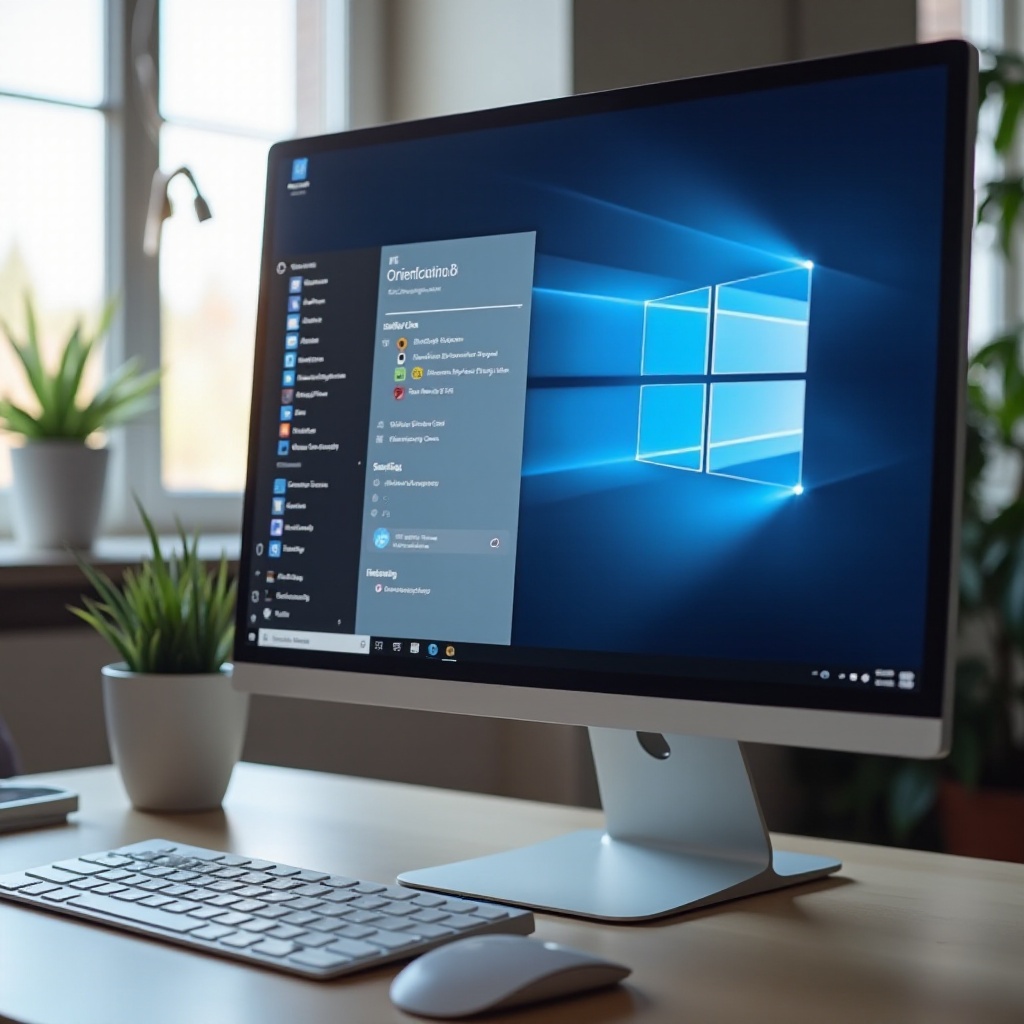
- Open the ‘Start’ menu and select ‘Settings’.
- Click on ‘System’, then ‘Display’.
- Scroll to find the ‘Orientation’ dropdown under ‘Scale and layout’.
- Choose the desired orientation and click ‘Apply’.
Steps for Windows 11
- Right-click on the desktop and select ‘Display settings’.
- Locate the ‘Scale & layout’ section.
- Use the ‘Display orientation’ dropdown to pick the appropriate orientation.
- Confirm by clicking ‘Keep changes’ when prompted.
Both Windows versions offer intuitive interfaces, simplifying these changes for any user seeking a more personalized layout.
Using Graphics Card Control Panels for Orientation
Graphics card control panels provide another avenue for adjusting screen orientation, with features varying by manufacturer.
Intel Graphics Settings
- Right-click on the desktop and open ‘Intel Graphics Settings’.
- Select ‘Display’, then navigate to the ‘General Settings’ tab.
- Opt for the desired screen rotation from the ‘Rotation’ dropdown.
NVIDIA Control Panel
- Right-click on the desktop and choose ‘NVIDIA Control Panel’.
- Under ‘Display’, select ‘Rotate display’.
- Confirm your screen orientation choice.
AMD Radeon Settings
- Right-click on the desktop and open ‘AMD Radeon Settings’.
- Go to the ‘Display’ tab.
- Under ‘Rotation’, select your desired orientation.
These control panels provide additional customization, offering graphics-specific settings not available through standard Windows options.
Troubleshooting Common Problems
Challenges may occasionally arise when modifying screen orientation.
Display Not Rotating
- Ensure the correct keyboard shortcuts are employed.
- Check if graphics drivers are updated.
- Analyze if rotation settings are enabled in the graphics control panel.
Rotation Lock Issues
- Navigate to ‘Settings’ > ‘System’.
- Under the ‘Display’ section, ensure the ‘Rotation lock’ toggle is off.
Addressing these common issues can maintain seamless access to varied orientation modes, boosting productivity.
Advanced Adjustments and Third-Party Tools
For users desiring further customization or additional features, third-party tools offer superior screen orientation control.
Third-Party Software Options
Applications like iRotate and DisplayFusion extend rotation capabilities with customizable profiles, accommodating complex setups such as multi-monitor configurations. These tools offer user-friendly interfaces and extra features not supported by native Windows settings.

Conclusion
Effectively managing screen orientation in Windows is pivotal in tailoring the user experience to diverse needs and preferences. Whether through quick shortcuts, comprehensive settings, or advanced tools, these methods enable complete display customization. Such versatility enhances Windows’ innate functionality, making it favourable for diverse uses—from everyday tasks to professional applications.
Frequently Asked Questions
How do I enable auto-rotation on my Windows device?
Ensure your device supports auto-rotation, common in convertibles, by visiting ‘Settings’ > ‘System’ > ‘Display’ and toggling ‘Rotation lock’ off.
Why won’t my screen orientation change on Windows 11?
Check the graphics driver status, confirm no hardware issues exist, and ensure orientation settings and shortcuts are applied correctly.
Can I set different orientations for multiple monitors?
Yes, each monitor’s orientation can be individually configured under ‘Display settings’ in the ‘Multiple displays’ section for personalized setups.