
Beats Flashing Then One Red Light? The 2026 All-Model Fix Guide
Introduction
A single red flash on Beats is a warning that something blocked normal startup. Most cases come down to a low battery, a firmware hang, or a charging issue. Sometimes you see the flash the moment you tap power; other times it appears only when you plug in the cable or open a true wireless case. You can fix many situations in minutes with a simple sequence: quick checks, a precise reset for your model, clean power, a firmware refresh, and a tidy Bluetooth list. This guide walks those steps in order so you avoid guesswork and wasted time.
We start by decoding what that single red flash means. Once you know what the light is trying to say, you can act with more confidence and choose the right fix first.
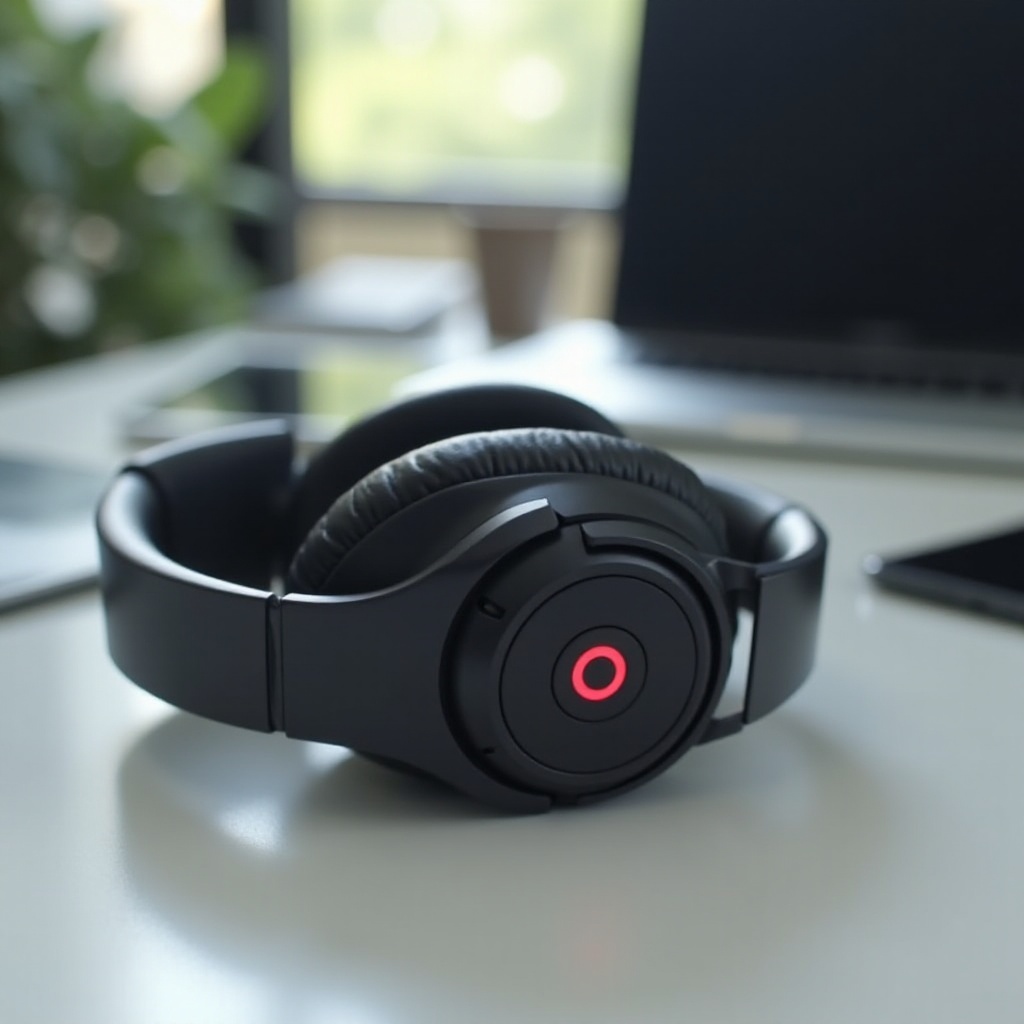
What the Single Red Flash Means on Beats Headphones
The LED system on Beats compresses several states into simple patterns. A solitary red blink usually points to one of three roots: power, battery, or firmware. Context matters.
- If it flashes when you press power and the headphones shut off, suspect a low battery, a firmware hang, or a protection lockout.
- If it flashes while connected to power, suspect a bad cable or adapter, debris in the port or charging contacts, or a battery that cannot accept charge.
- If it flashes after a reset or update, suspect corrupted pairing data or an incomplete firmware load.
On over‑ear and on‑ear models like Studio and Solo, the light reflects battery and error states through a fuel gauge or a single LED. On true wireless models like Beats Fit Pro and Powerbeats Pro, both the case LED and each earbud can signal trouble. A red flash on the case tends to indicate a case battery or port issue. A red flash on a bud points to that bud’s battery, its contacts, or its firmware.
Now that the signal makes sense, you can move through a set of fast fixes to clear temporary glitches before you dig into model-specific resets.
Quick Fixes to Try First (1–3 Minutes)
You do not need tools for these quick wins. Move step by step and test after each action.
1) Force a power cycle.
– Over‑ear and on‑ear: Hold the power button for 10 seconds to force shutdown, then try powering on again.
– True wireless: Place both buds in the case, close the lid for 30 seconds, then reopen.
2) Give it a stable charge bump.
– Connect to a known-good wall adapter and cable.
– Let it sit for 10–15 minutes before attempting power on.
3) Swap cables and adapters.
– Try a second cable. If you use USB‑C, test another port and another brick.
– If you use Lightning, inspect for fraying and bent pins.
4) Clean ports and contacts.
– Brush out dust with a dry, soft tool. Use a wooden toothpick to lift lint. Avoid liquids on ports.
– For true wireless, wipe the case pins and bud contacts with a dry microfiber cloth.
5) Normalize temperature.
– If the device feels hot or cold, let it rest at room temperature for 15–20 minutes, then re.
If the beats flashing then one red light symptom persists, perform the correct reset for your exact model. A proper reset clears many firmware and pairing errors in one move.
Model-Specific Reset Steps
Resets differ by model. Use the right button combo so the reset actually takes.
Beats Studio Pro and Studio3 Wireless
- Studio Pro: With the headphones on, press and hold the system button and volume down together for 10 seconds. Release when the LED flashes, wait 30 seconds, then pair again.
- Studio3 Wireless: Press and hold the power button and volume down for 10 seconds until the fuel gauge flashes. Release, wait 30 seconds, then power on and pair.
Beats Solo3 Wireless and Solo Pro
- Solo3 Wireless: Hold the power button for 10 seconds until the LED flashes. Release and re-pair from your device’s Bluetooth list.
- Solo Pro: Press and hold the mode button and volume down for 10 seconds. Release when the LED flashes, wait 30 seconds, then re-pair.
Beats Fit Pro and Powerbeats Pro
- Beats Fit Pro: Place both buds in the case with the lid open. Press and hold the case button for 15 seconds until the LED cycles amber to white. Close, wait 30 seconds, reopen, and pair.
- Powerbeats Pro: Put both buds in the case with the lid open. Press and hold the case button for 15 seconds until the LED flashes red and white. Close for 30 seconds, reopen, and pair.
Beats Flex and BeatsX
- Beats Flex: Hold the power button and volume down for 15 seconds until the LED flashes. Release and re-pair.
- BeatsX: Hold the power button and volume down for 10 seconds until the LED flashes. Release and re-pair.
If a model-correct reset does not stop the beats flashing then one red light behavior, the next step is to verify charging and battery health. Stable power fixes the majority of stubborn cases.
Charging and Battery Troubleshooting
A weak or unstable charge is the most common trigger for a red blink. Confirm the basics before you assume a hardware failure.
Verify Power Source, Cable, and Adapter
- Use a reputable wall adapter rated between 5W and 20W.
- Try at least two different cables. If you use USB‑C, test both cable ends and a second port.
- Plug into a different wall outlet or a quality surge strip.
Clean Charging Contacts and Ports
- Over‑ear and on‑ear: Inspect the port with a flashlight. Remove lint with a wooden toothpick, then blow short bursts of dry air. Do not use water or gel cleaners.
- True wireless: Wipe the case pins and bud contacts with a dry microfiber cloth. If residue remains, lightly dampen the cloth with 70 percent isopropyl alcohol and dry fully. Ensure each bud sits flush and the case LED confirms charging.
Check Battery Health Clues and Charge Cycles
- Watch for fast dropout, warm charging without progress, or the red flash returning after a full charge. These point to a tired cell.
- Try a calibration cycle:
1) Use the headphones until they power down on their own.
2) Charge to 100 percent without interruptions.
3) Leave them on the charger for 30 extra minutes. - If runtime improves, the gauge was misaligned. If not, the battery may be near end of life.
Once you confirm the power path is clean and stable, turn to software. A modern firmware often resolves startup quirks that masquerade as power faults.
Update Firmware and Software
Firmware updates refine power management and Bluetooth behavior. Apply updates through the official paths for the smoothest results.
Using the Beats App on iOS and Android
- iOS: Connect your Beats to iPhone or iPad. Updates install in the background when the device is nearby and the headphones have adequate charge. Keep them close for 15 minutes.
- Android: Install the Beats app from Google Play. Open the app, connect your Beats, and follow prompts if an update appears. Keep the app open and avoid moving out of range.
Updating via macOS and Windows
- macOS: Pair your Beats and keep them connected for several minutes. Supported models receive updates through system services when available.
- Windows: Use the official Beats software where supported. Connect your headphones by USB if prompted and keep them connected until the update completes.
After a successful update, test power-on. If the beats flashing then one red light symptom remains, remove pairing clutter so the headphones do not tangle with stale device records.
Bluetooth Pairing Cleanup and Conflicts
Bluetooth remembers old partners and sometimes tries to reconnect to them. That can cause confusing handoffs and boot loops. Clear the slate and start clean.
Forget/Remove Old Pairings
- On iPhone or iPad: Open Settings, then Bluetooth, tap the info icon next to your Beats, and select Forget This Device. Repeat on any other Apple device that used the same Beats.
- On Android, Windows, and macOS: Remove the Beats from the Bluetooth list and restart the host device.
- Reset your Beats again for good measure, then pair with a single primary device first. Use them for a session before adding a second device.
iCloud and Multi-Device Conflicts
- On Apple gear, turn off automatic switching temporarily in the Bluetooth info screen for your Beats. This prevents surprise pull-aways during testing.
- Keep your active pairings list short. Remove devices you no longer use.
- If you connect to a managed work computer, ensure Bluetooth audio is allowed by policy.
If pairing is clean and the issue persists, isolate hardware from software with a wired test on supported models and with focused case or bud checks on true wireless.
Test Wired Mode and Case/Bud Diagnostics
Separating the audio path from the power path helps you pinpoint the fault faster.
Use 3.5mm Cable on Over‑Ear Models
- If your Studio or Solo supports analog input, connect a 3.5mm cable to a phone or laptop. If audio plays wired while the unit still red-flashes on wireless power, the problem is likely battery or the Bluetooth board, not the speakers or drivers.
Interpreting Case vs. Earbud LEDs (TWS)
- If the case LED flashes red, focus on the case battery, cable, and port. A new cable or a gentle port clean often restores charging.
- If a single earbud flashes red outside the case, focus on that bud. Swap the buds between left and right wells. If the problem follows the bud, that bud needs attention.
When tests point to a persistent power fault or repeated update failures, it is time to consider service options. The next section explains how to tell if hardware is at fault and how to proceed.
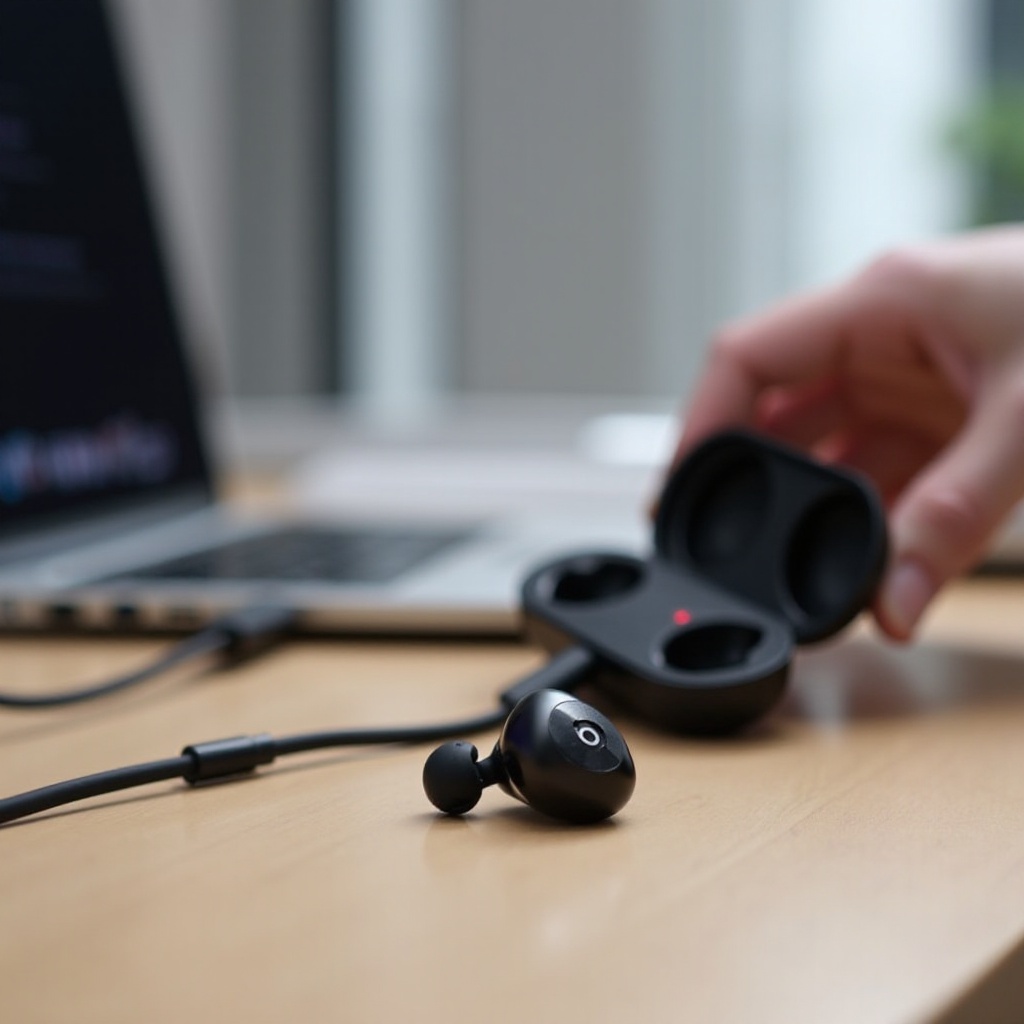
When It’s Hardware: How to Tell and What to Do
A handful of signs strongly suggest hardware trouble:
- The light flashes red once and shuts down even after a full, verified charge and a correct reset.
- One earbud never charges to full, or it drains much faster than the other.
- The case or headband area gets abnormally warm during charging with no progress.
- Firmware updates fail repeatedly or stall at the same point.
If you see these, gather your information and contact support.
- Find the serial number in the Beats app or printed on the device. Note purchase date and any coverage like AppleCare Plus for Headphones.
- Use Apple Support or the Beats support site to book help. Select battery service if runtime is weak or power fails under load.
- Typical United States options include mail-in repair, in-store replacement when eligible, or authorized service providers. Out-of-warranty battery service often carries a fixed fee; ask for a quote first.
- Back up your preferences. Note EQ, noise control, and button mappings so you can restore them later.
If you choose to keep using your current unit, adopt stronger care habits. Those reduce stress on the battery and lessen the chance of the beats flashing then one red light alert returning.
Prevention Tips for Longer Battery Life and Fewer Errors
Good habits lengthen battery life and improve reliability.
- Recharge before empty. Top up around 20 to 30 percent to avoid deep cycles.
- Use quality chargers. Prefer short, undamaged cables and reputable wall adapters.
- Keep everything clean. Wipe sweat and dust after workouts. Clean ports and contacts monthly.
- Avoid temperature extremes. Do not leave Beats in hot cars or cold bags. Store at room temperature.
- Update firmware regularly. Connect to iOS or open the Beats app on Android monthly to check.
- Limit pairings. Keep only a few active devices in your Bluetooth list to reduce conflicts.
- Seat true wireless buds with intent. Ensure you see the case confirm charging before you walk away.
Follow these practices and you will reduce errors, extend runtime, and keep startup smooth.
Conclusion
That single red blink does not have to end your session. You can solve most cases with a short, logical sequence: force a power cycle, provide clean wall power, run the correct model reset, update firmware, and clear stray Bluetooth pairings. Use wired tests and case or bud swaps to separate software quirks from hardware faults. If symptoms continue, pursue service with your serial number and coverage details ready.
With those steps in hand, you can turn beats flashing then one red light into a short delay rather than a day of frustration. Keep your gear clean, charged, updated, and paired to fewer devices, and it should power up without drama.
Frequently Asked Questions
Why do my Beats flash once red and will not turn on?
A single red flash often means low battery, a firmware hang, or protection lockout. Force a power cycle, give a 10 to 15 minute wall charge, perform the model reset, then re-pair. If the flash persists after a firmware update and pairing cleanup, the battery or main board may need service.
How long should I charge if I see a single red flash?
Start with a stable 10 to 15 minute wall charge to clear low-voltage lockout. Then charge to 100 percent without interruptions. If charging stalls, try another cable and adapter, clean the port or contacts, and consider a calibration cycle. Persistent stalls point to battery or case service.
Will a factory reset erase my EQ or noise control settings?
A reset clears Bluetooth pairings and some on-device preferences. It does not delete EQ profiles saved in your phone’s app, but you may need to reapply them after pairing. Note your preferred settings before you reset so you can restore them quickly.