My Roku Remote Won’t Work: Proven Fixes for Roku TVs and Streaming Players
Introduction
When a movie night stalls because the remote refuses to respond, frustration hits fast. You press buttons, nothing moves, and the home screen sits frozen. The good news is that most Roku remote issues have simple fixes. You can bring the remote back with a few careful steps: identify your remote type, check power and line of sight, re-pair the remote, stabilize Wi‑Fi, update software, and correct TV control settings. This guide walks you through a clear path so you fix the right thing first and avoid guesswork.
We will start with identifying your remote type, because the technology inside determines the correct fix. Then we will run quick checks for batteries and signal, power cycle your gear, and pair the remote the right way. After that, we will fine tune your network and update software, reset pairing data if needed, and resolve volume or power key problems. If you get stuck, the Roku mobile app keeps you moving, and model‑specific notes help with common brand quirks. Let us begin by confirming exactly which remote you own.
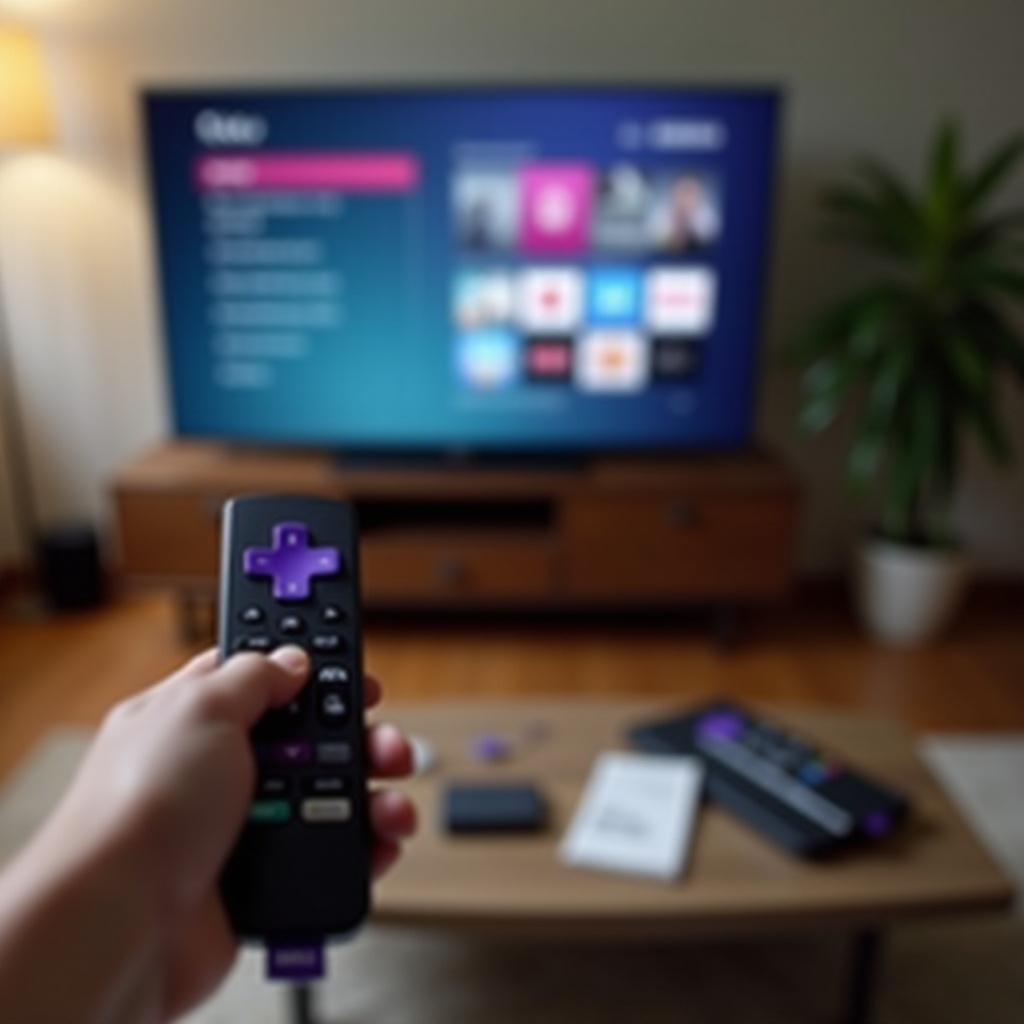
Identify Your Roku Remote Type
Different remotes require different solutions. An IR remote uses a line‑of‑sight beam and does not pair. A Voice Remote uses Wi‑Fi Direct or Bluetooth and needs pairing. A Voice Remote Pro adds a rechargeable battery and hands‑free voice features. Knowing what is in your hand prevents wasted steps and lets you apply targeted fixes.
Simple IR vs. Voice Remote vs. Voice Remote Pro
An IR remote has no mic button and no pairing button. It must see the TV or player sensor to work. A standard Voice Remote has a mic button and a small pairing button, usually in the battery bay. A Voice Remote Pro has a rechargeable port and often a mic on or off switch on the side or bottom. If you see a charge port, you likely hold a Pro.
Roku TV remotes vs. Roku streaming player remotes
Roku TV remotes ship with Roku TVs from brands like TCL, Hisense, and Onn. They include TV power, volume, and mute keys. Streaming player remotes ship with devices like Streaming Stick or Ultra. They may control TV power and volume through CEC or IR learning. Match your remote type to your device, because TV control steps differ between Roku TVs and players.
How to spot the pairing button, mic switch, and charging port
Open the battery door and look for a small button and LED light. That is the pairing control. On a Voice Remote Pro, look for a USB charge port and a mic switch. If none of these exist, you likely have an IR remote that does not pair at all.
Identifying the exact remote type sets up every fix that follows. With that clear, handle the fastest wins next: basic checks most people miss.
Quick Checks Most People Miss
Simple issues cause many remote failures. Batteries fail. Sensors get blocked. Distance and lighting ruin line of sight. Before deep troubleshooting, rule out these basics.
Replace and reseat batteries correctly
Use fresh, name‑brand batteries. Insert them with the correct polarity. If you just replaced them, press and hold any button for five seconds to wake the remote. For a Voice Remote Pro, plug it in and charge for at least 30 minutes before testing.
Verify line of sight and distance
IR remotes require a clear path between the remote and the TV sensor. Stand 5 to 15 feet away and point toward the lower bezel where the sensor often sits. Voice remotes work over radio, but range still matters. Stay within 20 to 30 feet and avoid thick walls or metal racks that block the signal.
Remove obstructions, bright light, and reflective surfaces
Soundbars, set‑top boxes, and decor often sit in front of the sensor. Move them or raise the TV slightly. Strong sunlight or fluorescent glare can swamp IR. Dim lights or shift the TV angle. Wipe the remote front and TV sensor with a soft cloth.
If quick checks do not restore control, clear temporary glitches by power cycling your gear.
Power Cycle Everything
Power cycling removes transient bugs, resets wireless modules, and restores stable power. It is a low effort step with a high success rate.
Reboot your Roku TV or player
If the TV has a power button, press it to turn the set off, wait 10 seconds, then power back on. For a player, unplug and replug it. Watch for the Roku logo, then test your remote.
Unplug power for 60 seconds and try another outlet
Pull the power cord from the TV or player for a full minute. Plug into a known good outlet or a different surge protector to rule out voltage dips or unstable power strips.
For Sticks: use the HDMI extender and wall power
A streaming stick behind a TV runs hot and receives weak Wi‑Fi. Use the free HDMI extender to move it away from the back panel. Power it with the wall adapter, not a TV USB port. This reduces heat and increases wireless stability.
If the device restarts and the remote still fails, it is time to re‑pair a voice remote and confirm the link.
Re-Pair a Voice Remote Correctly
Voice remotes can lose pairing after updates, battery swaps, router changes, or device moves. A clean pairing restores the connection.
Hold the pairing button until the status light flashes
Open the battery door. Press and hold the pairing button for 5 to 10 seconds until the LED starts flashing. Stand near the Roku device while you do this. On Pro models, the pairing button may sit next to the charge port or inside the battery compartment.
Follow on‑screen pairing prompts and timing tips
Within 30 seconds, you should see a pairing notice on screen. Keep the remote close to the device until the process completes. If the screen never shows the prompt, restart the Roku and try again. Sometimes a second attempt after a reboot succeeds instantly.
If pairing fails, clear old pairing data first
Use the current remote if it partially works, or the mobile app as a temporary remote, to remove the old link. Go to Settings > Remotes and devices, remove the remote, restart the Roku, then pair again. Clearing stale data often fixes failed pair attempts.
If pairing works but commands lag or drop, the environment may be noisy. Improve wireless conditions next.
Fix Wi‑Fi and Interference Issues
Voice remotes rely on a stable wireless path. Congested channels, DFS bands, and nearby interference can cause missed presses, delay, or disconnects. Small changes to your network can stabilize everything.
2.4 GHz vs. 5 GHz considerations for remotes
Many Roku devices and remotes work well on 2.4 GHz due to longer range and wall penetration. If your router forces 5 GHz with DFS channels, the link may drop when radar events occur. Test both bands. Keep SSIDs visible and separate so you can choose the best band for the Roku.
Change router channels and reduce congestion
Log into your router and switch to a cleaner channel. On 2.4 GHz, use channel 1, 6, or 11. On 5 GHz, avoid DFS channels and pick a non‑overlapping option your environment favors. Place the router higher and closer to reduce obstacles.
Avoid DFS channels and interference from mesh nodes
If you have a mesh system, connect the Roku to the nearest node with a strong signal. Disable band steering if it causes frequent hops. Keep microwaves, cordless phones, and baby monitors away from the Roku and router line of sight.
Once wireless is stable, confirm you run recent software, as updates fix remote bugs and TV control quirks.
Update Roku OS and Remote Firmware
Updates address pairing problems, CEC conflicts, and random dropouts. A manual check ensures you have current builds.
System update path via Settings
Using a working remote or the mobile app, go to Settings > System > System update > Check now. Allow the device to download and apply new firmware. Reboot if prompted and retest the remote.
Remote firmware updates and what to expect
After a Roku OS update, the device may silently push a remote firmware update. Leave the Roku idle for a few minutes. If responsiveness improves after a short pause, the remote firmware likely updated successfully.
Confirm update success in System Info
Open Settings > System > About and note the software version and build. If you still see issues on current software, perform a clean reset of the remote and remove old pairing data.
If software is current and problems persist, reset the remote and clear the link so you can pair from scratch.
Reset the Remote and Clear Pairing Data
Stuck states and corrupt pairing data can block a healthy connection. A reset creates a clean slate and forces a new handshake.
Unpair sequence and battery pull
In Settings > Remotes and devices, remove the remote from the Roku. Pull the batteries out for 10 to 15 seconds or unplug the charger on a Pro remote. Reinsert power and try pairing again.
Secret RF reset or clear pairing menu
Some models provide advanced menus that let you clear RF data. Use the mobile app to navigate if your remote is unresponsive. Clearing RF memory prevents the device from clinging to a broken link.
Re‑pair from scratch and verify control
Hold the pairing button until the LED flashes. Complete on‑screen steps. Test navigation, Home, Back, and OK. Then test volume and power if your remote supports TV control. If only power or volume fails, address CEC and TV control settings next.
If navigation works but TV power or volume keys fail, your setup may need a quick reconfiguration.
Fix Volume/Power Buttons Not Working
Power and volume rely on IR codes or HDMI‑CEC. Misconfigurations block these keys even when the rest of the remote functions.
Reconfigure TV control setup
Go to Settings > Remotes and devices > Remotes > Set up remote for TV control. Follow the brand wizard. Confirm the TV mutes and unmutes or responds to volume steps during the test. Save the working profile.
Enable HDMI‑CEC on your television
Turn on CEC in your TV settings. Each brand uses a different name, such as Anynet Plus, Bravia Sync, or Simplink. Enable the option that allows control from connected devices. Then test the power and volume buttons again.
Test different HDMI ports and quality cables
Some HDMI ports handle CEC better than others. Move the Roku to a different port. Use a certified high speed HDMI cable. If you route through a soundbar or AVR, connect the Roku directly to the TV to isolate conflicts.
If your hardware remote still refuses to cooperate, the free Roku mobile app can bridge the gap and help you continue.
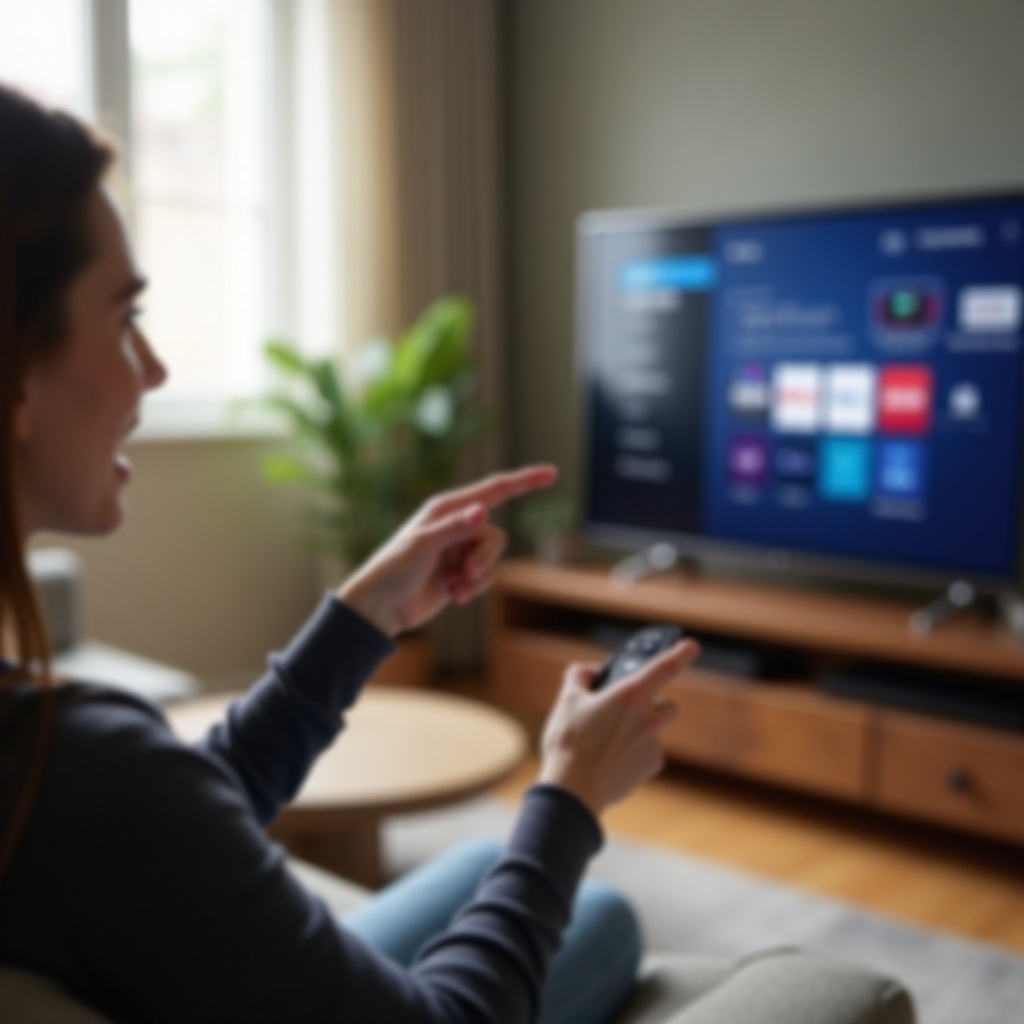
Use the Roku Mobile App as a Temporary Remote
The mobile app keeps you in control when the hardware remote fails. It also helps you navigate to pairing, update, and CEC settings.
Connect the app to the same Wi‑Fi network
Install the Roku app on iOS or Android. Ensure your phone and Roku share the same network. The app should discover the device automatically. If not, add it manually by IP.
Navigate to Settings to re‑pair your remote
Open the remote tab and move to Settings > Remotes and devices. Start the pairing process for the hardware remote. The app lets you complete on‑screen steps you could not reach otherwise.
Use Private Listening to validate audio controls
Enable Private Listening in the app and confirm audio output works. This separates network or app audio issues from TV volume or CEC problems.
If the app works but the IR remote still fails, test the IR hardware path and sensor health.
Check the IR Emitter and TV Sensor
IR remotes depend on a tiny LED in the remote and a clean IR sensor on the TV. A quick camera test and basic cleaning solve many IR failures.
Test the IR LED with a smartphone camera
Point the front of the remote at your phone camera. Press a button and look for a purple or white flicker on the screen. If you see no flicker, the LED or batteries may be dead. Replace batteries or consider remote replacement.
Clean the TV sensor and remote front
Dust, stickers, and fingerprints block IR. Wipe the TV sensor window and the remote face with a microfiber cloth. Avoid sprays and harsh cleaners that leave residue.
Reduce fluorescent lighting or direct sunlight
Bright ambient light can drown out IR signals. Dim overhead lights, close blinds, or adjust the TV angle. Then retest the remote from a moderate distance.
If IR and power look fine, a power or heat issue may still cause intermittent failures, especially with rechargeable models.
Resolve Battery Drain and Overheating
Excess drain and heat often result from stuck buttons, constant mic activity, or charge faults. Fixing these restores normal life and reliable control.
Use high‑quality batteries and replace in pairs
Do not mix brands or ages. Install a fresh matched set. If the remote recovers but dies again within days, test with a second set to rule out a bad batch of cells.
Voice Remote Pro charging best practices
Use a reliable cable and a wall charger. Charge to full, then disconnect. If the remote shows full but dies quickly, try a different cable or charger. Inspect the port for debris and clean gently if needed.
Disable hands‑free mic to reduce background drain
Turn the mic switch off on a Voice Remote Pro and test for a day. If battery life improves, keep hands‑free off or reduce wake word use. Also check for buttons that feel sticky or stuck and clean around the edges.
With power issues handled, confirm the player has a clean HDMI and power path, especially if you use a stick or compact player.
Address HDMI Port and Power Issues (Streaming Sticks/Players)
Tight spaces behind a TV trap heat and block radio signals. Weak TV USB power can cause random restarts that break remote links. Optimize both to stabilize the setup.
Use the HDMI extender for better Wi‑Fi reception
Move a streaming stick away from the TV body with the extender. This reduces interference from the TV chassis and improves cooling. Better airflow and less interference help both streaming and remote responsiveness.
Power the stick via wall adapter, not TV USB
TV USB ports often deliver low or unstable current. Use the included wall adapter. Stable power prevents surprise reboots and remote disconnects.
Check for loose, bent, or damaged connectors
Inspect HDMI and power connectors for damage. Reseat each connection firmly. If you see bent pins or a frayed cable, replace it. A poor connection can mimic software or pairing issues.
If your setup is still stubborn, small differences between devices and brands can matter. A few model‑specific notes can remove lingering confusion.
Model-Specific Notes for Roku TVs and Players
Roku TVs share the same OS as players but ship with different defaults, CEC behavior, and sensor placement. Streaming Stick and Ultra models also vary in Wi‑Fi sensitivity and heat output.
TCL, Hisense, and Onn Roku TV quirks
These sets sometimes ship with partial CEC enabled. Open the TV menu and fully enable CEC and ARC. The IR sensor often sits low on the bezel and gets blocked by soundbars or center channel speakers. Adjust placement or raise the TV slightly.
Streaming Stick 4K and Ultra setup tips
Use the HDMI extender for any stick model. For Ultra, prefer a rear HDMI port away from other crowded inputs. If you use Ethernet on Ultra, ensure the cable is not pinched and route it away from power bricks to minimize interference.
Soundbar and AVR passthrough conflicts
Soundbars and AVRs can hijack CEC. If power or volume behaves unpredictably, temporarily connect the Roku directly to the TV and retest. Then reintroduce the soundbar with CEC disabled or fine tuned.
If you have tried every fix and the remote still fails, replacement becomes the most efficient next step.
When to Replace the Remote (Compatibility and Options)
Hardware fails due to drops, spills, or component wear. A new remote can save hours of trial and error and often costs less than a premium HDMI cable.
OEM vs. universal remotes
An OEM Roku remote pairs quickly and supports voice and TV control features. A universal remote may work for basic navigation but can miss voice functions, app keys, or TV brand codes. Pick OEM if you want the smoothest setup.
Compatibility by Roku model and generation
Open Settings > System > About and note the model number. Buy a remote marked compatible with your exact model, whether it is a Roku TV, Streaming Stick, Express, or Ultra. Check the product page for compatibility lists.
Pairing expectations and return policies
Expect a simple pairing process. Keep receipts and confirm return windows in case the unit arrives defective or incompatible. Test all keys, including power and volume, on day one.
Even after you fix the problem, a few preventive habits keep the remote reliable for the long haul.
Preventive Care and Best Practices
Good habits around software updates, network hygiene, and power handling reduce future remote headaches.
Keep Roku OS and remote firmware updated
Run system updates monthly. After an update, leave the device idle for a few minutes so the remote firmware can apply in the background. Reboot once more and retest.
Router placement and channel hygiene
Place the router high and central. Use channels with minimal overlap. Keep the Roku and router away from dense metal, aquariums, and thick masonry that absorb or reflect radio signals.
Battery care, storage, and cleaning
Use high quality batteries and replace them in pairs. Wipe the remote monthly and keep liquids away. Store remotes out of direct sun and away from heaters to protect internal components.
These habits protect your fixes and prevent the return of hard to trace failures.
Conclusion
Most cases of my Roku remote will not work boil down to a short list of causes: batteries, blocked sensors, pairing glitches, wireless congestion, outdated software, or CEC mismatches. Start with identifying the remote type. Then work through quick checks, power cycling, pairing, network tuning, and updates. Use the mobile app as a backup, test IR and sensors, and stabilize HDMI and power for sticks. If problems persist, consider model quirks and replace the remote if hardware seems faulty. Follow this path and you usually restore smooth control in minutes, not hours.
Frequently Asked Questions
Why does my Roku remote keep disconnecting?
Most dropouts come from wireless congestion or unstable power. Move the Roku closer to the router or switch to a cleaner Wi‑Fi band. Avoid DFS channels on 5 GHz and use channels 1, 6, or 11 on 2.4 GHz. Power sticks from the wall adapter, not a TV USB port. Update Roku OS and leave the device idle a few minutes to allow remote firmware updates. If issues remain, remove the remote in Settings, reboot, and pair again.
My Roku remote works in menus but not inside apps. What is wrong?
That pattern points to network lag, app bugs, or CEC setup gaps. Improve Wi‑Fi signal, then restart the Roku and check for updates. If only volume or power fails inside apps, rerun TV control setup and enable CEC on the TV and any soundbar. Test another HDMI port and a certified cable. If one app alone misbehaves, reinstall that app and retest.
Can I use my phone as a permanent Roku remote?
Yes. The Roku mobile app provides full navigation, search, keyboard entry, and Private Listening over Wi‑Fi. Keep the phone and Roku on the same network and set your router to stable channels. For households or guests, consider an OEM hardware remote as a backup so control does not depend on a single phone or network profile.