
Why Is My Altec Lansing Speaker Not Turning On? A Complete Troubleshooting Guide
Introduction
Your Altec Lansing speaker refuses to power up, and you need an answer now. This guide gives you a clear path from quick checks to deeper fixes. You will start with the basics that solve most power problems. Then you will work through battery recovery, port cleaning, reset sequences, and firmware checks. You will also learn what the LEDs and tones actually mean. Finally, you will see when to stop and call in a warranty or choose a replacement.
The steps build on each other to save time and avoid repeated work. Even if you believe the battery is dead, confirm power delivery first. Many speakers that seem dead are only starved of clean power. Follow each section in order. By the end, you will know the exact reason your Altec Lansing speaker will not turn on and the fastest fix to get your music back.
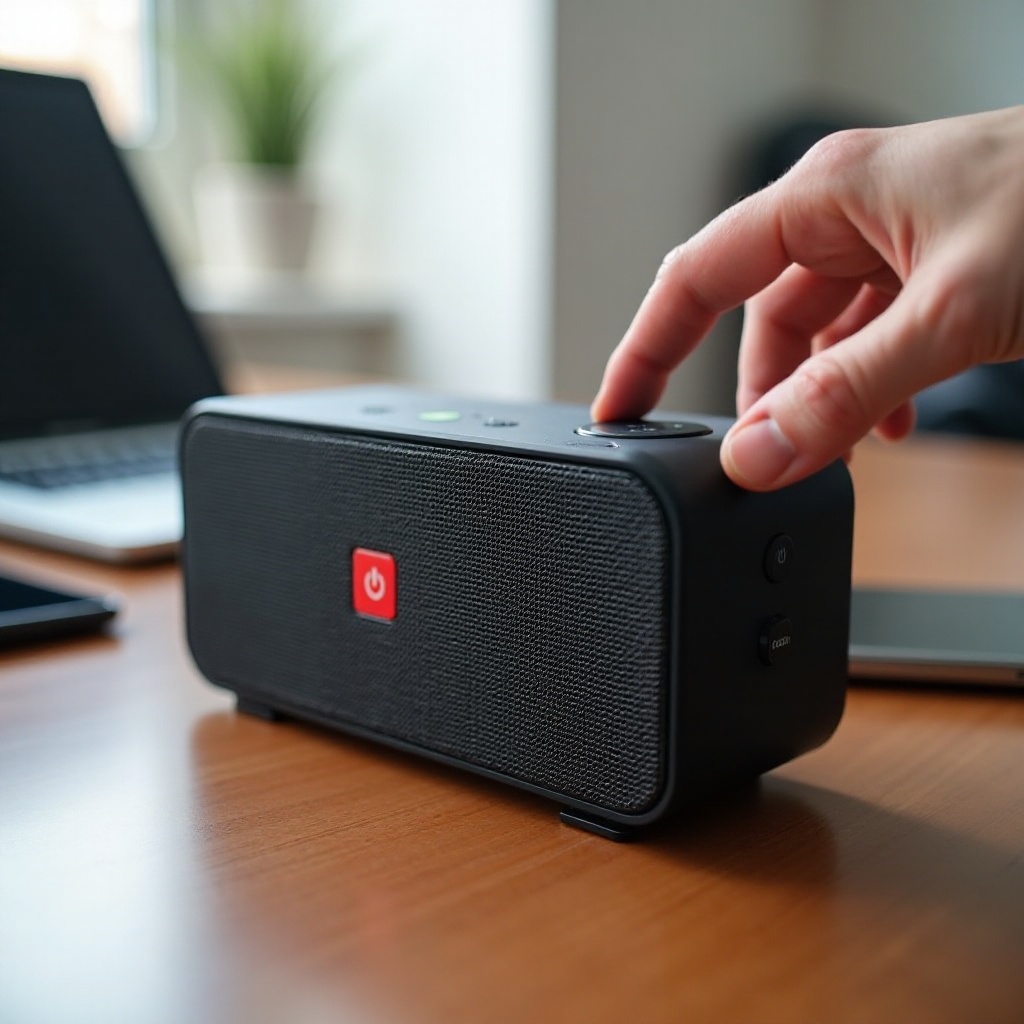
Quick Answer: Top Reasons Your Altec Lansing Speaker Won’t Power On
You can often spot the cause from a few clues. Use these quick reasons to decide where to start.
Deeply discharged or failing battery
- A battery left empty for days or weeks can sleep so deep that it will not boot until it pre-charges.
- An aging battery may power on only while plugged in. That points to end of life.
- Rapid shutoff after a full charge also signals cell wear.
Underpowered or faulty charger/cable
- A weak adapter or a long, thin cable can starve the speaker.
- Many models need a steady 5V at 2A for recovery.
- Frayed connectors or oxidized pins cause voltage drop.
Debris or damage in the charging port
- Lint, dust, or corrosion blocks power transfer.
- Bent or loose pins create intermittent charging and random restarts.
Stuck or failed power button
- A stuck key can hold the device in an off or boot loop state.
- Mushy or non-clicky feel hints at mechanical wear.
These clues guide your first moves. Next, lock down safety so you do not make a fix turn into damage.
Safety First: What Not to Do Before Troubleshooting
Quick wins matter, but safety comes first. The wrong move can turn a minor issue into a dead speaker or worse.
Don’t pry open or puncture the battery
- Lithium cells can vent or ignite if pierced or crushed.
- Avoid DIY battery swaps without the right tools and training.
Avoid jump-start myths and unsafe power sources
- Never feed the battery pins directly with bench supplies.
- Use certified USB power that matches your model specs.
Keep moisture away and skip rice-in-a-bag tricks
- Rice does not fix corrosion and can shed dust into ports.
- If the unit is wet, use controlled dry-out, not heat guns or hair dryers.
With risks out of the way, you are ready to match your model and its exact power needs.
Identify Your Model and Power Requirements
Different Altec Lansing series use different ports, adapters, and reset combos. A correct ID prevents guesswork and speeds up the next steps.
Find the exact model name and series
- Check the bottom label, inside the port flap, or the box.
- Note the family: LifeJacket, Jacket, Boom, Hydra, and others.
Micro-USB vs USB-C vs DC barrel inputs
- Match the cable to the port type you see.
- Some larger units use a round DC barrel with a fixed voltage.
Check voltage/amp specs and IP rating
- Most USB-charged models accept 5V; many prefer 2A for faster recovery.
- IP ratings like IP67 help you judge water exposure and drying steps.
Now that you know the model and the charging spec, confirm clean power delivery. Many dead-on-arrival claims end here.
Step 1: Verify Power Source, Charger, and Cable
Stable power is the foundation for every other test. Rule out outlets, adapters, and cables before you touch anything else.
Test with a known-good wall outlet and adapter
- Plug the adapter directly into a wall outlet that you know works.
- Avoid laptop or TV USB ports for recovery; they often supply less than 1A.
- If possible, confirm with a second outlet in another room to rule out wiring quirks.
Use a 5V/2A (or higher, safe) charger when supported
- Start with a 5V/2A adapter for most USB-charged models.
- For USB-C units that support power delivery, a reputable PD charger will negotiate a safe profile.
- Avoid no-name or very old adapters that can droop under load.
Swap to a high-quality, short cable
- Use a 0.5 to 1 meter cable rated for charging.
- Inspect for cracks, bent plugs, or grime on contacts.
- Try at least two different cables to rule out hidden damage.
Eliminate power strips and try direct wall power
- Long extensions and surge protectors can add resistance.
- Go straight to the wall to remove variables.
After setting a stable power chain, let the speaker charge undisturbed for 20 to 30 minutes. Then press and hold the power button for up to 5 seconds. If nothing changes, move on to the charging port.
Step 2: Inspect and Clean the Charging Port Safely
A blocked or corroded port can mimic a dead battery. Clean contact often brings the unit back with no further work.
Visual check with light for lint, bent pins, corrosion
- Use a bright light to scan inside the port.
- Look for fibers, dust, green or white crust, or misaligned pins.
- Gently insert the plug. If the port feels loose or the fit is sloppy, note it.
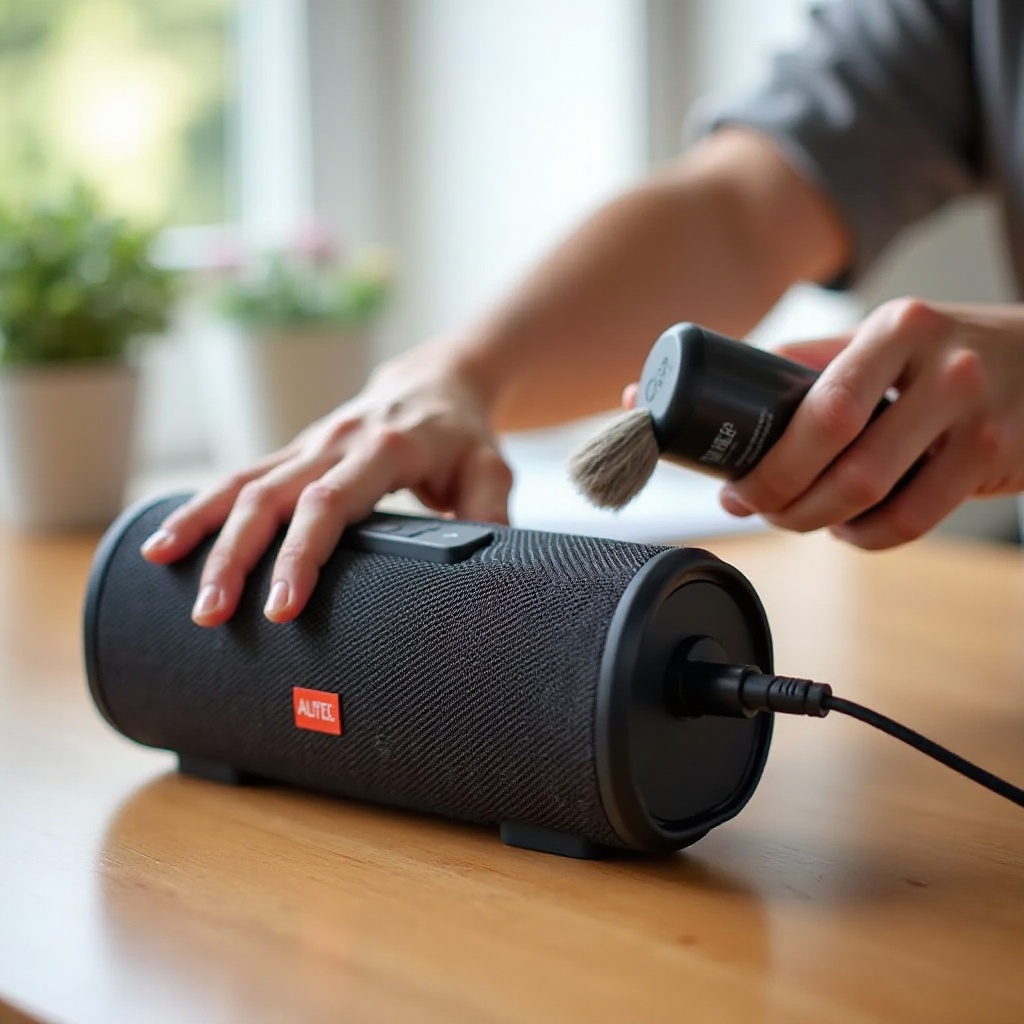
Clean with a soft brush and isopropyl if needed
- Power off and unplug first.
- Start with a dry, soft-bristle brush to remove loose debris.
- For residue, apply 90 percent or higher isopropyl alcohol to a wooden toothpick or brush. Lightly wipe and let it air dry.
Watch for loose jack movement and intermittent charge
- Connect a cable and gently wiggle. If the LED flickers or disconnects with tiny movements, the jack may be cracked off the board.
- Do not force the cable. For a loose jack, seek professional repair.
Once the port is clean and stable, reconnect to your known-good charger and cable. If LEDs still misbehave or stay dark, decode the indicators next.
Step 3: Read LED Indicators and Beep/Chime Patterns
Lights and tones are status messages. They tell you whether the battery is low, charging, or if the speaker is shutting down to protect itself.
Solid red vs blinking red vs no light
- Solid red while plugged in often means charging.
- Blinking red can mean low battery or a charging fault.
- No light can mean deep discharge, a blown LED, or no power reaching the unit.
Power-on chimes that cut out quickly
- A chime followed by a quick shutdown points to a weak battery.
- Try powering on while connected to your strong wall charger.
Charging light that never turns solid
- If it blinks indefinitely, the battery may not accept a full charge.
- Leave it on a reliable adapter 30 to 60 minutes, then try again.
If these signals suggest deep discharge or battery wear, try controlled recovery next. If they hint at software quirks, a reset may clear them. Start with battery recovery either way to give the system enough power to respond.
Step 4: Battery Health and Deep-Discharge Recovery
A flat battery behaves differently than a failed one. The goal is to wake a sleeping pack without stress and then judge its health.
Pre-charge 20 to 30 minutes before power-on attempts
- Plug into your confirmed 5V/2A adapter without pressing any buttons.
- After the pre-charge, hold the power button for up to 5 seconds.
- If it starts, leave it plugged in to reach a full charge before testing unplugged.
Try powering on while plugged into a stable charger
- If the speaker only stays on while plugged in, the battery likely has high internal resistance.
- Play at low volume for 10 to 15 minutes while charging. Then unplug and test.
Signs the battery is at end of life
- Rapid shutdown when unplugged even after a long charge.
- Excess heat or swelling during charging.
- Run time under 15 to 30 minutes at moderate volume.
If the battery holds some charge but behavior is odd, firmware may be confused. Move on to reset sequences to clear software blocks.
Step 5: Reset Sequences by Series (Jacket, LifeJacket, Boom, Hydra)
A reset can clear glitches that prevent a normal boot. Use the button combo for your series. Keep the speaker on charge while you try these steps.
LifeJacket or Jacket: power plus volume combo reset
- With the unit connected to power, press and hold Power and Volume Up for 7 to 10 seconds, then release.
- If no response, try Power and Volume Down for 7 to 10 seconds.
- Watch for a short LED flash or chime.
Boom or Hydra: mode plus power combo reset
- Press and hold the Mode or Bluetooth button along with Power for 7 to 10 seconds.
- Release and wait a few seconds for lights or tones.
Factory reset cautions and pairing memory clear
- A factory reset wipes paired devices and custom settings.
- After reset, delete the speaker from your phone Bluetooth list.
- Re-enter pairing mode and pair fresh to avoid old conflicts.
If a reset changes nothing or the speaker powers off again, the environment may be causing lockouts. Check heat and moisture next.
Step 6: Overheating, Moisture, and Environmental Lockouts
Protection circuits can block charging or power-on when the device is too hot or damp. These safeguards prevent damage but can be confusing.
Thermal protection and cooldown waits
- If the speaker feels warm, unplug it and let it rest in a cool, dry room for at least 30 minutes.
- Avoid charging while hot; charging adds heat.
Post-splash dry-out procedure for IP-rated models
- Power off. Open all port covers.
- Wipe external water with a lint-free cloth.
- Air-dry with gentle airflow for 24 hours. Do not bake or use hair dryers.
Avoid charging in heat or high humidity
- Charging in a hot car or steamy room can trigger shutdowns.
- Use a ventilated, room-temperature space for both charging and tests.
With temperature and moisture under control, turn to software. Firmware updates and clean pairing often resolve stubborn behavior.
Step 7: Firmware, App, and Bluetooth Conflicts
Software can stall startup or cause quick shutdowns after a chime. A clean install and fresh pairing removes many hidden conflicts.
Update via the Altec Lansing app when available
- Install the official app if your model supports it.
- Keep the speaker plugged in during updates.
- Follow prompts and do not interrupt the process.
Clear paired devices and re-pair cleanly
- On your phone, remove the speaker from Bluetooth devices.
- After a reset, put the speaker into pairing mode and connect fresh.
- Test with a second phone or tablet to isolate device-specific issues.
Reset phone or tablet Bluetooth cache
- Turn Bluetooth off and on or reboot your phone.
- Update your phone OS if updates are pending.
If software steps make no difference and the unit still will not stay on, look for clear signs of hardware failure.
Step 8: Hardware Red Flags: When to Stop DIY and Seek Service
Some symptoms point to physical faults that DIY cannot safely fix. Stop and protect your device and your safety if you see these.
Swollen battery, burnt smell, or hissing
- Discontinue use immediately if you notice swelling, odor, or noise from inside.
- Do not charge a compromised battery.
Rattling parts or non-responsive buttons
- Loose internal parts or dead buttons indicate mechanical failure.
- These issues need skilled repair and often soldering.
Visible liquid ingress or corroded contacts
- Green or white crust around ports signals corrosion.
- Corrosion can spread and break traces over time.
If any red flag appears, shift to repair or replacement choices. The right decision depends on warranty status, repair cost, and the value of your time.
Repair, Warranty, and Replacement Decision Tree
Protect your investment by choosing the most cost-effective path. Use these checkpoints to decide quickly.
In-warranty steps, receipts, and RMA
- Check your purchase date and warranty terms on the brand site.
- Collect proof of purchase, model, and serial number.
- Contact support for troubleshooting records and an RMA if eligible.
Out-of-warranty repair cost vs value
- Request a quote for common fixes like port or button replacement.
- Compare the price to a new unit with modern features.
- Factor in shipping costs and time without the speaker.
Replacement criteria and recommended specs
- Replace if you see battery swelling, heavy corrosion, or repeated faults.
- Look for USB-C charging, IP67 water resistance, and at least 10 watts output.
- Consider battery size and rated playtime for your typical volume.
Once you repair or replace, build habits that keep the next battery healthy and avoid another no-power moment.
Prevention: Charging Habits and Care Tips That Extend Lifespan
Small habits prevent deep discharges, port wear, and thermal stress. These tips reduce the odds of another power failure.
Monthly maintenance charges and partial cycles
- If you store the speaker, leave it around 50 to 80 percent charge.
- Top up monthly to keep the battery in its comfort zone.
- Avoid leaving it at 0 or 100 percent for long periods.
Optimal storage temperature and humidity
- Keep the unit in a cool, dry place away from sun or heaters.
- Do not leave it in a hot car or damp bathroom.
Cable and adapter best practices and port hygiene
- Use short, good-quality cables and known-good adapters.
- Keep port covers closed outdoors and wipe away dust.
- Inspect the port occasionally and clean gently when needed.
Healthy charging and storage cut down on deep discharge events and port problems. That means fewer surprises the next time you press the power button.
Conclusion
You now have a structured plan to fix a non-starting Altec Lansing speaker. First, confirm clean power with a proven outlet, adapter, and cable. Then clean the port and watch the LEDs and chimes for clues. Revive a deeply drained battery with a patient pre-charge. If the unit wakes, keep it on charge for a full cycle and test unplugged. If not, apply the reset combo for your series, clear Bluetooth pairings, and check for firmware updates.
When heat, moisture, and software do not explain the failure, look for hardware red flags like swelling, corrosion, or loose parts. At that point, decide between warranty service, paid repair, or replacement using a simple cost and benefit check. Finally, protect your next battery with smart charging and storage habits. Follow this path and you will answer the question many ask: why is my Altec Lansing speaker not turning on, and you will get back to your music with confidence.
Frequently Asked Questions
Why does my Altec Lansing speaker only turn on when it’s plugged in?
That behavior usually means the battery cannot hold a charge. Use a known-good 5V/2A adapter and charge for 2 to 3 hours. If it shuts off within minutes once unplugged, the battery is at end of life. You can use the speaker while plugged in, but repair or replacement is the practical fix for portable use.
How long should I charge before assuming the battery is dead?
Allow a deeply discharged speaker 20 to 30 minutes of quiet pre-charge before pressing power. If there is no LED change or startup tone, leave it on a reliable adapter for up to 60 minutes. No signs of life after stable power and a clean port points to a bad battery, damaged charging jack, or internal fault.
Can I replace the battery in my Altec Lansing speaker myself?
Some models can be opened, but battery replacement is not always simple. You may damage seals, ports, or the board, and lithium cells require care. If you lack tools and experience, contact authorized service. In many cases, a replacement speaker costs less than sourcing the battery and paying for quality repair.