
Blink Camera Blinking Red and Not Connecting? The Complete Troubleshooting Guide
Introduction
A steady or flashing red LED on a Blink camera signals trouble with power, Wi-Fi, or account linking. You tap Live View and see errors. Motion clips do not upload. Alerts stop. You need a fix that restores service without wiping your whole setup. This guide delivers practical steps in a smart order. Start with quick wins to clear temporary glitches. Then tune Wi-Fi and router settings that often block low power devices. Check the Sync Module, run app diagnostics, and update firmware. Reset only when necessary. Along the way, you will learn how each LED pattern maps to a cause so you always take the right next step.
Now that the problem is defined, decode what the red light means by model. That helps you choose the fastest path to a stable connection.
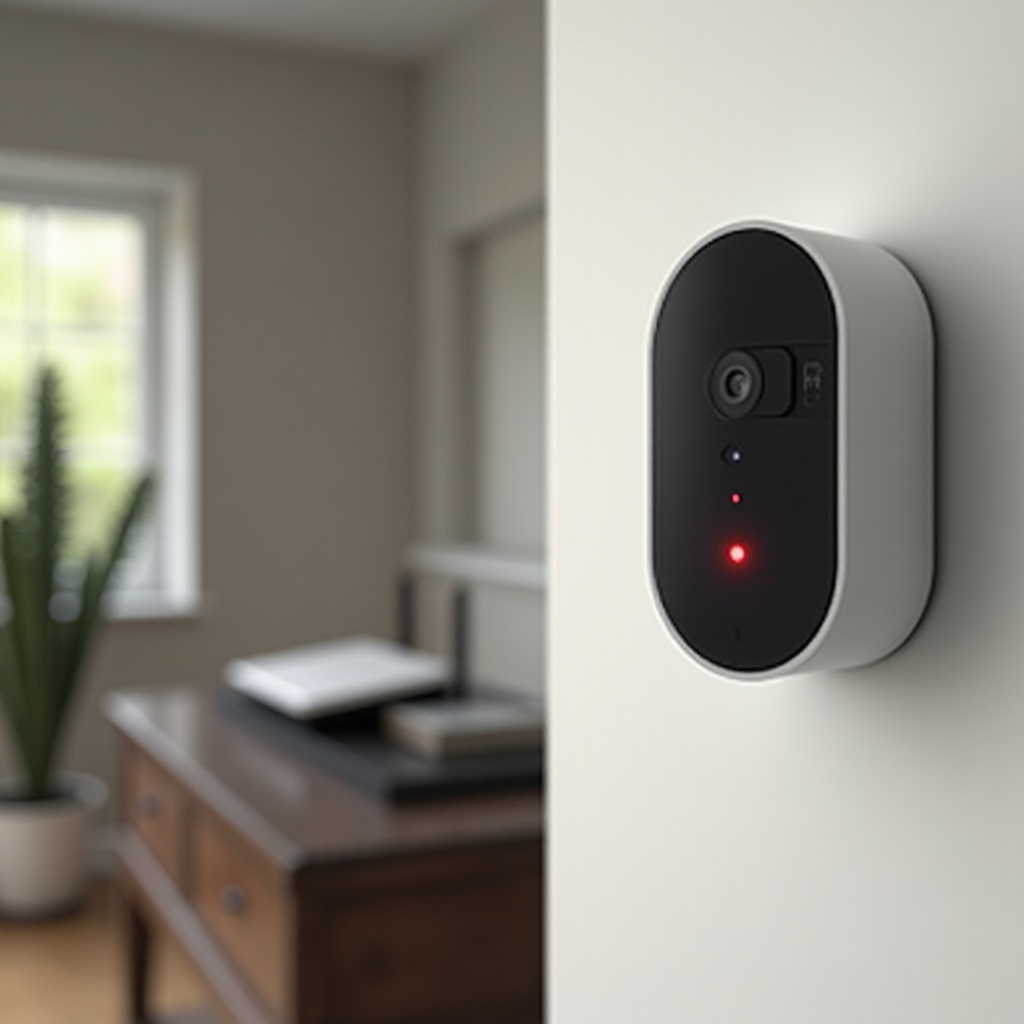
What the Red Light Means on Blink Cameras (By Model)
Reading the LED patterns prevents guesswork. Each model uses red and blue in slightly different ways. When you know what the light says, you can fix the exact root cause rather than try random changes.
Blink Outdoor or Indoor vs Mini vs Video Doorbell vs Floodlight
- Outdoor or Indoor on batteries: A blinking red light usually means the camera cannot reach Wi-Fi or the Sync Module. During setup, short red flashes indicate it is searching for a network.
- Mini on wired power: Red can indicate a network error or low USB voltage from a weak adapter or cable.
- Video Doorbell: Red flashes can appear during setup or after Wi-Fi changes. Hardwired installs may also show errors if the transformer or chime wiring is unstable.
- Floodlight: Red tends to indicate a network fault or a dip in supply power from the fixture.
Red vs blue LED behavior and error patterns
- Blue LED matches recording or Live View activity.
- Red flashing during setup means pairing or connecting.
- Persistent red after setup points at Wi-Fi, Sync Module, or cloud reachability.
Low battery red vs network red indicators
- Low battery can cause sudden red indications, especially in cold weather or after long night clips with IR LEDs.
- The Blink app will often show low battery warnings. Replace batteries first if you see both symptoms.
- If power looks fine and red persists, treat it as a network issue.
With the meaning of the lights clear, start with quick fixes that solve many cases in minutes. If those fail, you will optimize Wi-Fi next.
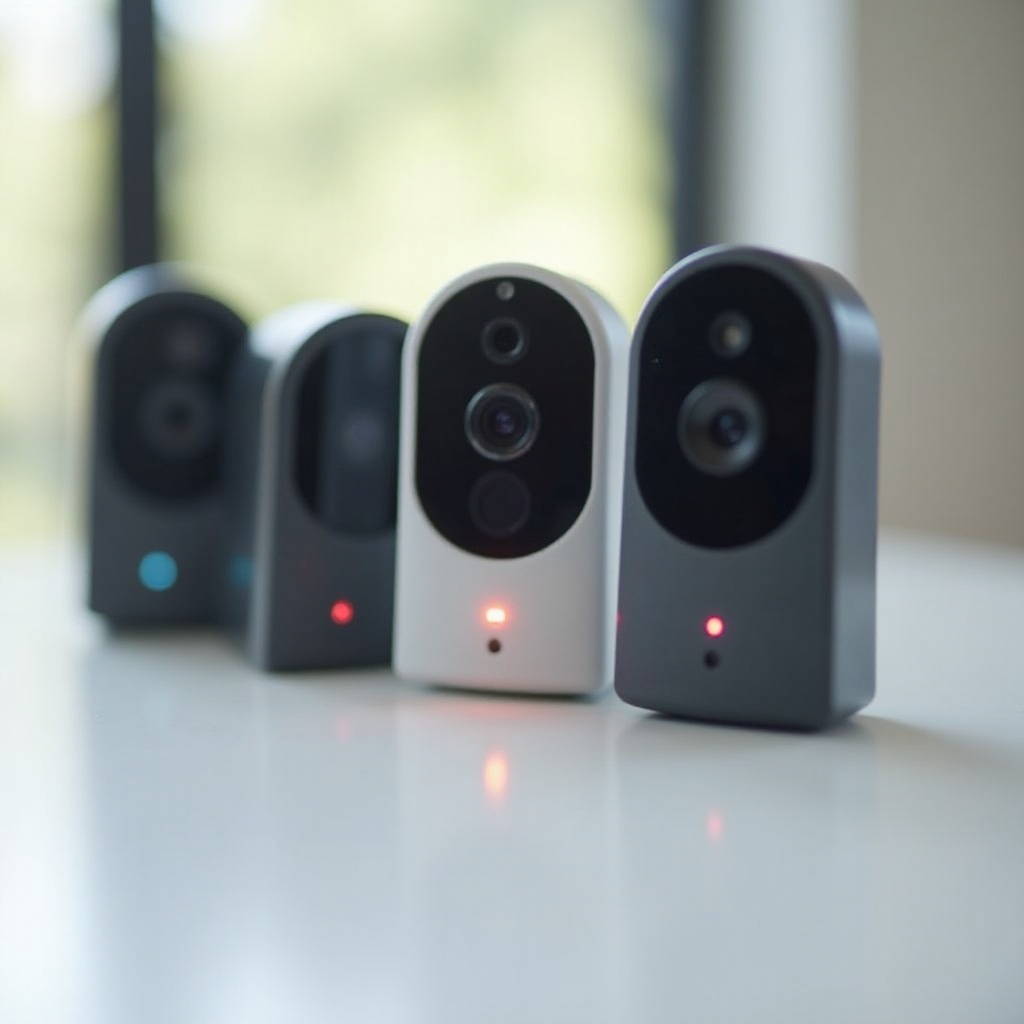
Quick Fixes to Stop the Red Light and Reconnect
You can remove most transient faults with a clean reboot sequence, better placement, and simple power checks. Work through these steps in order. Each step lays the groundwork for Wi-Fi tuning and app reconnection flows that follow.
Correct reboot order: modem, router, Sync Module, camera
1) Unplug the modem for 30 seconds, then power it on and wait for full Internet service.
2) Reboot the router and wait for Wi-Fi to return.
3) Unplug the Sync Module for 10 seconds, then power it back and wait for normal LEDs.
4) Power cycle the camera or reinsert batteries.
Move closer to the router or Sync Module and remove interference
- Bring the camera within one or two rooms of the Sync Module or router.
- Avoid metal objects, mirrors, and masonry between the devices.
- Keep cameras away from microwaves, baby monitors, or cordless phone bases.
Check batteries, USB power, and cable quality
- Use fresh AA lithium batteries for battery models. Rechargeables can sag under load.
- For Mini or other wired models, try a known good 5V and 1A or higher USB adapter.
- Replace long or thin USB cables that may drop voltage.
Temporarily disable VPNs, ad blockers, and MAC filtering
- Turn off device level VPNs and DNS blockers during testing.
- Disable router MAC filtering or add Blink device MAC addresses to the allow list.
- Use a simple SSID and password while you rule out character bugs.
If the red light continues after quick fixes, set your Wi-Fi to match Blink expectations. Stable Wi-Fi is the foundation for every later step.
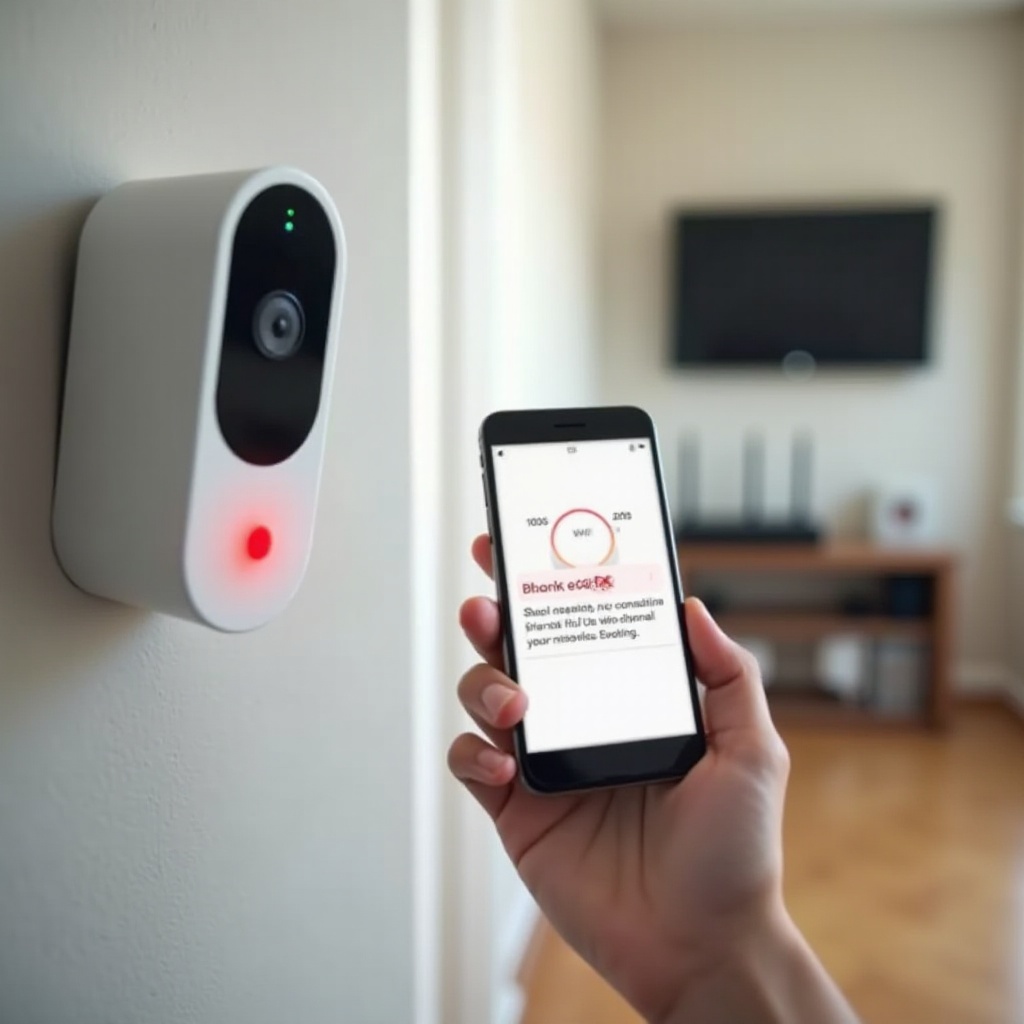
Wi-Fi Essentials for Blink: 2.4 GHz, RSSI, SSIDs, and Interference
Blink devices perform best on a clean 2.4 GHz network with strong signal and simple credentials. Before you change advanced router features, lock in these basics. They prevent drops during setup and make Live Read more reliable.
2.4 GHz only; separate or rename bands to avoid 5 GHz
- Blink does not connect to 5 GHz.
- If your router merges bands under one name, split them or disable band steering.
- Give the 2.4 GHz SSID a unique name to stop bouncing between bands.
SSID and password pitfalls and special characters
- Start with letters and numbers. Some routers mishandle special characters or extra long passwords.
- Avoid trailing spaces in SSIDs and passwords.
- Ensure SSID broadcast is on during setup.
Signal strength targets and what affects them
- Aim for RSSI about minus 55 to minus 65 dBm at the camera. You can check this in the Blink app.
- Thick walls, plumbing, and large appliances weaken signal.
- If RSSI is poor, move the Sync Module, add a closer node, or change channels to reduce interference.
When Wi-Fi basics look solid, check the router features that often block small IoT devices even when signal looks fine.
Router Settings That Make Blink Cameras Fail to Connect
Routers ship with security and roaming features that serve laptops but confuse low power devices. Adjust these settings to clear red LED errors and prevent surprise disconnects. Make one change at a time and test.
WPA2 AES vs WPA3 only and WEP or TKIP
- Set security to WPA2 PSK with AES. This is the most compatible mode.
- Avoid WPA3 only for Blink. Mixed WPA2 and WPA3 can work, but WPA2 only is safest.
- Avoid WEP and TKIP. They are insecure and can break new hardware.
Channel selection, bandwidth, and DFS
- Use 2.4 GHz channels 1, 6, or 11 to minimize overlap.
- Lock channel width to 20 MHz for stability.
- Avoid DFS and automatic channel hopping that pushes clients away.
DHCP, IP reservations, AP isolation, and firewall rules
- Keep DHCP on so the router assigns IP addresses.
- Optional: reserve IPs for the Sync Module and cameras to reduce churn.
- Turn off AP isolation or client isolation on your SSID.
- Allow outbound HTTPS. Do not block common cloud traffic for your IoT network.
Guest networks and captive portals
- Blink cannot pass captive portal login pages.
- If you must use a guest SSID, disable client isolation and any captive login.
- Use your main 2.4 GHz SSID for setup and daily operation when possible.
If you use a mesh or extenders, there are a few extra steps to make them friendlier to Blink devices and stop roaming problems.
Mesh Wi-Fi and Extenders: Settings to Stabilize Blink Connections
Mesh systems move clients between nodes. That can interrupt a low power camera during setup or streaming. Adjust roaming and band features so Blink devices remain on the best node. Then verify with a quick Live View test.
Band steering or Smart Connect and how to disable it
- Turn off band steering so Blink devices see only 2.4 GHz during setup.
- If your mesh requires steering, create a dedicated 2.4 GHz SSID for IoT devices.
Fast roaming and legacy device modes
- Disable fast roaming features such as 802.11k, 802.11v, and 802.11r on the IoT SSID if clients drop.
- Enable legacy or compatibility mode if the mesh offers it.
Node placement, backhaul quality, and extender caveats
- Place a node within two rooms of the Sync Module and cameras.
- Use wired backhaul where possible to cut congestion.
- Avoid chains of extenders. One solid node beats two weak extenders.
Tips for Eero, Orbi, Deco, and Google Nest systems
- Eero: turn off WPA3 temporarily; use 2.4 GHz legacy mode during setup.
- Orbi: set 2.4 GHz to 20 MHz and avoid Wi-Fi 6 only mode on IoT SSIDs.
- Deco: create an IoT network and disable fast roaming until everything pairs.
- Google Nest: if you cannot split bands, stage setup with a temporary 2.4 GHz hotspot.
With the network tuned, verify the Sync Module is healthy. It is the hub for cloud connectivity, and a weak module can keep cameras blinking red even on good Wi-Fi.
Check the Sync Module: LED States, Power, and Placement
The Sync Module bridges your cameras to Blink servers. If its LEDs or power are off, every camera can go offline. Confirm LED states, stable power, and a clean location before you reset anything.
LED decoder for green, blue, and red patterns
- Normal operation shows solid green and solid blue.
- Blinking green or no green points to router or Internet issues.
- Blinking blue means pairing mode or not linked to your account.
USB power specs, cable length, and surge protectors
- Use the included adapter or a high quality 5V 1A or better adapter.
- Keep cables short and sturdy to avoid voltage drop.
- Plug into a wall outlet. Some surge protectors and smart plugs can cause brownouts.
Ideal distance from router and cameras
- Place the Sync Module roughly midway between the router and the cameras.
- Avoid crowded shelves or cabinets full of electronics.
- Small moves of a few feet can improve RSSI for both the module and cameras.
Once the hub is healthy, use the Blink app to measure signal, verify device health, and reconnect cleanly without losing your recordings.
Use the Blink App to Diagnose and Reconnect Safely
The Blink app surfaces RSSI, firmware, and live status. It also guides you through safe reconnection that preserves your system. Move slowly and test after each change so you do not stack problems.
View RSSI, device status, and network diagnostics
- Open each camera settings page and check RSSI for both the camera and the Sync Module.
- Review any warnings about Wi-Fi or power.
- Run a Live View to test stream stability.
Remove and re add a camera without losing clips
- If Live View still fails, remove the camera in the app.
- Put the camera in setup mode and add it back to the same system.
- Cloud clips tied to the system remain. Local USB storage on the Sync Module stays on the drive.
Reconnect after SSID or password changes
- Use Camera Settings and select Change Wi-Fi, then follow prompts.
- Keep your phone on the 2.4 GHz SSID during setup.
- If the flow fails for multiple cameras, re add the Sync Module first, then add cameras one by one.
Account region, time zone, and two factor checks
- Make sure your account region and time zone match your location.
- Complete two factor authentication when asked.
- Sign out and back in if devices appear in the wrong region.
If the app still shows errors, update firmware and the Blink app. Many setup loops end after updates complete.
Update Firmware and the Blink App to Fix Red Light Errors
Firmware and app updates can resolve pairing loops and reliability bugs. Keep your devices online and powered so updates can apply, then retest Live View.
How updates roll out and how to trigger them
- Blink firmware rolls out automatically when devices are online.
- Leave the app open briefly, keep the device powered, and ensure Wi-Fi is stable.
- Update the Blink app from your app store to the latest version.
Signs your device needs a firmware update
- Live View fails often even with good RSSI.
- Red LED persists during setup on multiple cameras that used to work.
- The app prompts for an update or shows inconsistent LED states.
If updates do not resolve the red LED, reset carefully. Choose the lightest reset that matches your problem so you do not clear more than needed.
Safe Reset Procedures to Avoid Unnecessary Factory Resets
Resets fix stubborn faults, but they can also remove settings. Start with a reboot, then a network reset, and use a factory reset only as a last resort. Note device names, schedules, and zones before you begin.
Reboot vs network reset vs factory reset
- Reboot: completely safe and preserves all settings. Try this first.
- Network reset: clears Wi-Fi pairing but keeps device ownership. Use after SSID changes or router swaps.
- Factory reset: last resort. Removes the device from your account. You will need to re add it.
Model specific reset steps for Outdoor, Indoor, Mini, Doorbell, and Floodlight
- Outdoor or Indoor: press and hold the reset button until red flashes, then follow app prompts.
- Mini: unplug power, hold the reset while plugging in, release when the LED pattern changes.
- Doorbell: remove from bracket, press and hold the reset pin until red flashes.
- Floodlight: power cycle at the breaker, then use the camera button as directed in the app.
Sync Module short press vs long press
- Short press: enters pairing mode to re link the module to your account.
- Long press: factory resets the module. You will have to re add all cameras after.
- Use a short press first to avoid extra work.
If resets do not help, check network factors beyond your Wi-Fi. These can stop cloud access and trigger red LEDs even when local signal looks fine.
Advanced Network Checks for Persistent Red Light Issues
Sometimes the fault lies in how your router and ISP gateway handle traffic to the cloud. Tweak gateway mode, DNS, time sync, and security tools to restore stable connections while keeping your network safe.
ISP modem router combo in bridge or access point mode
- If you run your own router behind an ISP gateway, put the gateway in bridge or access point mode.
- Double NAT can break device discovery and Live View.
- Reboot both devices after changes.
DNS and NTP reliability and IPv6 quirks
- Use your ISP DNS or a reliable public DNS service.
- Ensure the router allows NTP so devices can set the correct time.
- If IPv6 creates instability, disable it on the IoT network and test again.
CGNAT, parental controls, and firewall considerations
- Carrier grade NAT can add latency or filtering. Note which service you use.
- Pause parental controls and content filters while you test.
- Allow outbound HTTPS and related services from the IoT VLAN or SSID.
If none of this works, confirm the issue is not with Blink cloud or your ISP. Outages can look like home network faults.
When It Is Not Your Setup: Blink Cloud, ISP, and Outage Checks
A healthy home network can still fail if the upstream service has problems. Verify Blink status and your ISP connection. A quick hotspot test can isolate the source.
Verify Blink service status and regional incidents
- Check official status pages or support channels for incidents.
- Watch for app banners that mention degraded service.
Identify ISP outages, throttling, and maintenance windows
- Test other cloud apps on the same network to compare behavior.
- Reboot the modem and check your provider outage page.
- Track time patterns that suggest scheduled maintenance.
How to test with a mobile hotspot safely
- Enable a 2.4 GHz hotspot on a phone for a brief test.
- Connect the Sync Module to the hotspot.
- If the camera works on the hotspot, focus on your ISP or router config.
If the services are normal, gather complete details before contacting support. A targeted ticket gets faster help and fewer back and forth messages.
When to Contact Blink Support and What to Gather First
A thorough report helps the support agent pinpoint the root cause on the first pass. Capture LED patterns, app screenshots, and your router details before you reach out.
Logs, LED photos, RSSI screenshots, and firmware versions
- Photograph camera and Sync Module LEDs.
- Save screenshots of RSSI and any error messages.
- Write down firmware versions, router model, channel, and security type.
Warranty, RMA indicators, and proof of purchase
- If new cameras fail on multiple networks, mention that in your ticket.
- Include purchase date and retailer for warranty checks.
- Ask about RMA only after power and network causes are ruled out.
Once you fix the problem, keep your system stable with a few simple habits. Preventive care saves time and stops surprise red LEDs before they start.
Prevent Future Disconnects: Power, Placement, and Network Hygiene
Blink cameras stay online with steady power, clean Wi-Fi, and routine checks. These small steps extend battery life, reduce interference, and keep Live View and motion clips flowing.
Battery best practices and temperature effects
- Use AA lithium batteries in Outdoor or Indoor models.
- Replace early before winter since cold drains cells faster.
- Reduce IR LED drain by trimming sensitivity or clip length at night if you record many events.
Router maintenance with firmware, channels, and scheduled reboots
- Update router firmware on a regular schedule.
- Recheck your 2.4 GHz channel after neighbors install new routers.
- Schedule a monthly overnight reboot to clear memory leaks.
Placement, interference, and enclosure tips
- Avoid metal housings and thick stone that weaken signals.
- Do not trap cameras in tight soffits where heat can build up.
- Keep clear sight lines to the Sync Module when you can.
Smart home integrations and routine verification
- Re link voice assistants and routines after any Wi-Fi changes.
- Test Live View weekly from the app to catch issues early.
- Review RSSI and storage status monthly to prevent surprise failures.
Conclusion
You can fix a blink camera blinking red and not connecting with a focused plan. Start with a clean reboot order and simple power checks. Lock your Wi-Fi to 2.4 GHz, WPA2 AES, and a clean channel. Tame mesh features that force roaming. Confirm the Sync Module has solid power and correct LED states. Use the app to measure RSSI, change Wi-Fi, and re add devices without losing clips. Update firmware and the app, then reset only what you must. If the issue persists, test with a hotspot, gather details, and contact support. These steps restore Live View, motion clips, and alerts, and they keep your system stable going forward.
Frequently Asked Questions
Why is my Blink camera blinking red even with full Wi-Fi bars?
Full bars show signal but not compatibility. Set 2.4 GHz with WPA2 AES and 20 MHz channel width. Turn off band steering and fast roaming for the IoT SSID. Keep DHCP on and AP isolation off. Reboot modem, router, Sync Module, then camera. Try channels 1, 6, or 11 and test Live View near the router. If it works only when close, improve placement or add a nearer node.
How do I reconnect a Blink camera after changing my Wi-Fi password or router?
First set your router to 2.4 GHz with WPA2 AES and a simple password. Power cycle modem and router. In the Blink app, use Camera Settings and tap Change Wi-Fi. If that fails, remove and re add the camera. If several devices fail, re add the Sync Module first, then add cameras one by one near the router. Keep your phone on the same 2.4 GHz SSID while pairing.
Does a factory reset delete my Blink recordings, and when should I do it?
A factory reset removes the device from your account and clears settings. Cloud clips tied to your account stay, and local USB clips remain on the drive. Only factory reset after you try reboots, network resets, firmware and app updates, and safe re add steps. Use a short press on the Sync Module first; long press only if pairing fails on known good Wi-Fi and power.