
Blink Doorbell Blinking Red and Blue: Meanings and Fixes (2026 Guide)
Introduction
A flashing doorbell grabs attention, especially when it alternates red and blue. Those colors are status codes. Your Blink doorbell uses LED patterns to show setup state, authentication failures, low power, updates in progress, or active recording. Decode the pattern and you can solve problems without guesswork.
This guide starts by translating the most common red and blue patterns. Then it moves into quick checks that fix many issues in minutes. From there, you will get step by step network fixes, power and wiring corrections, safe reset procedures, and advanced router tips for mesh networks. Each section builds on the last so you can stop as soon as the light clears. When you finish, your doorbell should show a calm blue only during live view or recording and remain quiet the rest of the time.
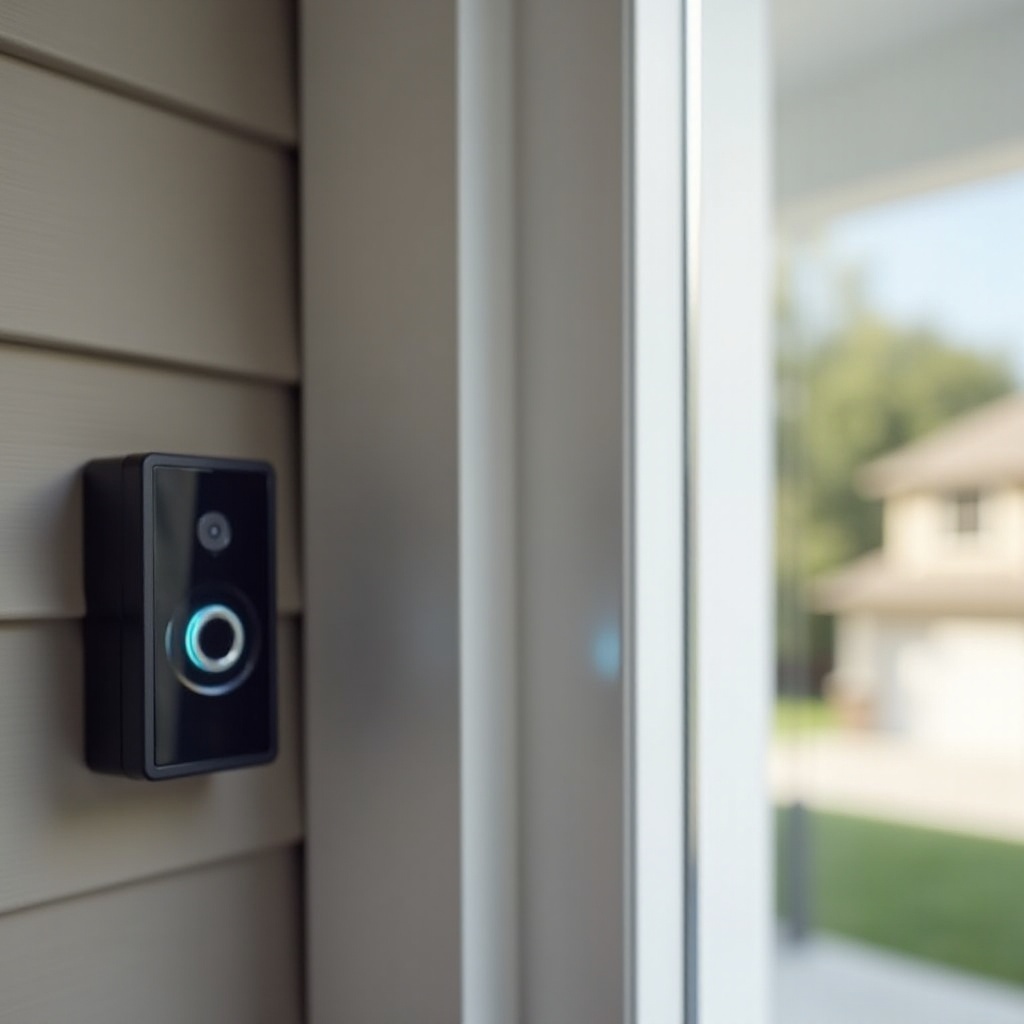
What Red and Blue Blink Patterns Mean
With the basics set, let us map patterns to causes. Matching the LED to the right category prevents unnecessary resets and rewiring. Check the app as you read. Device Health and signal readings provide context that confirms what the LED is telling you.
Fast red blinking
Fast red flashes usually mean the doorbell cannot reach your Wi Fi or Blink servers. It may also warn about low battery on battery powered setups, especially in cold weather. If the app shows Offline, treat it as a network problem first. If the app shows Low battery, focus on power. Avoid repeated button presses when red flashing appears. Each press draws current and can make a marginal battery or transformer sag further.
Alternating red and blue
Alternating red and blue often appears during setup or after a failed Wi Fi change. It can also show when a firmware update did not complete. If it persists beyond a few minutes, the doorbell likely failed to authenticate with the network or lost power during an update. Do not force power off mid update. Give it several minutes. If the pattern continues, proceed to the network and reset sections.
Solid blue vs slow blue pulse
Solid blue indicates active recording, a doorbell press, or live view. A slow blue pulse can appear during pairing or after certain app commands. If a steady blue persists without events, you may have a stuck live view or delayed firmware cleanup. Close any live view, wait a minute, and check the app for the latest status.
Quick Checks Before Troubleshooting
You know what the light suggests. Now clear simple glitches before diving deeper. These checks take moments and often restore normal operation. If the LED remains red or red blue, you will move into focused network and power fixes.
Internet and router status
- Verify your internet works on a phone connected to the same Wi Fi network.
- Power cycle the router and modem: unplug for 30 seconds, plug back in, wait 2 minutes.
- If you use a Sync Module, unplug and replug it after the router is fully online.
- Confirm your phone can load the Blink app and reach the device list.
Battery level and proper seating
- Open the doorbell and check that both AA batteries seat firmly with clean contacts.
- Review battery status in the app. Replace low batteries with fresh, high quality AA lithium cells.
- If wired, ensure the faceplate sits tight, terminals are snug, and no wires are loose.
App and firmware updates
- Update the Blink app to the latest version from your app store.
- In Device Settings, check for firmware updates and apply when prompted.
- Do not interrupt power or Wi Fi during updates.
Fix Connectivity Causes
If quick checks do not clear the light, address Wi Fi. The Blink doorbell relies on a strong 2.4 GHz signal more than raw speed. Correct SSID selection, clean channel settings, and proper authentication fix most red blink loops. After each change, wait up to a minute to reconnect before trying another step.
2.4 GHz SSID and correct password
- Confirm the doorbell uses 2.4 GHz. It does not join 5 GHz.
- If your router merges 2.4 and 5 GHz under one name, temporarily split them or turn off band steering during setup.
- In the app, run the change network flow and reenter the password carefully. One wrong character keeps the doorbell in a red blink loop.
- Avoid special characters in SSID names during setup to reduce parsing errors.
Channel congestion and RSSI signal strength
- Open Device Health in the app and review RSSI. Aim for a strong, stable reading.
- Move the router closer to the door or add a mesh node or extender near the entry.
- In router settings, set 2.4 GHz channel width to 20 MHz and prefer channels 1, 6, or 11.
- Keep the doorbell away from metal mail slots, brick cavities, or dense foil insulation that block signals.
Guest networks, captive portals, and MAC randomization
- Do not use guest networks that isolate devices. Isolation blocks doorbell to Sync Module communication.
- Avoid networks that require a browser login. The doorbell cannot complete captive portal prompts.
- When pairing, disable private MAC or randomization on your phone to prevent mismatched credentials. You can re enable it later for normal phone use.
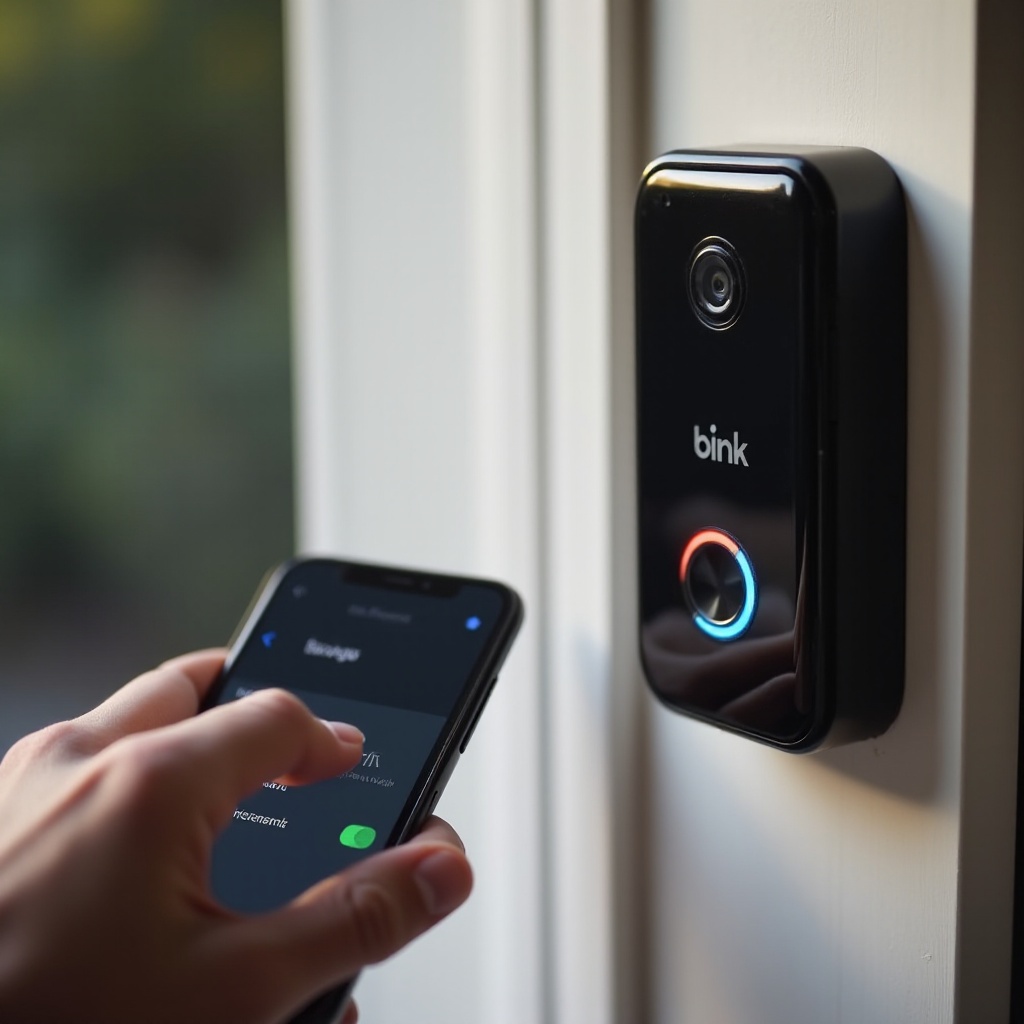
Fix Power and Wiring Issues
Strong Wi Fi means little if power sags. If you still see red or red blue after network fixes, check power. The doorbell can run on batteries or a doorbell transformer. Batteries that are weak or cold, or a transformer with low voltage or insufficient VA, can cause unstable behavior. After adjustments, retest and confirm the LED clears.
Battery only setup and temperature limits
- Use fresh AA lithium batteries from a reputable brand. Avoid alkaline cells which can sag under load.
- Cold weather lowers battery voltage under load and can trigger red blinks. Bring the device indoors to warm, swap batteries, and retest.
- Reduce power draw while troubleshooting: shorten clip length, lower motion sensitivity, and avoid rapid live view tests.
- Check that the battery contacts are clean and springs are not bent.
Wired setup and transformer specifications
- Confirm the transformer voltage and VA meet the doorbell needs. Many homes use 16 to 24 VAC with sufficient VA for smart doorbells.
- If you upgraded your chime or added accessories, recheck compatibility inside the app.
- Use a multimeter at the doorbell screws. If voltage dips when you press the button, the transformer may be undersized or wiring may be resistive.
- Replace aged transformers that run hot or fail to hold voltage under load.
Chime compatibility and wiring checks
- Follow Blink wiring guidance for mechanical versus digital chimes.
- Tighten terminal screws and inspect for corrosion. Clean lightly if needed.
- Verify any bypass or power kit sits in the correct location and that its connectors lock in place.
- Ensure wire insulation does not get trapped under terminal plates.
Update or Change Wi Fi Without Errors
Many red blue loops start after a Wi Fi change. You can avoid them with clean SSID naming, correct security, and the proper in app flow. If a change fails, you can still recover without losing clips or your system.
Preparing your network and naming SSIDs
- Use a clear 2.4 GHz SSID without unusual symbols.
- Temporarily disable band steering or create a separate 2.4 GHz name for setup.
- Set security to WPA2 or WPA2 WPA3 mixed mode. Avoid WPA3 only for older IoT compatibility.
- Save changes, then reboot the router so settings fully apply.
In app network change step by step
1) Open the Blink app and select the doorbell.
2) Go to Device Settings, then Network, and choose Change Wi Fi.
3) Put the doorbell into setup mode when prompted.
4) Select the 2.4 GHz SSID and enter the password exactly.
5) Wait for success confirmation. Do not close the app early.
6) Test live view to confirm a stable connection.
Re adding the doorbell if needed
- If the light alternates red blue after a change, remove the device from your system.
- Add the doorbell again using the plus symbol, scan the code, and follow the prompts.
- Link it to the existing Sync Module and assign it to the correct chime.
- Test a doorbell press and motion event.
Reset and Re Add Safely
If the network and power look good but the LED persists, reset software states. Start with the least disruptive option. Your cloud clips stay tied to your account, and local storage remains on the Sync Module as long as you do not reset or remove it.
Soft reset from the Blink app
- In Device Settings, toggle the doorbell off and on or select reboot.
- Wait up to a minute for it to reconnect. Watch the LED for changes.
- Test live view and a button press.
Remove and re add to the Sync Module
- In the app, remove the doorbell but keep the Sync Module in place.
- Add the device again via the plus icon and follow pairing steps.
- Confirm it joins the intended system and Wi Fi network.
- Recreate any custom motion zones and notification preferences.
Preserving clips and settings
- Cloud clips remain accessible as long as your account is intact.
- Local clips on a Sync Module USB stay unless you reset or delete the module.
- Document your settings before removal to speed up reconfiguration.
Advanced Network Fixes
Some environments are noisy or complex, especially with mesh systems and many neighbors. If basic steps fail, fine tune the network. Make one change at a time and retest so you can identify what helped.
DHCP reservation and reliable DNS
- Reserve a stable IP for the doorbell in your router to prevent IP conflicts.
- Set reliable DNS servers on the router, either your ISP or well known public DNS.
- After saving, reboot the router, then the Sync Module, then the doorbell.
Firewall ports, UPnP, and NAT settings
- Avoid blocking outbound traffic required for signaling and video.
- Enable UPnP if the device struggles to establish connections in strict NAT environments.
- Turn off AP isolation on the SSID that hosts the doorbell.
Router isolation, band steering, and mesh tips
- Place a mesh node near the front door to improve 2.4 GHz coverage.
- Keep 2.4 GHz channel width at 20 MHz for better range and less overlap.
- Disable aggressive band steering during setup. Re enable it only after the device is stable.
- If your router uses smart connect, test with it off to ensure 2.4 GHz association.
When the App Says Online but LED Still Blinks
After advanced tuning, some users still see a blinking LED while the app shows Online. That usually means a temporary state rather than a real outage. Clear the state before changing more settings. If it persists, return to the previous sections.
Motion event stuck states
- Open the clip list and check for an event currently uploading.
- Close any live view. Wait at least 60 seconds for the LED to clear.
- If it persists, trigger a soft reset from the app.
Firmware completion and patience window
- After an update, the LED may blink while the device finalizes tasks.
- Give it 5 to 10 minutes without pressing the button or cycling power.
- If the blinking continues, run the network change flow again.
Reboot order for router, Sync Module, and doorbell
- Power cycle in this order: router, then Sync Module, then doorbell.
- Wait for each device to be fully online before restarting the next.
- Test live view and a doorbell press to confirm a clean state.
Prevent Future LED Errors
Once the LED is clear, lock in reliability. A few habits minimize future loops and speed up recovery if problems return. This prepares you for the last section about contacting support if none of the fixes stick.
Router settings checklist for Blink devices
- Keep a distinct 2.4 GHz SSID available at all times.
- Use WPA2 or WPA2 WPA3 mixed mode and avoid enterprise or captive portals.
- Favor channels 1, 6, or 11 with 20 MHz width to limit interference.
Power and chime wiring checklist
- Use lithium AA batteries for battery power and change them at the first low warning.
- Verify transformer voltage and VA meet requirements if wired.
- Keep terminals clean and tight. Recheck after major temperature swings or renovations.
Maintenance cadence and update hygiene
- Check Device Health monthly for signal and battery metrics.
- Apply firmware and app updates promptly, then wait for completion before testing.
- Avoid long, repeated live view sessions that stress batteries and bandwidth.
When to Contact Support
If the red or red blue blinking persists after network and power fixes, contact Blink support. Persistent error patterns, repeated setup failures, or LEDs that never clear can indicate a hardware fault. Support can review device health data, confirm compatibility, and arrange replacement if needed under warranty.
Hardware fault indicators and persistent codes
- The same error pattern repeats after resets and re adds
- The device overheats or shuts down during simple tests
- No change after known good power and Wi Fi
RMA and warranty basics
- Keep proof of purchase and the device serial number ready
- Be prepared to describe the steps you tried
- Ship only requested parts to avoid delays
Data to gather before calling support
- Photos of wiring and the transformer label if wired
- Screenshots of RSSI and Device Health
- Router brand and model and a list of changes you made
Conclusion
A blinking red or red blue LED signals the doorbell needs help, but the fix is often simple. Read the pattern, run quick checks, then solve Wi Fi or power problems first. If the light appears after a network change, update Wi Fi in the app or re add the device. Reset only as needed and protect your clips by keeping the Sync Module intact. For tough environments, advanced network tuning improves stability. If none of these steps clear the LED, gather details and reach support for potential hardware resolution. With a clear plan, your doorbell can return to steady, reliable service in minutes.
Frequently Asked Questions
Why does my Blink doorbell blink red and blue after changing Wi Fi?
The doorbell lost its saved network. In the app, use Change Wi Fi, pick the 2.4 GHz SSID, and enter the password carefully. If it still blinks, remove and re add the device and test live view.
Can a weak transformer cause red or blue blinking on a wired Blink doorbell?
Yes. Low voltage or low VA causes dropouts when you press the button or start recording. Verify transformer specs, tighten wiring, and upgrade the transformer if voltage sags under load.
Will resetting my Blink doorbell delete my recordings?
No, if you keep your Blink account and Sync Module intact. Cloud clips remain with your account. Local clips on the Sync Module stay unless you reset or remove the module.