
Sony Bravia Screen Blackout: Complete Troubleshooting and Fixes
Introduction
A sony bravia screen blackout stops the picture without warning. The TV stays on, but the image drops to black. You might still hear sound or see the standby LED blink. This can stem from a simple HDMI issue, a settings conflict, or a hardware fault like a dead backlight. You need a plan that moves from quick wins to deep diagnosis so you do not waste time.
This guide walks you through fast fixes, a structured troubleshooting flow, and the common HDMI and HDCP pitfalls. You will learn how to test built-in apps against external sources, adjust signal formats, review picture and power settings, and separate source or app issues from panel or backlight faults. Gamers and streamers will find targeted steps for VRR, 120 Hz, Dolby Vision, and app conflicts. If a recent update triggered the blackout, you will also see safe recovery paths. With that roadmap, let us start by identifying clear symptoms.
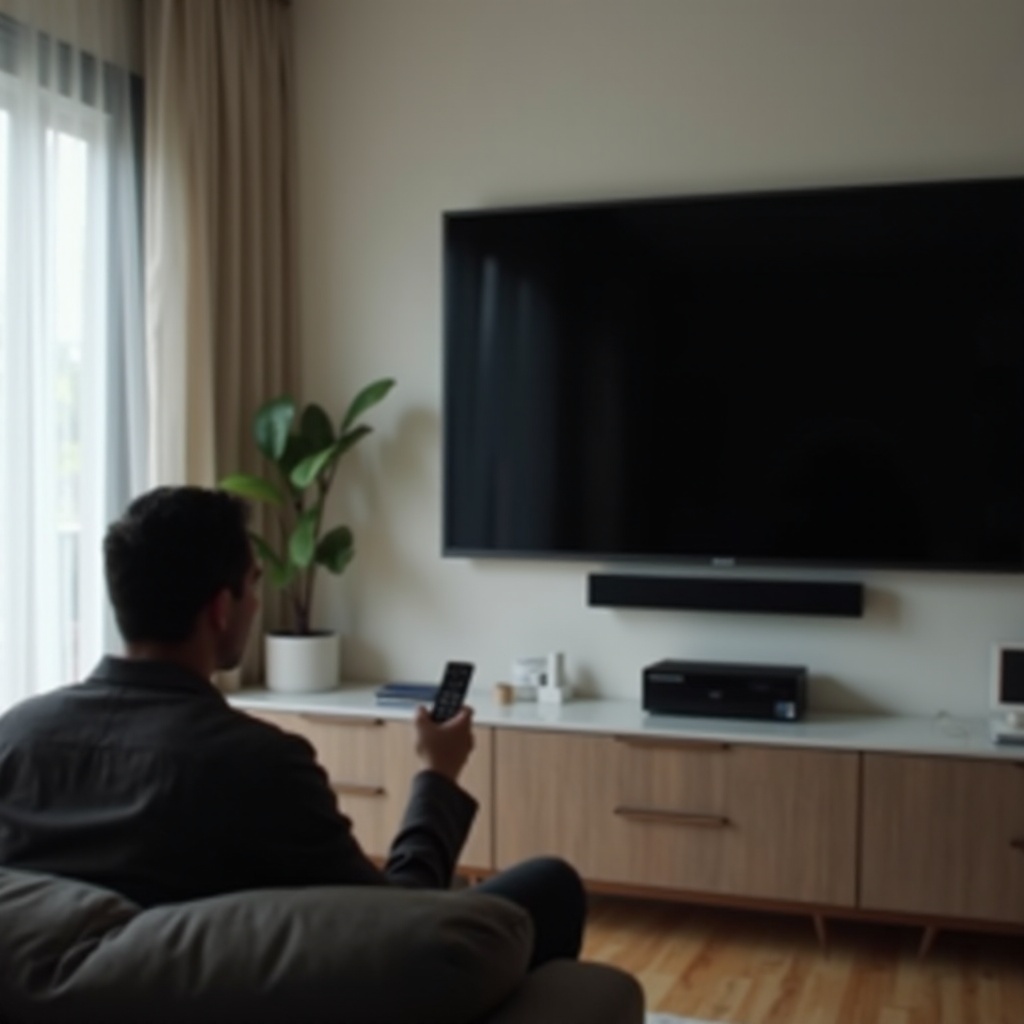
Symptoms and Quick Diagnosis of a Sony Bravia Screen Blackout
Before changing settings, define the symptom. The right first observations can cut your troubleshooting time in half and point you to the correct path.
What screen blackout means on Sony Bravia
- The picture goes black during startup or mid-scene.
- Audio may continue through TV speakers or a soundbar.
- The on-screen display may show, or it may not appear at all.
- The standby LED may be solid, off, or blinking in a pattern.
If menus appear when you press Home, the panel can draw an image. That usually means a source, app, or format problem rather than a dead panel. If no menu appears and the panel has no faint glow, focus on hardware like backlight, T-CON, or the main board.
Check menus and OSD versus a fully black screen
Press Home. If you see the interface, switch to a built-in app such as YouTube or a demo clip. If built-in apps work but HDMI inputs are black, the HDMI chain is the likely culprit. If nothing shows, try a flashlight test in a dark room to see faint images that suggest a backlight failure on LED sets.
LED indicators and audio cues to note
Watch the standby LED for repeated blinks, which can indicate a hardware error. Listen for UI clicks when navigating by remote. If you hear sounds but see a black screen, the operating system runs, and the display path needs attention. With these cues logged, apply fast fixes to recover picture quickly.
Fast Fixes You Can Try Now
Use these quick actions before deeper steps. Many blackouts resolve with a reboot, power reset, or a cable change.
Soft restart from the remote
- Hold the Power button on the remote for 5 to 10 seconds.
- Wait for the TV to display a restarting message, then boot.
- Test menus, built-in apps, and each HDMI input.
Power cycle and discharge steps
- Turn the TV off and unplug it from the wall.
- Wait at least 60 seconds. Press and hold the TV power button, if present, for 10 to 15 seconds to discharge.
- Plug it back in and power on. This clears transient faults and stale HDMI handshakes.
Switch inputs, HDMI ports, and cables
- Move the source to a different HDMI port on the TV.
- Replace the HDMI cable with a certified Ultra High Speed model.
- Remove adapters or splitters and connect the source directly to the TV.
If the blackout clears after any of these steps, you have isolated the issue to signal integrity or handshake timing. Next, use a guided flow to narrow the cause.
Step-by-Step Troubleshooting Flow
A clean sequence helps you isolate the fault without chasing dead ends. Move from easy isolation to targeted settings.
Built-in apps versus HDMI sources
1) Launch a built-in app like YouTube. If it shows video, your panel and processing path are fine.
2) If built-in apps are also black, suspect a TV setting, firmware issue, or hardware.
3) If only an HDMI input fails, focus on that input, cable, and the connected device.
Signal format: Standard, Enhanced, and VRR
1) Open Inputs and find the HDMI signal format menu.
2) Set the affected input to Standard and test. If picture returns, Enhanced or VRR timing caused the blackout.
3) Re-enable Enhanced or Enhanced VRR only when using a certified cable and a device that supports the mode.
Clear app cache, reinstall, and retest
1) Go to Settings, Apps, select the affected app, clear cache and data.
2) Update the app from the app store, then reboot the TV.
3) If the app still triggers a blackout, turn off HDR or Dolby Vision on the device or in the app and retest.
If the signal path checks out but blackouts persist, you likely face a handshake or HDCP problem. The next section covers those conflicts and their fixes.
HDMI, HDCP, and Handshake Issues Causing Blackouts
HDMI handshake and HDCP authentication can fail, leaving a blank screen. Small changes to cables and features often restore stability.
Ultra High Speed cable checks and replacements
- Use certified Ultra High Speed HDMI cables for 4K120, VRR, and Dolby Vision.
- Keep runs short and avoid tight bends or cheap hubs.
- Test with a different cable first; many intermittent blackouts come from marginal cables.
Dolby Vision and HDR, match frame rate and range
- On Apple TV or similar, disable match frame rate or match dynamic range to test stability.
- Turn off Dolby Vision or HDR temporarily. If the picture returns, re-enable features one by one.
- Confirm the TV input supports the desired mode and remains in Enhanced where required.
CEC or Bravia Sync and eARC or ARC conflicts
- Turn off Bravia Sync and eARC or ARC to see if control signals or audio return paths cause blackouts.
- Connect sources directly to the TV first, then route audio over eARC once video is stable.
- Update firmware on AVRs and soundbars. Outdated EDID handling can break video modes.
Once HDMI stability improves, review software and picture controls that can darken the screen even when the signal is healthy.
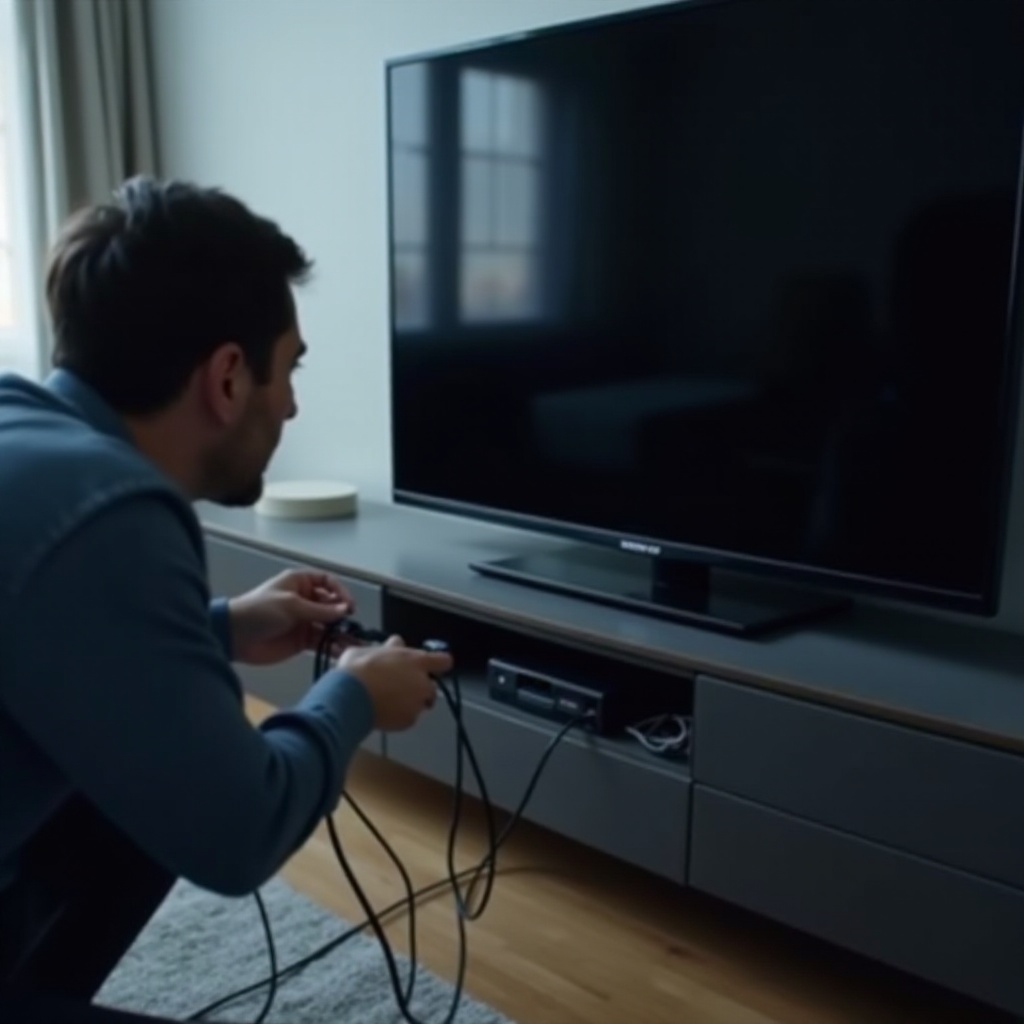
Software, Power, and Picture Settings to Review
Settings can mimic a blackout by turning the screen off or driving brightness to near zero. Verify software and picture controls before assuming hardware failure.
Update TV firmware and individual apps
- Go to Settings, System, About, System update, and install pending updates.
- Update major apps like Netflix, Prime Video, and YouTube.
- Reboot after updates to reload drivers and HDMI stack components.
Picture Off, energy saving, and ambient sensor
- Make sure Picture Off is disabled. Toggle it off and on if unsure.
- Turn off Energy Saving and Ambient Light Sensor during tests.
- Disable Screen Saver and Idle TV Standby to prevent timed blanking.
Brightness, local dimming, and motion settings
- Set Brightness or Backlight above zero and avoid extreme dimming presets.
- Set Local Dimming to Medium or Off to test whether a zone driver is misbehaving.
- Temporarily disable Motionflow or Cinemotion if blackouts occur on certain frame rate transitions.
With software and picture controls validated, determine whether the fault lies with the panel or the signal source.
Diagnose Picture vs. Backlight vs. Source Problems
A few simple tests can separate a source or settings issue from a hardware fault.
Flashlight test for backlight failures
- In a dark room, shine a flashlight at an angle across the screen with the TV on.
- If you see faint menus or images, the LCD is rendering but the backlight is off. Focus on backlight strips, drivers, or power supply rails.
- If you see nothing and hear nothing, suspect power or main board faults.
Menu visible but content black: input or format issues
- If menus show but HDMI content stays black, switch to a built-in app. If that works, the HDMI chain is the issue.
- Try another source device on the same port and cable. If it works, the original device or its settings cause the problem.
- Toggle HDMI format and replace the cable. Format mismatches often trigger blank screens.
No glow, no menu: likely hardware
- If the panel shows no backlight glow, no OSD, and the LED blinks an error code, hardware is likely at fault.
- Note the blink pattern and the conditions that trigger it. You will need this for support.
If your tests point to panel behavior, tailor the next steps to your display type.
Panel-Type Considerations: OLED vs. LED or Mini‑LED
Panel type changes failure modes and settings behavior. Your path differs for OLED and LED-based models.
OLED: ASBL or ABL behavior and panel care
- Automatic dimming can darken near-static scenes. Press a button or open a menu to wake it.
- Panel refresh operations can blank the screen for a period. Let them complete without interruption.
- If menus never appear and the set remains dark, do a soft restart, check firmware, and escalate if unresolved.
LED or LCD: backlight driver and local dimming faults
- Local dimming errors can blank large areas. Set Local Dimming to Low or Off to test.
- A successful flashlight test with no light suggests dead backlight strips or a failed driver. That requires hardware service.
Mini‑LED specifics to check
- Mini‑LED uses many dimming zones. A zone controller fault can create broad blackouts.
- Reduce local dimming strength and confirm Standard signal format. If symptoms persist across all inputs and apps, plan a service call.
With panel nuances in mind, high-bandwidth sources remain a frequent trigger. Address those next.
Gaming and High-Bandwidth Sources on Sony Bravia
Consoles and PCs push 4K120, VRR, ALLM, and HDR. Marginal cables or ports can fail under that load.
PS5 or Xbox VRR, 120 Hz, and ALLM toggles
- Turn off VRR to test. Set refresh to 60 Hz and HDR off to confirm baseline stability.
- If stable, re-enable features one at a time until the blackout returns.
- Lock the final stable settings and document them for future reference.
HDMI 2.1 features and cable integrity
- Use the TV ports labeled for 4K120 and VRR.
- Replace any questionable cable with a certified Ultra High Speed model.
- Keep runs under 3 meters or use active certified cables for longer distances.
AVR or soundbar passthrough and EDID issues
- Connect the console directly to the TV for video. Route audio over eARC after stabilizing video.
- Update AVR or soundbar firmware. Incorrect EDID data often causes blackouts.
- If issues persist, use the AVR for audio only and let the TV handle video switching.
Once gaming is stable, verify streaming devices and apps, which often switch formats on the fly and can trip the chain.
Streaming Devices and App-Related Blackouts
Apps and streamers shift dynamic range and frame rate during playback. That change can cause a temporary or persistent blackout if the chain cannot keep lock.
Apple TV, Roku, and Fire TV signal settings
- Apple TV: Set format to 4K SDR to test, then enable HDR or Dolby Vision later. Disable match frame rate and match range during tests.
- Roku: Use Auto or force 4K SDR; enable HDR after stability checks.
- Fire TV: Disable adaptive HDR settings and confirm output resolution matches the TV.
App-specific blackouts from Netflix or YouTube
- Some titles force Dolby Vision or odd frame rates. If a show blacks out, disable HDR or DV on the device and test again.
- Update or reinstall the app. Clear cache and data on the TV for that app.
Resetting and reauthorizing apps
- Sign out and back in to refresh entitlements.
- Clear app cache and data, then reinstall.
- Reboot the TV before relaunching the app to rebuild video paths.
If software conflicts keep returning, use resets that minimize data loss before a full wipe.
Resets and Recovery Without Losing Data
Reset only what you need. In many cases you can fix conflicts without erasing everything.
Reset picture settings only
- Open picture settings and restore defaults.
- Test SDR content first, then HDR and Dolby Vision.
Restart versus factory reset
- Use Settings, System, Restart to reload the OS and HDMI stack.
- If problems persist across apps and inputs, perform a factory reset from Settings, System, Reset, Erase all data. Back up logins and network details first.
Forced factory reset using TV buttons
- If menus are inaccessible, use the model-specific button combination while plugging the TV in.
- Wait for the LED to indicate reset and follow on-screen prompts.
If blackouts started right after an update, a recovery path may solve it without a full wipe.
Post-Update Sony Bravia Black Screen Recovery
Firmware updates can change HDMI timing or app behavior. Stabilize the TV while you wait for a hotfix.
Confirm update status and safe reboot sequence
- Let background tasks finish after an update.
- Reboot once and test built-in apps and each input.
- Disable VRR or Dolby Vision temporarily if they trigger blackouts.
USB firmware reinstall method
- Download the correct firmware for your exact model from the Sony support site.
- Copy it to a FAT32 USB drive, insert it, and follow on-screen steps to reinstall.
- Do not interrupt power during the process.
Temporary workarounds after updates
- Use Standard signal format or SDR until a fix arrives.
- Re-enable advanced features one at a time to identify the cause.
- Report the issue with model and firmware details to speed patch development.
If none of the above resolves the blackout, prepare for a hardware path and know what that entails.
When It’s Hardware: What to Expect
Hardware faults present distinct patterns. Recognize them so you can plan service quickly and avoid repeated resets.
T-CON, main board, and power supply clues
- T-CON faults can cause intermittent image, flicker, lines, or sudden blanking while menus stutter.
- Main board issues often remove video across all inputs while audio may continue.
- Power supply faults can cause boot loops, shut downs, or a dead panel with error blinks.
Backlight strips and drivers on LED TVs
- A flashlight test that reveals an image without backlight points to LED strips or the driver.
- These fixes require opening the set and handling fragile layers. Use authorized service.
OLED panel or pixel refresher concerns
- Forced pixel refresh can blank the screen; allow it to finish.
- If the panel remains dark with no menus and no error blinks, contact support for diagnostics and warranty options.
Even when hardware is healthy, prevention reduces future blackouts and keeps the signal chain stable.
Preventive Tips to Avoid Future Screen Blackouts
Reduce HDMI fragility, protect power, and tame feature overload. These steps cut most blackout risks.
Surge protection and stable power
- Use a quality surge protector or UPS. Dips and spikes often trigger crashes.
- Avoid daisy-chained power strips. Use a grounded outlet.
Ventilation and dust management
- Keep vents clear and leave space around the TV for airflow.
- Dust ports and the back panel to prevent heat buildup.
Sensible HDR and VRR usage and update timing
- Enable advanced modes only after verifying cable and port capability.
- Read release notes and delay major updates if your setup is stable.
- After any update, reboot and re-check HDMI format and app settings.
With prevention in place, you are ready to escalate efficiently if the blackout returns.
When to Contact Sony Support
If you worked the steps and the screen still goes black, formal support can save time and protect warranty coverage.
Warranty and authorized service options
- Check purchase date and warranty status before scheduling.
- Use authorized service centers to ensure genuine parts and covered labor.
- Ask about diagnostic fees and turnaround times.
Info to prepare: model, serial, and firmware
- Record model and serial numbers from the rear label or box.
- Note firmware version and exact steps that cause the blackout.
- List all HDMI devices and cable types in your setup.
Documenting symptoms and steps tried
- Capture photos or short videos of the blackout and LED blink patterns.
- Share a timeline of tests you performed. This prevents repeating basic steps and speeds resolution.
Conclusion
A sony bravia screen blackout often traces to HDMI handshake errors, format mismatches, or settings that hide the picture. You now have a clear process: restart, power cycle, isolate sources, adjust signal formats, update firmware and apps, and apply targeted resets. The flashlight test and OSD checks help you separate a source issue from a backlight, panel, or board fault. Gamers can stabilize VRR and 120 Hz. Streamers can tame HDR and frame rate switches. If an update caused the blackout, you can recover without wiping your data. When hardware fails, you know what to expect and how to prepare for service. Keep cables certified, power clean, ventilation clear, and features tuned to what you need. With a stable chain, your Sony Bravia should deliver consistent, vivid picture without surprise blackouts.
Frequently Asked Questions
Why does my Sony Bravia screen go black but sound still works?
This usually means the audio path is fine but the video path failed. Start with a soft restart and a full power cycle. If menus appear but HDMI content stays black, test a built-in app. If built-in apps play, replace the HDMI cable with a certified Ultra High Speed model and set the input to Standard to test. Disable Dolby Vision, HDR, and VRR on the source and re-enable features one by one. If menus never appear and a flashlight test shows faint images, the LED backlight likely failed. No OSD and no glow can indicate a main board, T-CON, or power issue.
Will a factory reset fix a Sony Bravia screen blackout?
A factory reset can fix software conflicts, app corruption, or settings that blank the screen. Try smaller steps first: soft restart, power cycle, clear app cache and data, and reset picture settings. If blackouts persist across built-in apps and inputs, do a factory reset from the settings menu. If the screen is fully black and menus will not load, use the forced factory reset with the TV’s buttons. If a reset does not restore video, suspect hardware such as backlight, main board, or T-CON and contact support.
How can I prevent future Sony Bravia screen blackouts?
Use certified Ultra High Speed HDMI cables and keep runs short. Connect 4K120 or VRR devices to HDMI 2.1 ports. Enable HDR, Dolby Vision, and VRR only after confirming stability. Keep TV firmware and apps updated, then reboot. Protect power with a surge protector or UPS. Ensure good ventilation and clean dust. After any update or device change, re-check HDMI signal format and app settings to maintain a stable configuration.