
Samsung TV with Roku Looks Like HDR Grainy Overexposed? Fix Washed-Out, Blown-Out Highlights Fast
Introduction
Your movie looks flat, noisy, and harsh. You launch HDR on Roku, but your Samsung shows gray blacks, gritty grain, and highlights that erase detail. When a samsung tv with roku looks like hdr grainy overexposed, the cause is almost always a chain issue: signal mismatches, tone-mapping quirks, or app output problems. The panel is rarely the culprit. The fix comes from stabilizing the HDMI path, setting the right picture mode, and making small, targeted adjustments.
We will start with quick triage that takes minutes. Then you will update firmware and apps to clear known bugs. Next, you will dial in Roku display options and the Samsung HDR picture controls. After that, you will tackle color space and black level, confirm cable and port bandwidth, and navigate app-by-app quirks. You will finish with a short calibration routine, a decision tree for stubborn issues, and device alternatives if needed. Keep changes small, test as you go, and use the same scenes for validation.
What This Problem Looks Like on a Samsung TV with Roku
Before changing settings, match your symptoms to likely causes. That speeds up the fix and avoids chasing the wrong control.
- Whites blow out to pure white, killing texture in clouds, lamps, and faces.
- Midtones look gray and flat, without depth or dimensionality.
- Film grain becomes rough noise, especially in dark scenes.
- Blacks either crush shadow detail or float above true black.
- Colors swing between oversaturated and oddly muted.
- The same title looks better in a Samsung native app than on Roku.
These red flags point to EOTF tracking errors, wrong black level, disabled high-bandwidth HDMI mode, or app mastering and bitrate limits. With symptoms in mind, move to the fastest, lowest-risk fixes.
Quick 5-Minute Fixes to Try First
Start with simple steps that fix handshake glitches and cached state issues. If your samsung tv with roku looks like hdr grainy overexposed, these often help immediately.
1) Power cycle both devices. Unplug the TV and the Roku for 60 seconds. Plug in the TV, let it fully boot, then connect power to Roku.
2) Change HDMI port. Move the Roku to another HDMI input on the Samsung.
3) Swap the cable. Use a certified Ultra High Speed HDMI cable rated for 48 Gbps, ideally 2 meters or shorter.
4) Cold boot the TV. Hold the Samsung remote power button until the TV restarts.
5) Test multiple titles. Play one HDR and one SDR title in the same app.
6) Compare with a native app. Play the same HDR title via the Samsung app and note differences.
If any step improves the image, keep that change. If the picture still looks wrong, update firmware next.
Update Roku, Apps, and Your Samsung TV Firmware
Firmware aligns features and fixes bugs in tone mapping and handshake logic. Update the chain in this order to reduce variables.
- Samsung TV: Go to Settings > Support > Software Update > Update Now. Install any update and restart the TV.
- Roku OS: Go to Settings > System > System update > Check now. Update apps after the OS finishes.
- App refresh on Roku: Remove and reinstall problem apps. Sign back in so the app refreshes its playback modules.
- App refresh on Samsung: Update the same streaming apps on the TV to compare behavior.
Re-test the same title and scene. If HDR still looks washed or clipped, tune Roku output so the Samsung maps the signal correctly.
Roku Display and Playback Settings to Correct HDR
Roku must output a stable HDR10 signal that your Samsung can interpret without guesswork.
Essential Roku options
- Display type: Start with Auto detect. If it mis-detects, set 4K HDR TV with 10-bit. Avoid Dolby Vision labels with Samsung; Roku will fall back to HDR10.
- Auto adjust display refresh rate: Turn On. This matches frame rate and avoids tone-mapping oddities during cadence changes.
- Match content per app: Where a service offers it, enable frame rate and dynamic range matching.
Temporary HDR disable test
Use Roku advanced display options to temporarily disable HDR. If SDR looks better instantly, you have confirmed an HDR pipeline issue. That narrows your next steps to tone mapping and HDMI bandwidth.
Audio simplification while testing
Set audio to a simple pass-through or stereo mode to avoid re-handshakes from eARC during testing. Restore your preferred audio after you stabilize video.
With Roku output clean, set the Samsung picture mode foundation next.
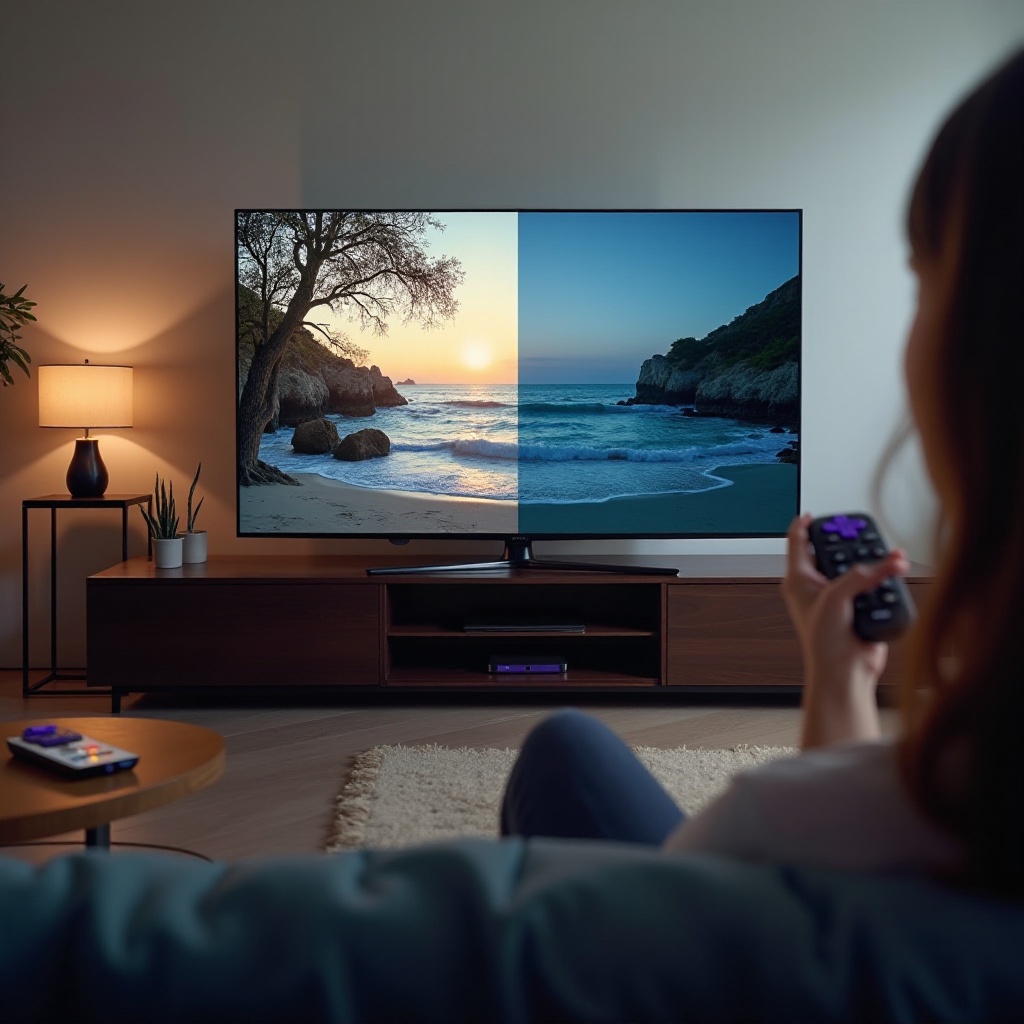
Best Samsung Picture Modes and Global Toggles for Clean HDR
You need a neutral base that tracks standards. Then you can make small, safe refinements.
Pick the right preset
- Picture Mode: Choose Movie or Filmmaker Mode for HDR. These modes avoid aggressive processing.
- Contrast Enhancer: Off. It lifts midtones and blows highlights.
- Sharpness: 0. Higher values add edge noise and exaggerate grain.
Color and motion basics
- Color Tone: Warm1 or Warm2. Warm reduces blue push and harshness.
- Motion: Keep Blur and Judder low or off to reduce artifacts without soap opera effect.
- Noise filters: Turn off Digital Clean View and Noise Reduction for now. Add a small amount later if compression distracts.
A clean baseline lets you tune brightness and shadow handling without side effects.
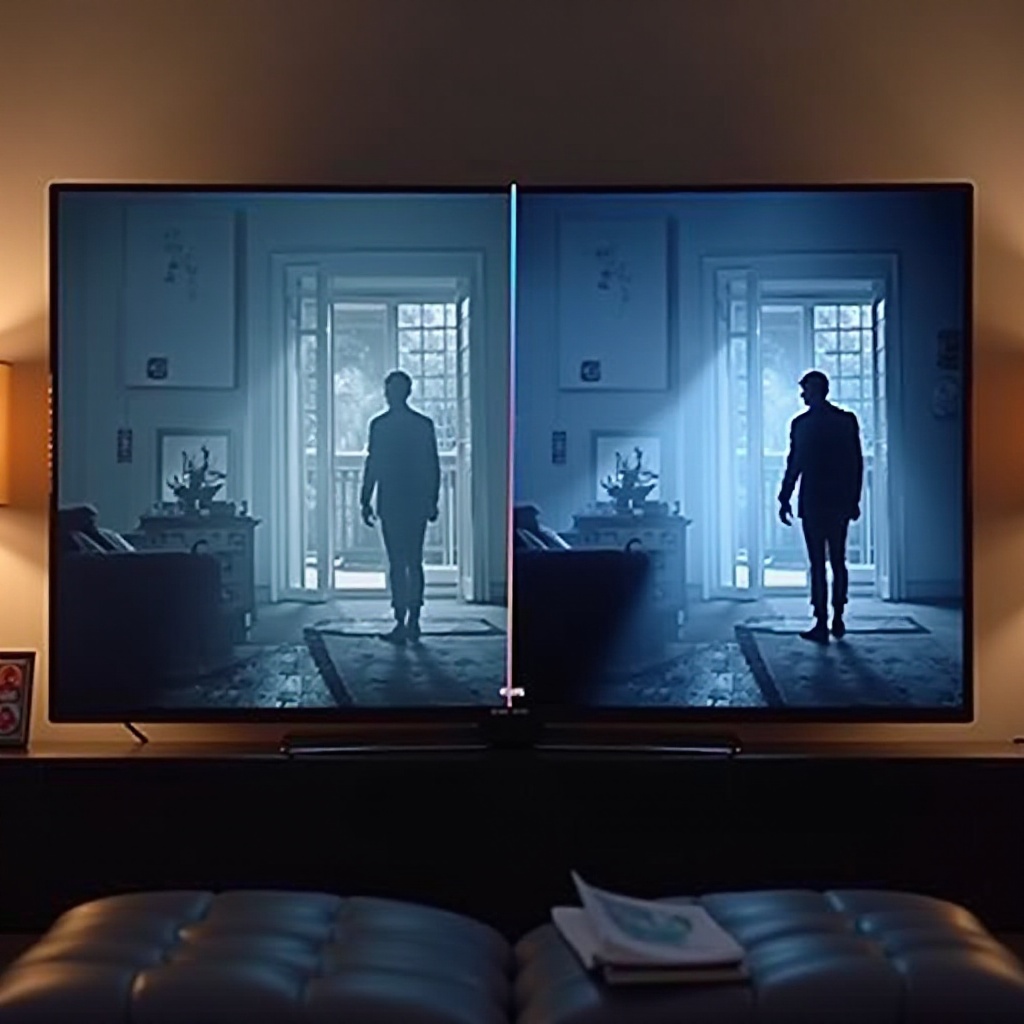
Tame HDR Tone Mapping: ST.2084, Shadow Detail, Local Dimming
Now adjust the curve that maps HDR brightness on your panel. Use small moves and verify with the same test scenes.
Local Dimming
- Start at Standard. High can add pop but may clip highlights or cause blooming. Low can flatten contrast.
- For bright rooms, consider High if it does not clip highlights. For dark rooms, Standard often balances detail and pop.
Peak brightness and ABL
- On LCD or mini-LED models, set Peak Brightness or HDR Brightness to High. This preserves specular highlight sparkle.
- On OLED, use the default HDR brightness and let the panel balance ABL. Push other controls first before raising overall brightness.
ST.2084 and Shadow Detail
- ST.2084: If highlights blow out, reduce by one step. If the image looks dim and flat, increase by one.
- Shadow Detail: If blacks crush and hide texture, raise by one. If blacks look milky, return to zero or reduce by one.
Always check a bright face in sunlight and a dark night scene to confirm both ends of the curve look natural.
Color Space, Bit Depth, and HDMI Black Level Explained
These controls decide how color and luminance levels map from Roku to Samsung.
- Color Space: Leave on Auto. Native often oversaturates and amplifies noise. Use Custom only if you measure with calibration tools.
- Bit depth and chroma: Roku will negotiate 10-bit HDR10. If you see banding, confirm the cable and port support 4K HDR bandwidth at 4:2:2 or 4:2:0.
- HDMI Black Level: For HDR, set to Normal or Auto. Low can crush blacks if the source expects full range. If blacks look gray or crushed, toggle this setting to restore proper levels.
- Color Tone: Stay on Warm1 or Warm2 to avoid cool, brittle highlights.
After stabilizing color and level mapping, verify the physical link supports full HDR bandwidth.
HDMI Cable, Port, and Input Signal Plus Checklist
A weak HDMI link creates instability that looks like noise, banding, or overexposure.
- Cable: Use a certified Ultra High Speed HDMI cable rated for 48 Gbps. Avoid cheap or very long cables.
- Port mode: Enable Input Signal Plus or HDMI UHD Color on the HDMI port used by Roku. This unlocks the required 4K HDR bandwidth.
- eARC placement: If you use eARC to a receiver or soundbar, confirm your Roku sits on a high-bandwidth port with Input Signal Plus enabled. Avoid re-handshakes during playback.
- High refresh ports: If your TV supports 4K 120Hz, disable Game Mode for movies to prevent game-specific tone mapping from affecting films.
Power cycle both devices after changing ports or cables. Then retest the same scene to confirm stability.
App-by-App HDR Quirks: Netflix, Prime Video, Disney+, YouTube
Apps handle HDR differently. One app may look perfect while another looks harsh or dim. Use these app notes to guide per-app tweaks.
- Netflix: Masters vary. If the image looks hot or dim, keep Movie or Filmmaker Mode and adjust ST.2084 by one step.
- Prime Video: Some titles offer HDR10+. Samsung native apps can use HDR10+ to improve tone mapping. Roku often outputs HDR10 only.
- Disney+: Bright highlights can clip on some titles. If that happens, keep Local Dimming on Standard and reduce ST.2084 by one.
- YouTube: HDR quality varies wildly. Many uploads are not true HDR. Use known test clips to judge settings, not random creator uploads.
If only one app looks wrong, avoid global changes. Tweak the affected app first or watch that specific title via the TV app if it looks cleaner.
When the Source Is the Problem: Bitrate, Film Grain, Compression
Sometimes the content limits you more than the hardware.
- Low bitrate HDR: Heavy compression turns fine grain into blotchy noise. Choose the highest quality stream your plan supports and ensure a stable internet connection.
- Film grain: Real grain should look natural. Excessive noise reduction smears texture and can make highlights feel even harsher. Use NR Low only if compression artifacts distract.
- Poor masters: Some titles have bad tone mapping. Compare the same scene via Roku and the TV app. Pick the path that looks better for that title.
If content is the bottleneck, reduce expectations for that title and use minimal, reversible tweaks.
Fast, Safe Calibration Steps Without Pro Gear
You can confirm the basics in minutes with free test clips and repeatable scenes.
- HDR clipping pattern: Only the top highlight bars should clip. If too many disappear, reduce Contrast or ST.2084 by one.
- Near-black steps: Verify you can see the first few steps above black. If not, increase Shadow Detail by one.
- White balance check: Skin should look natural, not pink or icy. Warm1 or Warm2 usually lands close to reference for most rooms.
- Real scenes: Use a sunrise over water, a candlelit interior, and a snowy field. You want texture in the sun and snow, and clean detail around the candle.
Record your final settings with photos. That makes it easy to recover after future updates.
Decision Tree: If Highlights Still Clip or HDR Looks Worse Than SDR
If your samsung tv with roku looks like hdr grainy overexposed after the steps above, follow this quick path.
- Highlights still blow out: Confirm Input Signal Plus is On for the Roku port. Turn Contrast Enhancer Off. Set Local Dimming to Standard. Reduce ST.2084 by one.
- Blacks look gray: Set HDMI Black Level to Normal or Auto. Reduce Shadow Detail to zero. Increase Local Dimming to Standard or High if it does not clip highlights.
- Grain distracts: Verify bitrate and network stability. Keep Sharpness at 0. Add Noise Reduction Low only if compression noise persists.
- SDR looks better than HDR: Temporarily disable HDR on Roku to test. If SDR wins for that title, watch it in SDR or switch to the TV app if it offers HDR10+.
Resolve one symptom at a time. Save settings per input after each improvement.
Consider Alternatives: Native Samsung Apps, Apple TV, Fire TV
If Roku remains inconsistent on a few services, another device path may deliver steadier HDR on your Samsung.
- Native Samsung apps: These often support HDR10+, which can improve tone mapping on Samsung TVs. Many users see cleaner highlights and better midtone detail.
- Apple TV: Strong match frame rate and match dynamic range controls. It outputs clean HDR10 for Samsung and switches modes smoothly.
- Fire TV: Similar to Apple TV with robust matching and wide app support.
Test the same title across devices with identical TV settings and identical scenes. Pick the device that consistently renders balanced highlights, shadow detail, and natural color. You can keep Roku for apps it handles well and use native apps or another streamer for picky titles.
Validate Your Fix with Real Scenes and Test Clips
Lock in your improvements with repeatable checks so you can spot regressions later.
- Reference clips: Use known HDR10 demo reels with bright specular highlights and dense shadows.
- Scene set: A bright close-up in daylight, a neon-lit city at night, and a dim room with candles. Look for texture in bright objects, clean halos, and stable near-black detail.
- Cross-check apps: If Roku and the Samsung app now look similar on the same title, your pipeline is stable.
Save final settings and screenshots. Re-test after any major firmware update.
Final Settings Summary and Stability Tips
Summarize your stable setup and habits that keep HDR clean and consistent.
- Samsung: Movie or Filmmaker Mode, Contrast Enhancer Off, Sharpness 0, Color Tone Warm1 or Warm2, Local Dimming Standard, Peak or HDR Brightness High on LCD or mini-LED, ST.2084 plus or minus one as needed, Shadow Detail 0 or plus one.
- Roku: Display type Auto or 4K HDR 10-bit, Auto adjust display refresh rate On, per-app frame rate or dynamic range match where available, optional temporary HDR disable for testing.
- HDMI: Certified Ultra High Speed cable, Input Signal Plus On for the Roku port, avoid unnecessary adapters or splitters.
- Habits: Update firmware and apps regularly, power cycle after major changes, document working settings, and test with the same scenes.
Conclusion
When your samsung tv with roku looks like hdr grainy overexposed, you do not need a service call. You need a stable signal chain and a neutral picture base. Start with quick triage and updates, then clean up Roku output and Samsung HDR controls. Confirm color, black level, and port bandwidth. Adjust tone mapping with small steps and verify with repeatable scenes. If an app or a title still misbehaves, switch to the Samsung app for HDR10+ or try another streamer with strong match controls. Save your final settings and revisit them after updates. With a methodical approach, you will restore clean highlights, rich depth, and natural color across your favorite apps and films.
Frequently Asked Questions
Why does my Samsung TV make Roku HDR look washed out or overexposed?
Your TV and Roku may map HDR brightness differently, which lifts midtones and blows highlights. Three common triggers are disabled Input Signal Plus on the Roku HDMI port, aggressive processing like Contrast Enhancer, and poor app mastering or low bitrate. Fix the chain in order: use a certified Ultra High Speed HDMI cable, enable Input Signal Plus, select Movie or Filmmaker Mode, turn off Contrast Enhancer, set HDMI Black Level to Normal or Auto, and fine-tune ST.2084 and Local Dimming. If one app still looks off, compare the same title in the Samsung native app.
What are the best HDR settings for Samsung TVs when using a Roku?
On Samsung, use Movie or Filmmaker Mode, Contrast Enhancer Off, Sharpness 0, Color Tone Warm1 or Warm2, Local Dimming Standard, Peak or HDR Brightness High on LCD or mini-LED, ST.2084 at 0 then adjust ±1, and Shadow Detail 0 with +1 only if blacks crush. On Roku, set Display type to Auto or 4K HDR 10-bit, enable Auto adjust display refresh rate, and use per-app match options if available. Turn on Input Signal Plus for the Roku HDMI port and use a certified Ultra High Speed HDMI cable. Validate with bright and dark scenes.
Do I need a new HDMI cable to fix grainy, blown-out HDR?
Often yes. A weak or slow cable can force unstable formats and cause noise, banding, or bad tone mapping. Use a certified Ultra High Speed HDMI cable rated for 48 Gbps and keep it short. Pair it with the correct port settings by enabling Input Signal Plus on the Roku port. After swapping the cable, power cycle both devices. If the image stabilizes, fine-tune Local Dimming and ST.2084. A new cable will not fix poor masters or low bitrate, but it removes a major source of HDR instability.