
Hooking Up Sonos to Alexa: The Complete Speaker Setup Guide
Introduction
Hooking up Sonos to Alexa turns your speakers into hands-free, whole-home audio you control with simple voice commands. This guide gives you a clear plan that works the first time. You will gather the right gear, prepare your Wi‑Fi, update Sonos, enable the Sonos skill in the Alexa app, and assign preferred speakers in the rooms you use most. Then you will test voice commands, build useful routines, and set privacy controls that match your comfort level.
You can follow this process whether you own Sonos speakers with built‑in microphones or mic‑less models paired with Echo devices. Small details make a big difference. Clear room names, a stable network, and correct account links keep playback consistent day after day. The steps below focus on practicality and speed. If you run into issues, the troubleshooting section shows quick fixes that solve the most common problems.
With the goal in sight, start by confirming you have the right devices, accounts, and apps ready. That preparation sets the stage for smooth compatibility checks.
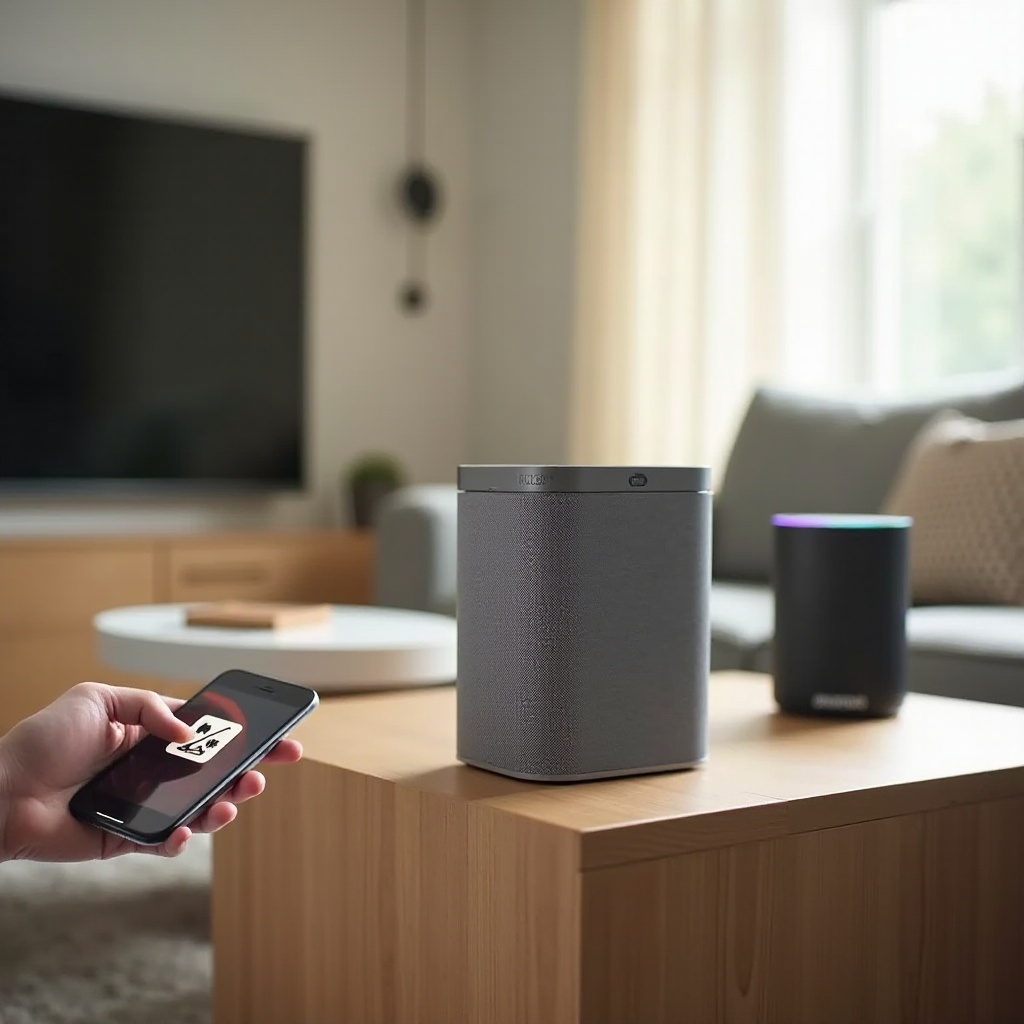
What You Need Before You Start: Devices, Apps, Accounts, and Wi‑Fi
Gather the essentials before you connect anything. A few minutes now will save you from repeated sign‑ins and discovery failures later. You need:
– A Sonos system running on the S2 app.
– An Amazon account and the Alexa app installed and signed in.
– At least one Echo device or a Sonos speaker with Alexa built‑in.
– Reliable home Wi‑Fi on a single main SSID and the password handy.
– Accounts for the music services you plan to use, such as Amazon Music, Spotify, or Apple Music.
Confirm that your phone and all speakers use the same home network. If you use a mesh Wi‑Fi, keep Sonos and Echo on the main network, not a guest or isolated SSID. Update both the Sonos S2 and Alexa apps to their latest versions. Sign into your music services in advance in both apps. If you manage multiple Amazon households or profiles, stick to one account during setup to avoid permission conflicts.
Once you have your tools in place, make sure your Sonos speakers and Echo devices are compatible with Alexa control. That quick check avoids dead ends.
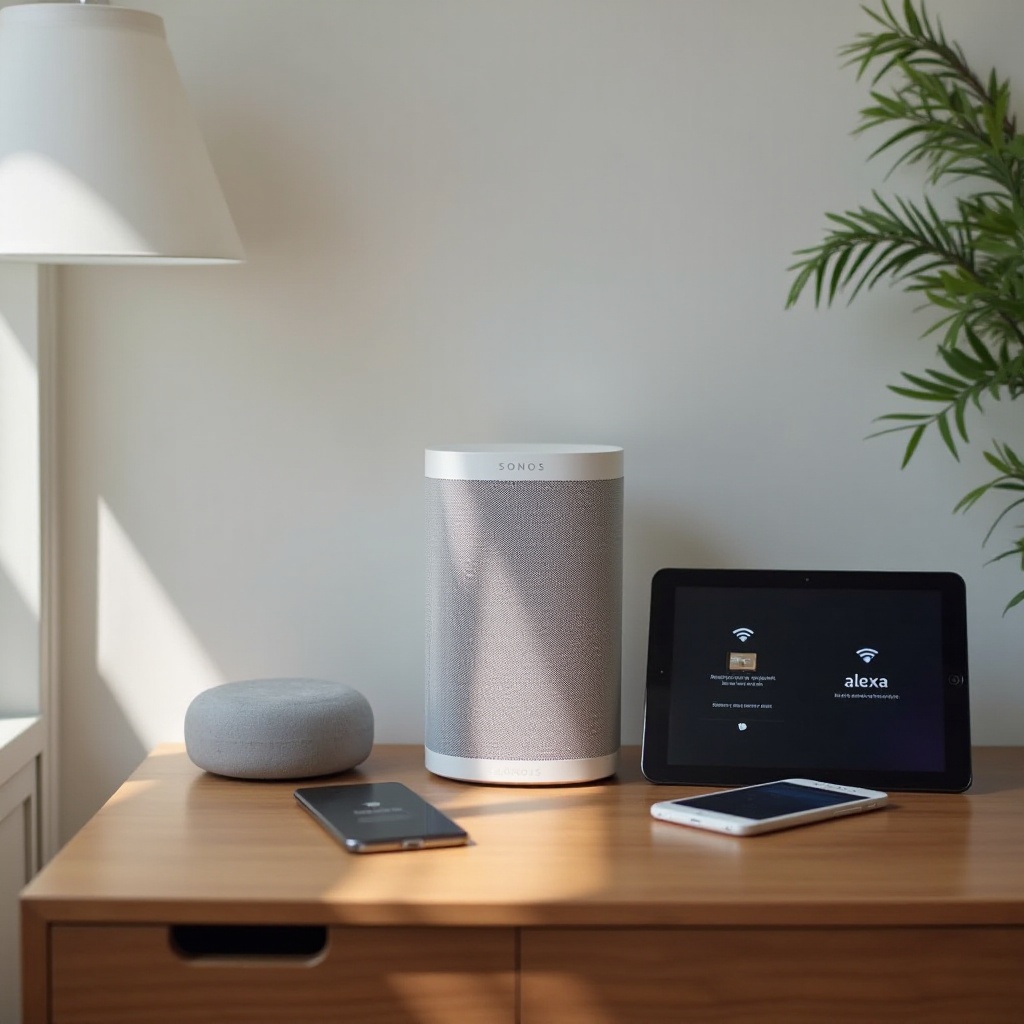
Check Compatibility: Sonos Models and Alexa Options
Compatibility determines how you connect and control each speaker. Map your setup before you change settings:
– Alexa built‑in: Sonos Era 100, Era 300, Beam, Arc, One, Move, and Roam models with microphones can run Alexa directly.
– Works with Alexa via Echo: Sonos One SL, Five, Amp, Port, IKEA Symfonisk, and other mic‑less models rely on a nearby Echo for voice control.
If a Sonos speaker has a mic, add Alexa to that product inside the Sonos app, then manage it through the Alexa app. If a Sonos speaker does not have a mic, pair it with an Echo device and set that Sonos room as the preferred speaker in the Echo’s room group. Confirm your country supports both Alexa and the Sonos skill. Keep language settings consistent across your phone, Sonos app, and Alexa app. Mismatched languages can block voice services or cause odd command behavior.
After confirming compatibility, set up your network for reliable device discovery. A healthy network prevents most connection issues.
Prepare Your Network for Reliable Discovery
Sonos and Alexa discover each other on your local network using multicast and related protocols. A few small router settings can make or break setup:
– Put Sonos and Echo on the same main SSID. Avoid guest networks.
– Enable multicast, mDNS, and UPnP on your router if available.
– Turn off AP isolation and client isolation so devices can see one another.
– If you use a mesh, avoid placing Sonos or Echo on restricted VLANs.
– Reserve DHCP addresses for Sonos and Echo to keep IPs stable.
– Reboot in order: modem, router, Sonos speakers, then Echo devices.
Test Wi‑Fi in the rooms with speakers. If signal is weak, add a mesh node or wire a Sonos speaker to your router with Ethernet to anchor the system. A stable network reduces dropouts and speeds up voice response.
With the network steady, prepare your Sonos system. A clean, updated Sonos environment speeds discovery in Alexa.
Update and Prepare Your Sonos System
Start in the Sonos S2 app to ensure every speaker is current and properly named:
1) Update system firmware to the latest version.
2) Confirm each speaker shows online in the Rooms view.
3) Give every room a simple, unique name such as Kitchen, Living Room, or Office.
4) Remove duplicate or stale product entries.
5) Add your music services inside Sonos and sign in.
If you plan to run Alexa on a mic‑equipped Sonos speaker, go to Services & Voice and add Amazon Alexa as the assistant for that product. If you will control mic‑less speakers via Echo, skip adding Alexa in Sonos and let the Echo handle voice. Power cycle each speaker by unplugging for 30 seconds and plugging back in. With Sonos refreshed, move over to the Alexa app to link accounts and devices.
Link Sonos to Alexa in the Alexa App (Enable the Sonos Skill)
Now authorize Alexa to control your Sonos rooms:
1) Open the Alexa app and sign in.
2) Go to More, then Skills & Games.
3) Search for the Sonos skill and open it.
4) Tap Enable to Use and sign in with your Sonos account to authorize control.
5) Allow device discovery when prompted.
6) Return to Devices and check All Devices or Speakers for your Sonos rooms.
The Sonos skill creates one device per Sonos room, not per speaker. If discovery stalls, force close the Alexa app and reopen it, or use the Discover Devices option under Add Device. Keep the app open for a minute so all rooms appear. Once discovered, you will organize rooms and assign preferred speakers so Alexa routes audio without extra words.
Discover Devices, Name Rooms, and Set Preferred Speakers
Clean room mapping is the key to natural commands. Complete these steps:
1) In Alexa, go to Devices, tap the plus symbol, choose Add Device, select Speaker, then Sonos, and run Discover Devices.
2) Confirm each Sonos room appears under Devices and shows online.
3) Create Alexa Groups that match your Sonos room names exactly.
4) In each group, set Preferred Speaker to the matching Sonos room.
5) Add the Echo device in that same room to the group.
With preferred speakers set, you can say simple commands like: Alexa, play jazz, and Alexa will target the correct room automatically. Keep names short and unique. Avoid adding words like Sonos to room names, which can confuse matching. With rooms mapped, you can now enable Alexa directly on Sonos speakers with mics, or pair mic‑less models with the Echo groups you just built.
Add Alexa to Sonos Speakers with Microphones (One, Era, Beam, Arc, Move, Roam)
If your Sonos speaker includes a microphone, run Alexa on that device for the most seamless experience:
1) Open the Sonos app and go to Settings, then Services & Voice.
2) Choose Add a Voice Assistant and select Amazon Alexa.
3) Sign in and authorize, then pick the speaker or speakers you want to enable.
4) In the Alexa app, verify each Sonos room appears and responds to basic questions.
Test with a quick prompt: Alexa, what is the weather. Then try music: Alexa, play indie rock. If Alexa does not respond through the Sonos speaker, check the mic button and confirm the Voice Services page lists Alexa as active. You can choose a different wake word in the Alexa app if the default conflicts with other phrases in your home. With built‑in mics set, you can still keep Echo devices around for extra microphones or room sensors.
Control Mic‑less Sonos Speakers via Echo Devices (SL and IKEA Symfonisk)
Mic‑less Sonos models work great when paired with a nearby Echo. The Echo acts like a voice remote for the Sonos room:
1) Complete Sonos setup first in the S2 app.
2) Enable the Sonos skill in Alexa and run discovery.
3) Create an Alexa Group for the room that holds the Echo and the Sonos room.
4) Set the Sonos room as the group’s Preferred Speaker.
Place the Echo where it hears you clearly. Keep it a few feet from the speaker to avoid false wake triggers from loud music. If you have two Echos in one space, decide which device should lead voice control by adding only that Echo to the group or by disabling the mic on the second unit. With mic‑less speakers covered, you are ready to use voice commands and build routines that fit your daily schedule.
Voice Commands, Routines, and Multi‑Room Audio Tips
Start with basic commands to confirm routing and volume:
– Alexa, play jazz.
– Alexa, volume five.
– Alexa, pause.
– Alexa, play Spotify Daily Mix 1 in Kitchen.
Then build practical routines around your day:
1) Morning routine: set volume to a comfortable level, read the weather, and start a favorite playlist on the Kitchen speaker.
2) Focus routine: start a low‑key ambient station on Office speakers during work hours.
3) Wind‑down routine: dim lights, lower volume to three, and play a sleep mix for 30 minutes.
For whole‑home audio, group rooms inside the Sonos app for the tightest sync. Alexa groups make voice control easy, but the Sonos app offers the best timing for multi‑room playback, especially with home theater products. If audio drifts, regroup speakers in Sonos and restart playback. Keep room names identical in both apps to reduce confusion and avoid repeating room names in voice commands. With routines in place, review privacy and voice settings to match your preferences.
Privacy and Voice Assistant Settings to Know
Voice control is powerful, but you control what gets listened to and stored. On Sonos speakers with microphones:
– Toggle the mic off anytime using the hardware button.
– In the Alexa app, clear voice history and change the wake word if needed.
– Disable voice purchasing or require a code for extra safety.
– Turn off features like drop‑in if you do not use them.
On mic‑less setups, manage these settings on the Echo device. You can also remove Alexa from any Sonos in the Sonos app under Voice Services. If you prefer, run Sonos Voice Control for playback and keep Alexa for smart home tasks, or the other way around. With privacy handled, you are ready to solve any glitches that might appear.
Common Setup Pitfalls and How to Fix Them
Most problems fall into a few buckets: network settings, account mismatches, or messy naming. Use these targeted fixes:
– Sonos rooms not discovered: reboot router, then speakers; ensure devices use the same SSID; disable AP isolation and client isolation; enable multicast and UPnP.
– Skill linked but commands fail: disable and re‑enable the Sonos skill; sign into the correct Sonos account; confirm the same Amazon account is used across all Echos.
– Wrong speaker plays: rename rooms to short, unique names; verify each Alexa Group has the correct Preferred Speaker set; remove duplicate groups.
– Alexa does not respond on a Sonos with mics: check the mic light; verify Alexa is enabled for that product in Sonos; align language settings across phone, Sonos, and Alexa; reduce ambient noise during tests.
– Music will not play: link the music service in both Sonos and Alexa; set Alexa’s default music service; try a different playlist or station to rule out regional rights.
– Portable speaker quirks: ensure Roam or Move is on Wi‑Fi, not Bluetooth; charge the battery; confirm the speaker is awake and on the same SSID.
– Home theater oddities: if using Beam or Arc, confirm TV and HDMI‑CEC settings; voice commands manage audio but do not always switch inputs.
If issues persist, remove the Sonos device from Alexa, delete stale rooms, and run discovery again. You can also forget and re‑add the music service inside Alexa if a single service fails while others work. As a last resort, factory reset only the problematic speaker and re‑add it to Sonos, then relink the Sonos skill. With fixes in hand, you can finish strong and keep your setup stable over time.
Conclusion
Hooking up Sonos to Alexa stays simple when you prepare devices, align accounts, and keep your network healthy. You gathered the right gear, confirmed compatibility, tuned Wi‑Fi settings, updated Sonos, enabled the Sonos skill, and mapped Alexa Groups with preferred speakers. With those basics set, voice commands feel natural and fast, and routines trigger the right music in the right room.
Make a habit of maintaining clear room names, updating firmware regularly, and checking Wi‑Fi signal where speakers live. If something breaks, revisit discovery, unlink and relink the Sonos skill, and confirm music service connections. Run a quick daily test: ask Alexa to play your favorite station and adjust volume. Catching small issues early keeps your system smooth. Enjoy hands‑free music, podcasts, and smart home control across your Sonos speakers every day.
Frequently Asked Questions
Can I use Alexa with older Sonos speakers that do not have microphones?
Yes. Add an Echo, enable the Sonos skill, create an Alexa Group for the room, and set that Sonos room as the Preferred Speaker. Keep names short and identical across apps.
Alexa can see my Sonos speaker, but music will not play. What should I check first?
Verify the music service is linked in both Sonos and Alexa, set Alexa’s default music service, confirm Wi‑Fi (not Bluetooth) on portables, and re‑link the Sonos skill if needed.
Do I still need an Echo if my Sonos speaker supports Alexa built‑in?
No. A mic‑equipped Sonos can run Alexa by itself. An Echo can still help by hearing you from farther away and adding sensors for routines, so many homes keep both.