
Ring network not showing up during Ring Doorbell setup: Definitive 2026 Troubleshooting Guide
Introduction
When your Ring network is not showing up, setup stalls and frustration rises. The Ring app expects either a Bluetooth handoff or a temporary Ring-XXXX Wi‑Fi network to appear. If you do not see either, the doorbell cannot join your home Wi‑Fi. The good news: most causes are simple. A phone setting might block discovery, the doorbell may not be in setup mode, or your router could be hiding or steering the 2.4 GHz band. A few precise checks often fix it in minutes.
This guide walks through clear steps that work on recent Ring Doorbell models. You will learn how setup is supposed to work, which phone permissions to enable, and what router options make your SSID visible. You will also see model tips for mesh systems and ISP gateways. Move through the sections in order. Start with the device and phone, then adjust your network. If the problem persists, you will have a clean path to support.
Now let’s clarify what the term Ring network means and how the app finds your doorbell before we dive into device and phone checks.
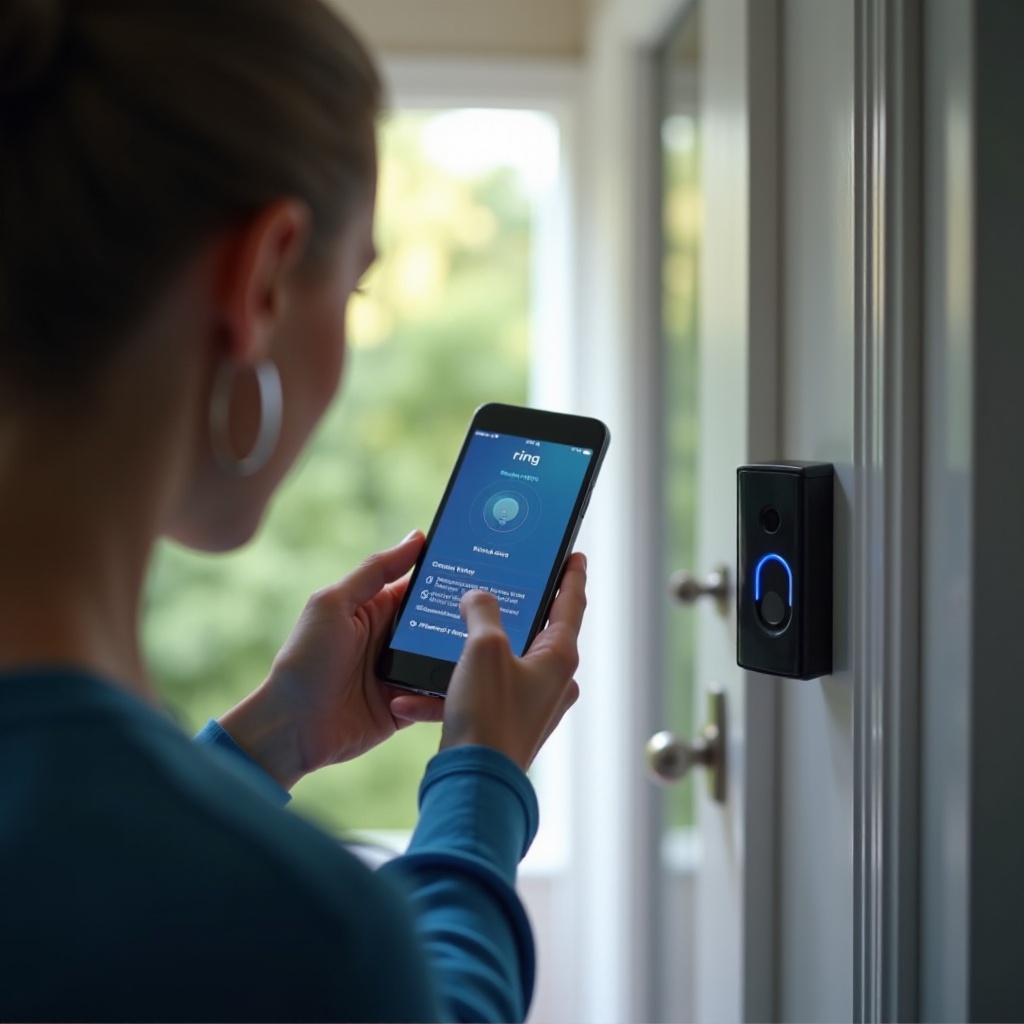
What ‘Ring network’ means and how setup works
BLE handoff vs temporary Ring-XXXX Wi‑Fi SSID
During setup, the app either pairs to your doorbell over Bluetooth Low Energy or asks you to join a temporary Wi‑Fi SSID that looks like Ring-XXXX. BLE is common on newer models. The app talks to the doorbell over BLE, hands it your Wi‑Fi details, and the doorbell joins your home network. Older or certain models use the temporary SSID method. Your phone connects to the doorbell’s broadcast network, the app sends credentials, then your phone switches back to your home Wi‑Fi.
Which models broadcast a setup SSID
Battery models often broadcast a Ring-XXXX network during setup. Many wired and Pro models can use BLE first, but also fall back to the temporary SSID if needed. If the Ring network never appears when expected, the device may not be in setup mode or it may not have enough power to broadcast. Some phones force BLE but still show the SSID step in the app. Keep the app’s prompts in mind and follow them closely.
Why your phone must be near the doorbell
BLE and the temporary SSID both have short range. Stand within a few feet of the doorbell. Thick walls, metal doors, or even your body can block the signal. Stay close and keep your phone’s screen awake during the pairing flow. This simple step prevents many failed attempts.
With the setup flow in mind, the next step is to confirm your exact model so you can follow the right indicators and button sequence.
Confirm your Ring Doorbell model and expected setup behavior
Ring Video Doorbell (2nd Gen), Wired, Pro, Pro 2, Battery, Plus
Find your exact model name in the Ring app or on the label behind the faceplate. Battery models and the standard Ring Video Doorbell often expect 2.4 GHz Wi‑Fi and may show the temporary SSID. Pro and Pro 2 models support dual band but still prefer 2.4 GHz for range during setup. Knowing the model helps you follow the right button sequence and LED cues.
Dual band vs 2.4 GHz only compatibility
Many Ring Doorbells connect best to 2.4 GHz because it reaches farther and penetrates walls better. Some newer Pro models can join 5 GHz if the signal is strong. If your router uses WPA3 only on 5 GHz or hides 2.4 GHz, your doorbell may never see your network. Verify that your 2.4 GHz band is enabled and broadcasting.
LED patterns and sounds by model
Each model signals setup mode differently: spinning white or blue lights, pulsing indicators, or a spoken prompt. When the LED spins or pulses as documented, the device is in setup mode and should broadcast BLE or a Ring-XXXX SSID. If you do not see the right pattern, it is not ready. Use the correct button press for your model.
Once you are sure which model you have, put the device into setup mode correctly so the Ring network can appear.
Put the doorbell into setup mode properly
Exact button sequences and timing
Remove the faceplate if needed. Press and hold the setup or side button until the LED shows the setup pattern. On many models, hold for about 10 seconds. Release when the light starts spinning. Do not short press. A brief tap may do nothing. If the unit speaks a prompt or chimes, it is ready.
How long the setup network lasts before timing out
The temporary Ring-XXXX SSID or BLE pairing window is time limited. Many devices broadcast for a few minutes and then stop to save power. If you take too long selecting your Wi‑Fi in the app, the doorbell may exit setup mode. If that happens, repeat the setup button press and restart the flow in the app.
When to retry vs factory reset
If the Ring network still does not appear after several attempts, try a power cycle. Remove the battery for 10 seconds or cut power at the breaker for a wired unit, then retry setup mode. Use a factory reset only when needed. Hold the setup button for about 20 seconds, or until the LED confirms the reset. After a reset, wait a full minute before trying again.
Power is the next common reason the Ring network fails to show. Confirm that your battery or transformer delivers stable power before you change Wi‑Fi settings.
Power and battery checks before Wi‑Fi troubleshooting
Battery thresholds for broadcasting
A low battery can prevent broadcasting the setup network. Charge the battery pack fully or connect temporary USB power if your model supports it. Aim for a high charge before setup. Broadcasting Wi‑Fi takes more power than idle monitoring.
Transformer specs for wired models
Wired Ring Doorbells need the right doorbell transformer. Many newer models run best with 16 to 24 VAC and enough VA capacity to avoid voltage sag. An old or weak transformer can starve the unit. If the LED flickers, dims, or the chime buzzes, power may be unstable. Consider a transformer upgrade or use a Plug‑In Adapter designed for your model.
Avoiding brownouts and chime interference
Mechanical chimes, loose wires, or corroded terminals can cause brief voltage dips. Tighten connections and inspect wires. If you see power related LEDs or hear clicks during setup, isolate the chime temporarily and test again. Stable power ensures the device can create the Ring network.
With power stable and setup mode confirmed, keep your phone close to remove distance variables before moving on to software and network changes.
Stand next to the doorbell during provisioning
Ideal distance and obstacles
Stay within 3 to 6 feet of the doorbell during setup. Hold the phone at chest height with a clear line of sight. Avoid standing behind a metal door or screen that can block signals. If your entryway has a metal frame or stucco with wire mesh, step to a spot with less metal in the path.
2.4 GHz vs 5 GHz range realities
2.4 GHz travels farther than 5 GHz. Even if your Pro model supports 5 GHz, do not rely on it during setup unless the signal is strong. Once paired on 2.4 GHz, you can fine tune your Wi‑Fi later. Staying close ensures BLE handoff and any temporary SSID is easy for your phone to detect.
If proximity is not the issue, check your phone and app settings next. These often block discovery without any obvious error.
Phone prerequisites and permissions (iOS and Android)
Update Ring app and OS; clear cache or reinstall
Install the latest Ring app from the app store. Update your phone’s OS. On Android, clear the Ring app cache and storage if it misbehaves. If problems persist, uninstall and reinstall the app. Fresh installs often fix silent permission or cache glitches.
Enable Location, Bluetooth, Camera, Local Network
Grant all requested permissions. On iOS, enable Location Services and Local Network for the Ring app. On Android, allow Location and Nearby Devices for Bluetooth. The app needs these to scan for BLE and nearby SSIDs. Allow the Camera to scan the QR code on your device for faster setup.
Disable VPN, Private Relay, Private DNS, proxies
Turn off any VPN, iCloud Private Relay, Private DNS, or per app proxies. These can interfere with the app’s local discovery or cause network switching mid setup. If your work profile enforces a VPN, try a different phone without device management.
Airplane Mode with Wi‑Fi on; turn off cellular data
Some phones prefer cellular data even during local Wi‑Fi tasks. Use Airplane Mode, then re enable Wi‑Fi and Bluetooth. Or just turn off cellular data for the setup. This forces the app to stay on the local network and talk to the doorbell.
Randomized MAC and battery saver caveats
Disable MAC randomization for your home SSID during setup if the router blocks unknown MACs. Turn off battery saver or adaptive battery for the Ring app. Aggressive battery modes can pause Bluetooth scans or Wi‑Fi switching.
iOS vs Android network settings reset
If none of the above works, back up Wi‑Fi passwords and reset network settings. On iOS, Reset Network Settings clears old profiles. On Android, reset Wi‑Fi, mobile, and Bluetooth. After the reset, add your Wi‑Fi again and retry setup.
Once your phone is ready, turn to the router. The right Wi‑Fi configuration makes your SSID show up reliably for the doorbell and the app.
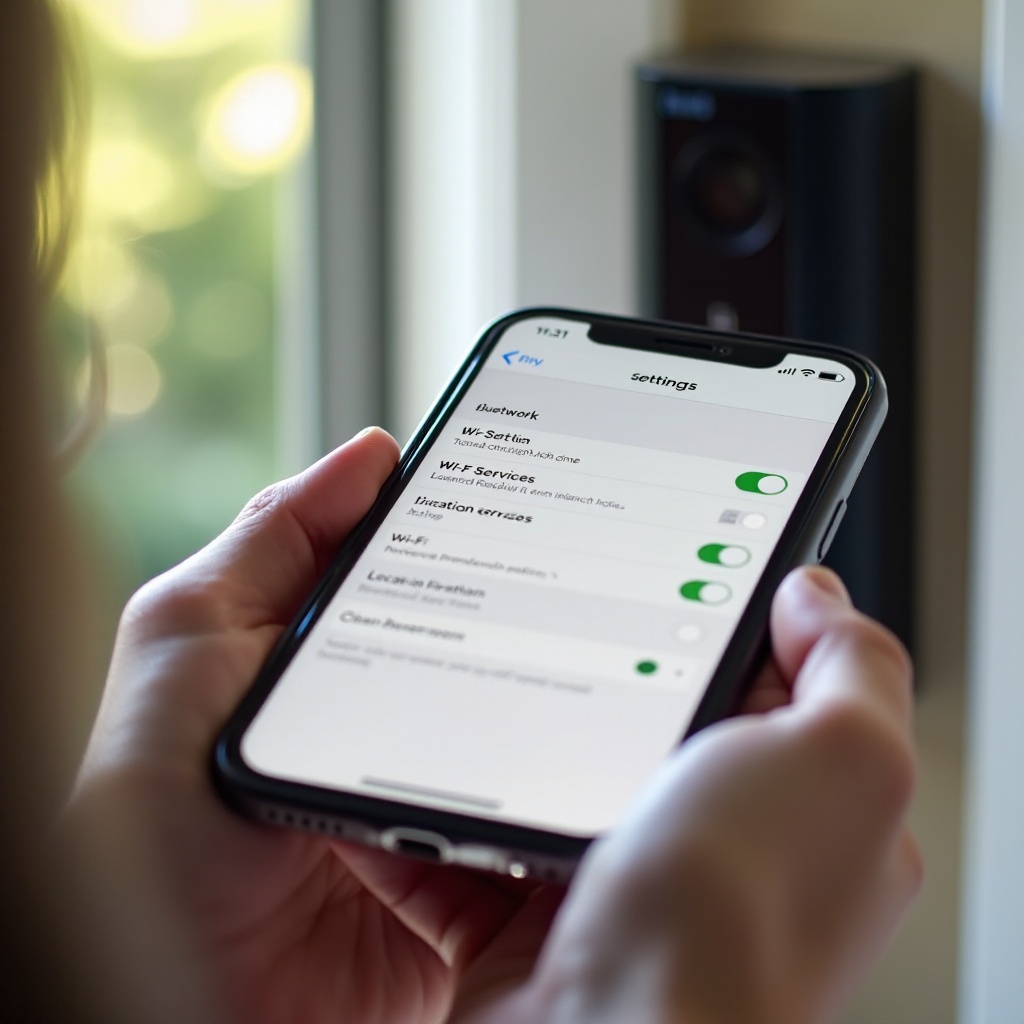
Router and Wi‑Fi settings to make your SSID show up
Separate 2.4 GHz and 5 GHz SSIDs; name clearly
Create distinct SSIDs for 2.4 GHz and 5 GHz. Use simple names without emojis or special characters. Example: Home24 and Home5. Connect your doorbell to the 2.4 GHz SSID first. You can merge bands later if your system supports it cleanly.
Channels 1, 6, or 11; avoid DFS; use 20 MHz width
Set 2.4 GHz to channels 1, 6, or 11. Use 20 MHz channel width for stability. Avoid DFS channels on 5 GHz during setup; some devices cannot see them. Static, non DFS channels reduce scanning confusion and speed up discovery.
Security: WPA2 AES; avoid WPA3 only, WEP, TKIP
Use WPA2 Personal with AES. Avoid WPA3 only during setup. Many IoT devices choke on WPA3 or TKIP mixed modes. If your router has WPA2 or WPA3 transition mode, enable it or temporarily force WPA2 for the 2.4 GHz SSID.
Disable band steering, client isolation, MAC filtering
Turn off band steering and load balancing while you provision the doorbell. Disable AP or client isolation, which blocks devices on the same SSID from seeing each other. Temporarily remove MAC filters or allow unknown devices until setup completes.
DHCP scope, lease time, and LAN blocking checks
Ensure DHCP is on and has free addresses. Set a normal lease time for testing. Avoid guest network modes that block LAN or WLAN bridging. The doorbell needs local connectivity to finish setup and talk to your phone.
Guest networks and PMF settings during setup
If you must use a guest network, allow device to device or LAN access during setup. Set Protected Management Frames to optional, not required. PMF required on WPA3 can block older provisioning flows.
Make SSID broadcast visible; avoid hidden SSIDs
Enable SSID broadcast for the 2.4 GHz network. Hidden SSIDs cause many devices to fail during provisioning. After setup, you can test hiding the SSID, but leave it visible until the doorbell connects and updates.
If you use a mesh system or an ISP gateway, a few platform specific tweaks can make the Ring network show up faster and keep it stable.
Mesh systems and ISP gateway specifics
Eero: turn off Band Steering; Legacy Mode tips
In the Eero app, turn off Band Steering during setup. If the device still struggles, enable Legacy Mode temporarily to improve compatibility. After provisioning, turn Legacy Mode off and test stability.
Orbi or Deco: Smart Connect and backhaul interference
On Netgear Orbi or TP Link Deco, disable Smart Connect to split 2.4 and 5 GHz. Place a satellite closer to the doorbell to reduce hops. Avoid placing the doorbell near a satellite using wireless backhaul on the same channel, which can raise interference.
Google or Nest Wi‑Fi: create a temporary 2.4 GHz SSID
Google or Nest Wi‑Fi uses one SSID for both bands. Use the Home app to create a temporary 2.4 GHz guest network with LAN access. Provision the doorbell on that SSID. After setup, you can remove the guest SSID.
UniFi: SSID overrides, minimum data rate, PMF optional
On UniFi, create a dedicated IoT SSID on 2.4 GHz with 20 MHz width, WPA2 AES, and PMF optional. Turn off minimum data rate enforcement and band steering. Disable the setting that blocks LAN to WLAN for the duration of setup.
Xfinity, AT&T BGW, Spectrum: admin changes that matter
On Xfinity gateways, split 2.4 and 5 GHz SSIDs in the admin portal. On AT&T BGW units, set 2.4 GHz to WPA2 AES and 20 MHz width. On Spectrum routers, ensure client isolation is off on guest networks. These small changes often make the SSID appear to both the doorbell and your phone.
Even with proper settings, local interference can still hide the setup network or weaken the signal. Fix your environment next.
Interference and placement that block discovery
Metal doors, stucco, and transformer noise
Metal and wire lath stucco can absorb or reflect 2.4 GHz. If your doorbell sits on a metal frame, try shielding behind the unit with a non metal spacer or move closer during setup. A buzzing transformer can inject noise; replace failing hardware if you hear hums or feel heat.
Microwave, baby monitors, and 2.4 GHz crowding
Microwaves, cordless phones, and baby monitors blast the 2.4 GHz band. Turn them off during setup. Use your router’s Wi‑Fi scanner or a phone app to check congestion and pick the cleanest channel among 1, 6, or 11.
Distance to node or AP and line of sight
If the nearest access point is far, add a mesh node near the door or move the router temporarily. Keep a clear path. Avoid placing the doorbell behind brick columns or metal mailboxes, which block the signal. A small placement change can turn not showing up into a stable connection.
If nothing changes, try an alternate setup path and a clean reset to break through device or phone quirks.
Alternate setup paths and resets that work
Scan code vs manual entry in the Ring app
Always scan the QR code inside the faceplate for the cleanest setup path. If scanning fails, use manual setup by entering the PIN from the device. Some phones handle one path better than the other, especially when cameras or permissions misbehave.
Use a different phone or tablet to provision
Try a second phone or tablet. Borrow one if needed. Different devices have different Bluetooth and Wi‑Fi stacks. A quick swap often makes the Ring network appear and lets you finish fast. This also helps isolate whether the original phone had a permissions or radio issue.
Use a 2.4 GHz guest SSID or mobile hotspot bridge
Create a temporary 2.4 GHz guest SSID with simple WPA2 AES. Connect only the doorbell and your phone. If your home router is locked down, briefly use a mobile hotspot on another phone as a bridge. After provisioning, move the doorbell to your main SSID.
Soft reboot vs factory reset and timing
Start with a soft reboot: remove and reseat the battery, or power cycle the breaker for wired models. If the device still will not broadcast its setup network or accept BLE, perform a factory reset and wait a full minute before retrying. Move quickly through the app steps while the setup window is open.
Once connected, lock in reliability. A few small tweaks keep your Ring solid day to day and reduce future pairing issues.
After setup: keep your Ring connected reliably
Re enable band steering safely
If you disabled band steering, turn it back on only if your doorbell stays on 2.4 GHz with a strong signal. Some systems reassign clients to 5 GHz or push them between nodes. If that causes drops, keep a separate 2.4 GHz IoT SSID for stability.
Optimize RSSI and channel selection
Check the Ring app for RSSI. Aim for better than minus 60 dBm. Move an access point closer, change channels to reduce overlap, and keep 2.4 GHz on 20 MHz width. These simple changes reduce retries and timeouts.
Firmware updates and scheduled reboots
Update your router and access points to the latest stable firmware. Update the Ring Doorbell via the app when prompted. If your router misbehaves over time, a monthly scheduled reboot can help. Avoid frequent changes after you reach a stable state.
If issues linger after all of these steps, gather details before calling support. Clear information speeds up the fix and helps determine if hardware needs replacement.
When to contact Ring Support (what to prepare)
Model, firmware, RSSI, router make and model
Write down your Ring model, firmware version if available, and RSSI from the app. Note your router make, model, and firmware. These facts help the agent give precise advice.
Photos of settings and LED or app screenshots
Take screenshots of your Wi‑Fi settings, including SSID names, security type, and channel. Record LED patterns and any error messages in the app. Visuals reduce back and forth and shorten the call.
Steps you have tried and timestamps
List the steps you performed and when you tried them. Include resets, power cycles, and changes in the router. With a timeline, support can spot patterns and escalate to a replacement if the hardware is faulty.
Conclusion
When the Ring network is not showing up, start with the basics. Put the doorbell in setup mode and stand close. Charge the battery or confirm strong wired power. Give the Ring app every permission it needs and keep VPNs and battery savers off. Then set your router’s 2.4 GHz band to a clean, visible SSID with WPA2 AES and 20 MHz width.
Mesh and ISP gateways add extra wrinkles, but small tweaks like disabling band steering or creating a temporary 2.4 GHz SSID usually solve it. If none of that helps, try a different phone, a short guest SSID, or a clean factory reset. After you connect, re enable optimizations carefully and monitor RSSI.
With a systematic approach, you can turn a blank network list into a successful setup in minutes. If hardware fails, you will have the data support needs to act fast.
Frequently Asked Questions
Why does my Ring Doorbell not show my home Wi‑Fi but shows others?
Your router may hide or steer the 2.4 GHz band, use WPA3 only, or sit on a congested channel. Enable 2.4 GHz, set channels 1, 6, or 11 at 20 MHz, and use WPA2 AES. Turn off band steering and client isolation during setup. Also check for MAC filtering or guest network LAN blocks. If your doorbell still cannot see your SSID, create a temporary 2.4 GHz guest network with a simple name and password, connect the doorbell, then migrate it later.
Does Ring work with 5 GHz Wi‑Fi or only 2.4 GHz?
Many Ring Doorbells prefer 2.4 GHz due to range and wall penetration. Some Pro models can join 5 GHz if the signal is strong and settings are compatible. For the smoothest setup, use 2.4 GHz with WPA2 AES on channels 1, 6, or 11 at 20 MHz width. After setup, you can test 5 GHz on Pro models, but if the device drops or struggles to roam, keep it on a dedicated 2.4 GHz IoT SSID for reliability.
Will a Ring Chime or Chime Pro help if the Ring network never appears?
A Ring Chime or Chime Pro can help after the doorbell joins Wi‑Fi by boosting signal or acting as a closer target for the doorbell. They do not replace setup mode, BLE pairing, or the doorbell’s temporary SSID. If the Ring network is not showing up, first fix power, phone permissions, and router settings. Once the doorbell connects, add a Chime Pro near the door to improve RSSI and reduce drops in large homes or near metal framed entryways.