
Vizio TV Sound Bar Hook Up: The Complete Step-by-Step Guide for Crisp, Convenient Audio
Introduction
You bought a sound bar to hear clear dialogue, punchy bass, and rich effects. Now you need a clean connection and the right settings. This guide gives you a smooth vizio tv sound bar hook up with a practical path: start with HDMI ARC or eARC, keep optical ready as a fallback, and use Bluetooth only when cables are not an option. You will see the exact ports to use, the menus to open, and the audio formats to select. You will also learn how to pair the wireless subwoofer and surrounds, tune sound modes for movies and games, and enable one remote control with CEC. If something goes wrong, a dedicated troubleshooting section fixes no sound, handshake errors, lip sync, and dropouts.
We begin by gathering the right gear so each later step moves fast without guessing.
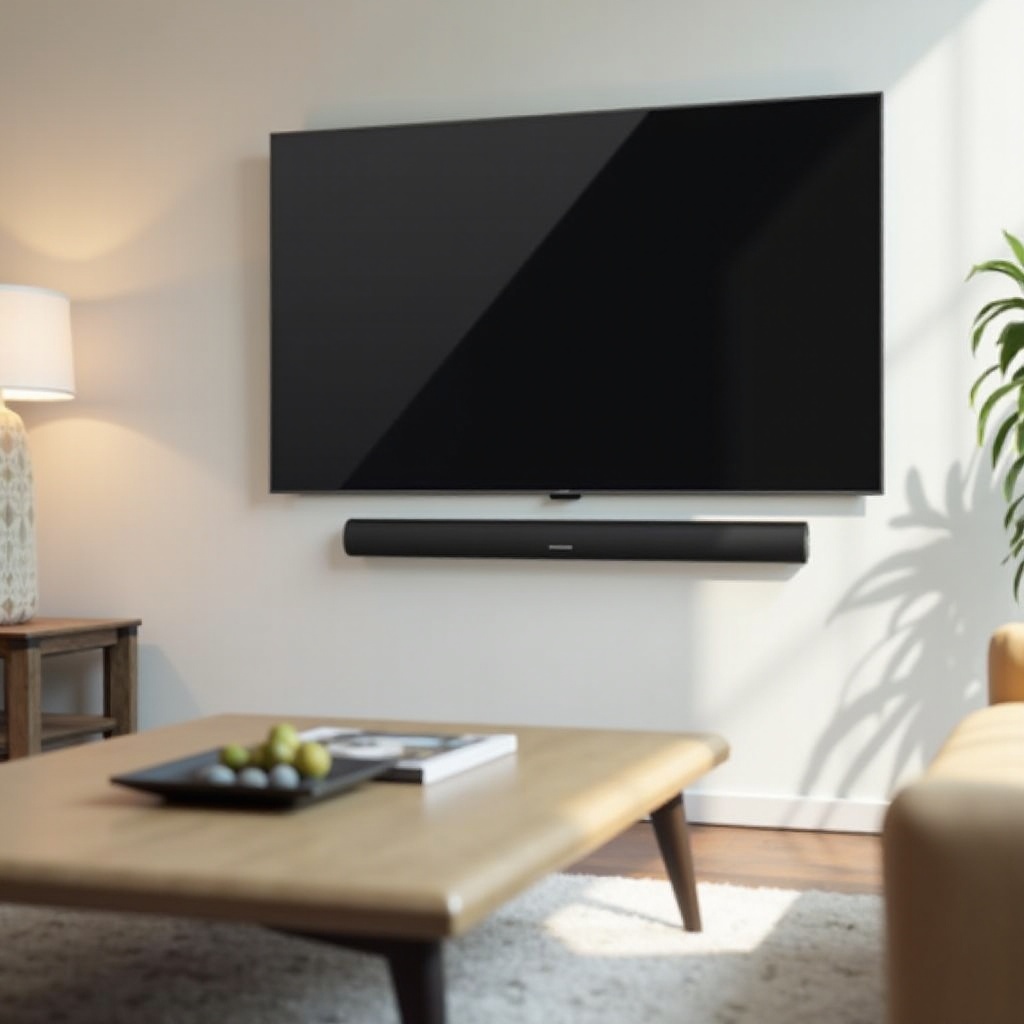
What You will Need: Cables, Ports, and Compatibility Checklist
Before you plug in, confirm that your TV and sound bar support the features you want and that you own the correct cables. A few minutes here prevents long detours later.
- Find the right HDMI port on the TV: Look for a port labeled ARC or eARC. ARC carries multichannel audio and allows TV volume control of the bar. eARC adds higher bandwidth for formats such as Dolby Atmos from supported apps and devices.
- Use a certified Ultra High Speed HDMI cable: Short, certified cables reduce handshake issues and audio dropouts. Avoid frayed or overly long cables when possible.
- Keep an optical TOSLINK cable handy: Optical is a reliable backup when ARC eARC is missing or misbehaves. It supports stereo PCM and Dolby Digital 5.1, but not lossless Atmos.
- Power and placement: Plug the bar and subwoofer into stable wall outlets. Avoid sharing a USB port for power. Place devices where you can see status lights during setup.
- Remote and app: Keep the sound bar remote within reach. Install the Vizio Mobile app to adjust inputs, sound modes, and levels.
- Firmware updates: Check both the TV and the sound bar for updates. Fresh firmware reduces bugs and improves feature support.
- External devices: If you use a console, Blu ray player, or streaming box, plan to connect it to the TV and pass audio back to the bar via ARC eARC for simplest control.
With the essentials lined up, you can make a fast first connection using HDMI ARC or eARC.
Quick Start: The Best Way to Hook Up a Vizio Sound Bar (HDMI ARC eARC)
HDMI ARC eARC delivers the cleanest daily experience: one cable, one remote, and automatic switching. Use this quick start to lock it in before exploring detailed menus.
1) Identify the TV ARC eARC port and the matching port on the sound bar.
2) Connect the HDMI cable between the TV ARC eARC port and the sound bar ARC eARC port.
3) Power on both devices. Set the sound bar input to HDMI ARC if it does not auto switch.
4) In the TV audio settings, turn on CEC and eARC if available. Set TV speakers to Off.
5) Set Digital Audio Output to Auto or Bitstream. If your TV and bar support Atmos, enable Atmos.
6) Open a streaming app on the TV and play a surround or Atmos title. Adjust volume with the TV remote to confirm control.
7) If you hear delay or dropouts, adjust audio format and lip sync settings, then retest.
If you want to see every menu and option in detail, the next section expands each step.
Step by Step: HDMI ARC eARC Setup on Vizio TVs
The goal here is consistent sound and one remote control. Follow these steps carefully, and check audio with several apps to confirm the format you expect.
1) Identify the ports
– On your Vizio TV, find the HDMI port labeled ARC or eARC.
– On the Vizio sound bar, locate the HDMI ARC eARC input.
2) Cable and power
– Use a certified Ultra High Speed HDMI cable of reasonable length.
– Power on both devices and let them boot fully before changing settings.
3) Enable control and return channel
– On the TV, open Settings and enable CEC. CEC lets the TV remote control the bar.
– If available, enable eARC. Leave system audio control on Auto or TV plus ARC.
4) Set audio output
– Turn TV speakers Off so the TV routes audio to the bar.
– Set Audio Out to ARC eARC. Set Digital Audio Output to Bitstream or Auto.
– If Atmos is supported by both devices, enable Atmos in the TV audio menu.
5) Select the correct input on the bar
– Switch the bar to HDMI ARC eARC. Many bars switch automatically when the ARC link becomes active.
6) Verify formats and stability
– Play a movie or show with surround or Atmos. Watch the bar display or app for the detected format.
– Try a second app or source to confirm that the setup works beyond a single title.
7) Fix minor issues
– If volume does not respond, toggle CEC off and back on. Then power cycle the TV and bar.
– For lip sync delays, adjust Audio Delay in the bar or TV until voices match lips.
– If audio drops at random, update firmware and try a shorter HDMI cable.
Once ARC eARC works, you are set for the best experience. If your TV lacks ARC eARC, or you prefer a quick fallback, optical remains a dependable choice.
Step by Step: Optical TOSLINK Setup as a Reliable Alternative
Optical is simple and stable. It supports stereo PCM and Dolby Digital 5.1, which satisfies many setups. You lose advanced and lossless formats, but you gain reliability during tough ARC situations.
1) Connect the cable
– Run a TOSLINK optical cable from TV Optical Out to sound bar Optical In. Remove any plastic tip covers.
2) Adjust TV audio settings
– Turn TV speakers Off.
– For stereo, choose PCM. For 5.1 when available, choose Bitstream or Auto, which often outputs Dolby Digital.
3) Select the bar input
– Set the sound bar to Optical input.
4) Test and refine
– Play content. If you hear nothing or distortion, switch TV digital output to PCM, then retest.
– Control volume with the bar remote, or program your TV or streaming box remote to control the bar if supported.
Optical keeps sound playing while you test cables or settings for ARC eARC. If cables are hard to run, wireless options can cover casual listening.
Wireless Options: Bluetooth Pairing and Casting with Vizio Mobile
Bluetooth is convenient for quick setups, second rooms, or guests. Expect more latency than HDMI and lower bandwidth. For films and games, a wired link remains best.
-
Pair the TV to the bar via Bluetooth
1) Put the bar in Bluetooth pairing mode. Press and hold the Bluetooth button until you see a pairing light.
2) On the TV, open Bluetooth settings, select the bar, and confirm pairing.
3) Set the bar as the default audio device if the TV prompts you. -
Cast from a phone with the Vizio Mobile app
1) Install the app and connect to the bar on your home network.
2) Use the app to control inputs, volume, and some sound modes, and cast supported audio from your phone.
Use Bluetooth when wires are not feasible. For immersive formats and clean lip sync, return to HDMI ARC eARC.
Pairing the Vizio Wireless Subwoofer and Surround Speakers
With the main link active, add bass and surround to bring action scenes and game soundtracks to life. Correct pairing and placement make the biggest difference.
1) Auto pair first
– Plug in the subwoofer in the same room as the bar. Many Vizio kits link automatically at power on. Look for a solid or steady link light.
2) Manual pairing if needed
– Press and hold Pair on the subwoofer and on the bar until lights flash and then lock.
– If your kit includes wired satellites that connect to the sub, power the sub first, then plug the satellites into the left and right outputs.
3) Place for clean bass and cohesive surround
– Put the sub near a wall or corner to reinforce bass, but avoid blocking ports. Keep it a few inches from the wall.
– Place surrounds slightly behind and to the sides of the main seat. Aim them at ear height when seated if stands allow.
4) Balance levels and crossover
– Use the bar menu or Vizio Mobile to adjust Sub Level and Surround Level. Raise center or dialogue level until voices remain clear without cranking master volume.
– If bass overwhelms voices, lower Sub Level a notch and move the sub a foot away from a corner.
Once hardware is paired and placed, you can tune modes and delays for your favorite content.
Optimize Audio: Sound Modes, Levels, and Lip Sync for Movies, TV, and Gaming
Fine tuning takes a few minutes and pays off every time you press play. Aim for clear voices, punchy but tight bass, and stable surround.
-
Choose the right mode
1) Movie: Boosts dynamics and surround cues for films and prestige shows.
2) Music: Flatter EQ for natural vocals and instruments.
3) Game: Faster processing to reduce delay and sharpen positional audio.
4) Night or Dialogue: Compresses loud peaks and lifts voices for late viewing. -
Explore processing features
- DTS Virtual X can create virtual height and wider surround from stereo or 5.1. Try it with action films, but reduce it if voices sound hollow.
-
TruVolume can even out loud ads and soft dialogue. If dynamics feel squashed, turn it off.
-
Balance levels
- Raise Center or Dialogue Level until speech is clear at normal volumes.
- Set Sub Level so kick drums hit and explosions punch without booming or masking dialogue.
-
If surrounds call attention to themselves during quiet scenes, lower Surround Level slightly.
-
Fix lip sync
- If sound lags behind video, use the bar Lip Sync or Audio Delay setting to add a few milliseconds until voices match mouths.
- For gaming, select Game mode on the bar and set consoles to bitstream or PCM as needed. If delay remains, try PCM for the quickest path.
After the sound fits your taste, make daily control simple so the whole family can use it without thinking.
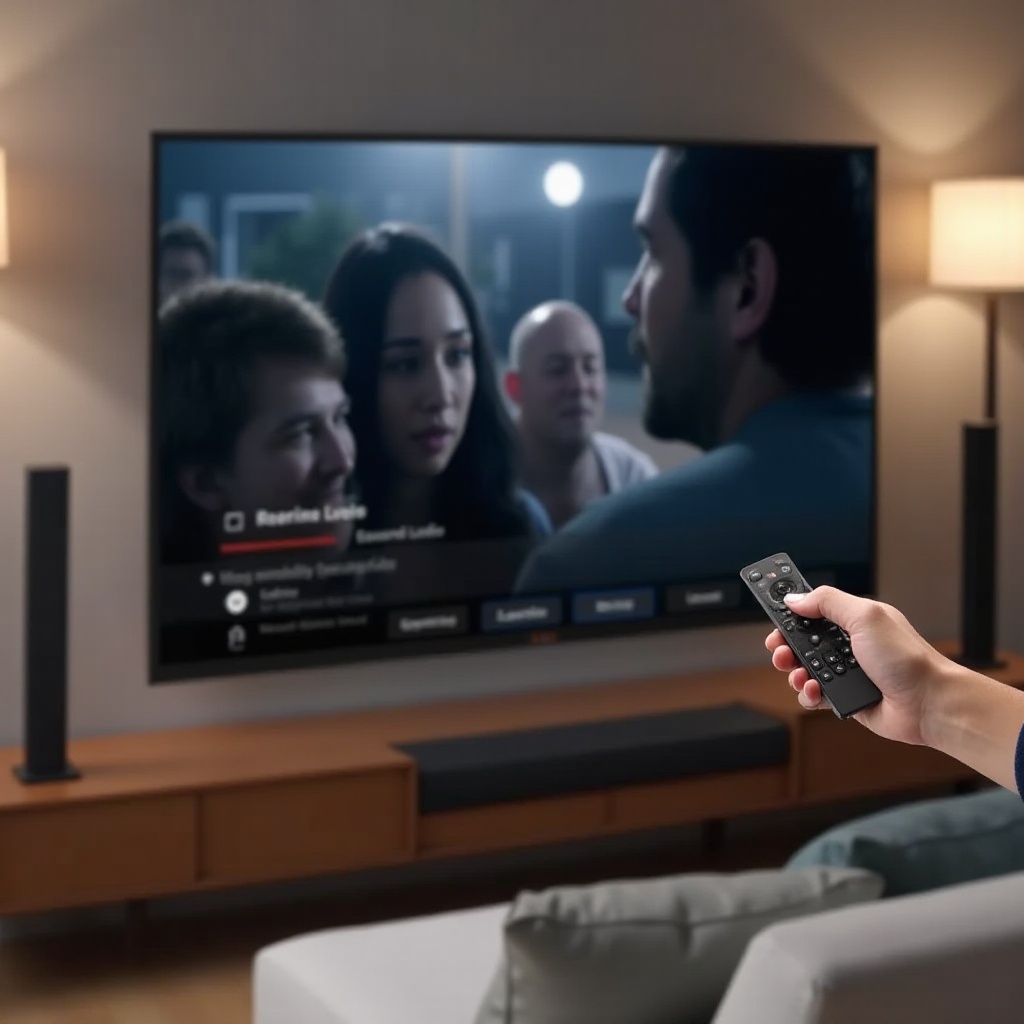
Control and Convenience: CEC, One Remote Setup, and the Vizio Mobile App
With HDMI ARC eARC active, CEC allows the TV remote to adjust sound bar volume and power. This removes extra remotes and confusion.
-
One remote basics
1) On the TV, enable CEC and eARC. Confirm TV speakers are Off and Audio Out is ARC eARC.
2) Use the TV remote volume keys. The sound bar volume should change. Powering off the TV should put the bar in standby. -
If CEC misbehaves
- Toggle CEC off and back on, then power cycle both devices. Replace the HDMI cable if commands are unreliable.
-
If the bar supports IR learning, teach it your TV remote volume codes as a backup.
-
Vizio Mobile app advantages
- Control inputs, EQ, sub levels, and sound modes without diving into on screen menus.
- Check for firmware updates that improve stability, eARC compatibility, and new features.
With controls sorted, finish the setup by placing and mounting gear for clean looks and consistent performance.
Mounting, Placement, and Cable Management Tips for Better Sound
Positioning affects clarity and tonal balance as much as settings do. A few placement rules make voices snap into focus and keep cables tidy.
- Sound bar placement
- Center the bar under the TV. Keep its front edge flush with the cabinet to avoid blocking drivers.
-
Do not hide the bar in a closed cabinet. Leave space around any upward firing drivers.
-
Wall mounting
- Align the bar with the bottom of the TV for a unified look and better audio imaging.
-
Leave clearance for IR receivers and ports. Use the included template or brackets when provided.
-
Cable routing and interference
- Separate power and signal cables where possible. Use short HDMI runs to reduce handshake problems.
-
Secure cables with ties or a slim raceway to prevent strain on ports and accidental disconnects.
-
Subwoofer placement
- Start near a front corner, then slide along the wall in small steps while playing bass heavy music. Stop where bass sounds full but not boomy.
If problems show up later, do not worry. A systematic approach solves most issues quickly.
Troubleshooting Common Hook Up Issues (No Sound, ARC Errors, Delays)
Most problems trace back to ports, cables, or settings. Use this checklist to restore sound fast.
-
No sound over ARC eARC
1) Confirm the cable connects TV ARC eARC to bar ARC eARC, not another HDMI port.
2) Set TV speakers to Off. Set Audio Out to ARC eARC and Digital Output to Bitstream or Auto.
3) Enable CEC and eARC. Power cycle TV and bar. Try a certified Ultra High Speed cable. -
ARC handshake failure or unstable control
- Unplug both devices for 60 seconds. Plug in the TV first, then the bar.
- Toggle CEC off and on. Clear the TV CEC device list if the menu offers that option.
-
Update firmware on both devices. Replace long or suspect HDMI cables.
-
Low volume or wrong input
- Make sure the bar is on HDMI ARC, not Optical or Bluetooth.
-
Turn off TV auto volume features if they reduce dynamics too much.
-
Lip sync problems
- Use Lip Sync or Audio Delay on the bar to align audio with video. If that fails, adjust the TV delay.
-
As a test, switch digital output to PCM to see if the delay reduces. If it does, keep PCM for sport or news, and switch back for films.
-
Streaming or gaming dropouts
- Update firmware. If you use high frame rate or VRR, set audio output to Auto instead of Passthrough.
-
Try a shorter, high quality HDMI cable. Move the sub away from routers if wireless bass cuts out.
-
When to use optical
- If ARC remains unstable after these steps, use optical for a while. It keeps audio working while you continue diagnosing ARC settings or cables.
With these fixes, most systems settle into a reliable groove. Sound should start instantly, remain in sync, and respond to the TV remote without drama.
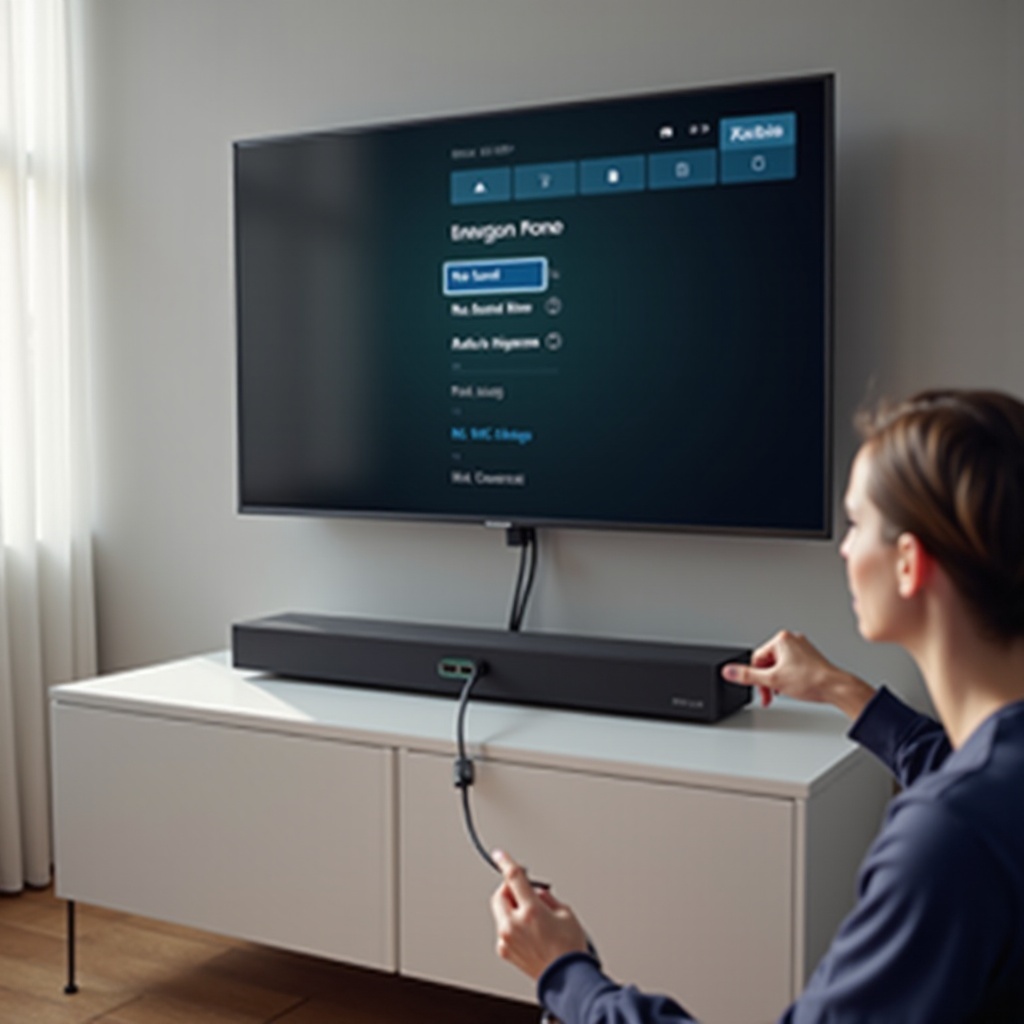
Conclusion
A proper vizio tv sound bar hook up follows a clear order. Gather the right cable, connect the bar to the TV ARC eARC port, and enable CEC and eARC. Set TV speakers off, choose Bitstream or Auto, and test with several apps. If ARC does not cooperate, shift to optical for a steady connection while you troubleshoot. Pair the sub and surrounds, place them well, and then tune modes, levels, and lip sync so movies, sports, and games sound right. Finish by enabling one remote control and tidying cables. After this one time setup, you can forget about the gear and enjoy every show with clear dialogue and satisfying bass.
Frequently Asked Questions
Which is better for a Vizio TV sound bar hook up, HDMI ARC eARC or optical?
HDMI ARC eARC is better for most setups. It enables one remote control, auto switching, and higher bandwidth formats when supported. Optical is reliable and simple but limited to stereo PCM or Dolby Digital 5.1 and usually lacks seamless power and volume control.
Why do I have no sound over ARC after connecting my Vizio sound bar?
Check the ports and settings first. Use the TV ARC eARC port and the bar ARC eARC port, enable CEC and eARC, turn TV speakers off, and set digital output to Bitstream or Auto. Power cycle both devices and try a certified Ultra High Speed HDMI cable. Set the bar input to HDMI ARC if it did not auto select.
Can I get Dolby Atmos from my Vizio TV apps to my Vizio sound bar?
Yes, if both the TV and the sound bar support Atmos over ARC eARC and the app offers Atmos for that title. Use the ARC eARC ports, enable eARC, set audio to Bitstream or Auto, and test an Atmos labeled movie. Update firmware and use a short certified HDMI cable for best stability.